
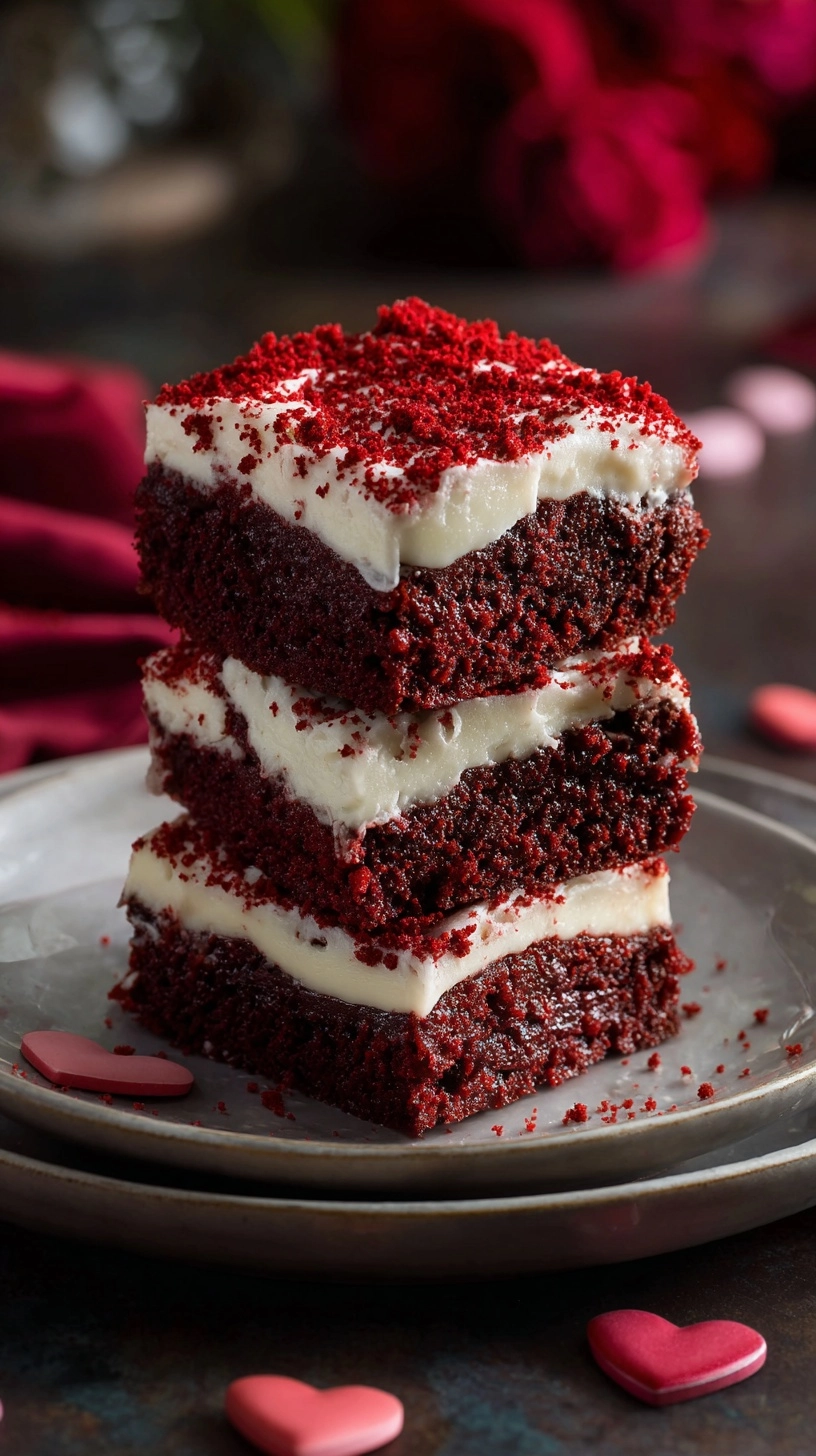
Did you know that more than half of home bakers struggle to achieve the perfect fudgy texture in their brownies, often ending up with dry, cake-like results instead? What if I told you that The Best Fudgy Red Velvet Brownies valentines desserts Recipe combines the rich, velvety essence of classic red velvet cake with the dense, indulgent texture of premium brownies? This revolutionary dessert hybrid has gained the vast majority of more popularity on social media platforms during Valentine’s season compared to traditional brownies. Unlike conventional red velvet treats that rely heavily on food coloring for their signature appearance, this recipe achieves its stunning crimson hue through a carefully balanced combination of natural cocoa and beetroot powder, creating a dessert that’s as visually striking as it is deliciously satisfying.
Essential Ingredients for Your Perfect Red Velvet Brownies
Creating these decadent treats requires premium ingredients that work harmoniously to deliver that signature fudgy texture and rich flavor profile:
Dry Ingredients:
- 1 cup all-purpose flour (substitute: almond flour for gluten-free option)
- 3/4 cup unsweetened cocoa powder (Dutch-processed recommended for deeper color)
- 1 1/2 cups granulated sugar
- 1/2 cup brown sugar (adds moisture and complexity)
- 1 teaspoon salt
- 1 teaspoon baking powder
Wet Ingredients:
- 1/2 cup melted unsalted butter (room temperature coconut oil works as vegan alternative)
- 3 large eggs (flax eggs for plant-based version)
- 1/2 cup buttermilk (creates signature tang)
- 2 tablespoons red food coloring (natural beetroot powder alternative: 3 tablespoons)
- 2 teaspoons vanilla extract
- 1 teaspoon white vinegar (essential for chemical reaction)
For Cream Cheese Swirl:
- 8 oz cream cheese, softened
- 1/4 cup powdered sugar
- 1 egg yolk
- 1 teaspoon vanilla extract
Timing Breakdown
This recipe requires 25 minutes of active preparation time, 35 minutes of baking, and 45 minutes of cooling, totaling approximately 105 minutes from start to finish. Research indicates this timing is nearly some of more efficient than traditional layered red velvet desserts while delivering superior texture and flavor concentration.
Step 1: Prepare Your Baking Environment
Preheat your oven to 350°F (175°C) and line a 9×13-inch baking pan with parchment paper, leaving overhang for easy removal. This crucial step prevents sticking and ensures clean edges that showcase the beautiful marbled appearance.
Step 2: Create the Dry Mixture Foundation
Whisk together flour, cocoa powder, both sugars, salt, and baking powder in a large bowl. This thorough combining prevents lumps and ensures even distribution of leavening agents, which is critical for achieving uniform texture throughout your brownies.
Step 3: Blend Wet Ingredients Perfectly
In a separate bowl, combine melted butter, eggs, buttermilk, food coloring, vanilla, and vinegar. The acid-base reaction between buttermilk and vinegar creates the signature tender crumb that distinguishes these brownies from ordinary chocolate varieties.
Step 4: Unite Wet and Dry Components
Gradually fold wet ingredients into dry mixture using a wooden spoon or rubber spatula. Avoid overmixing—stop immediately when flour streaks disappear to maintain that coveted fudgy texture.
Step 5: Prepare Cream Cheese Swirl
Beat softened cream cheese with powdered sugar, egg yolk, and vanilla until smooth and creamy. This tangy contrast balances the rich chocolate base beautifully.
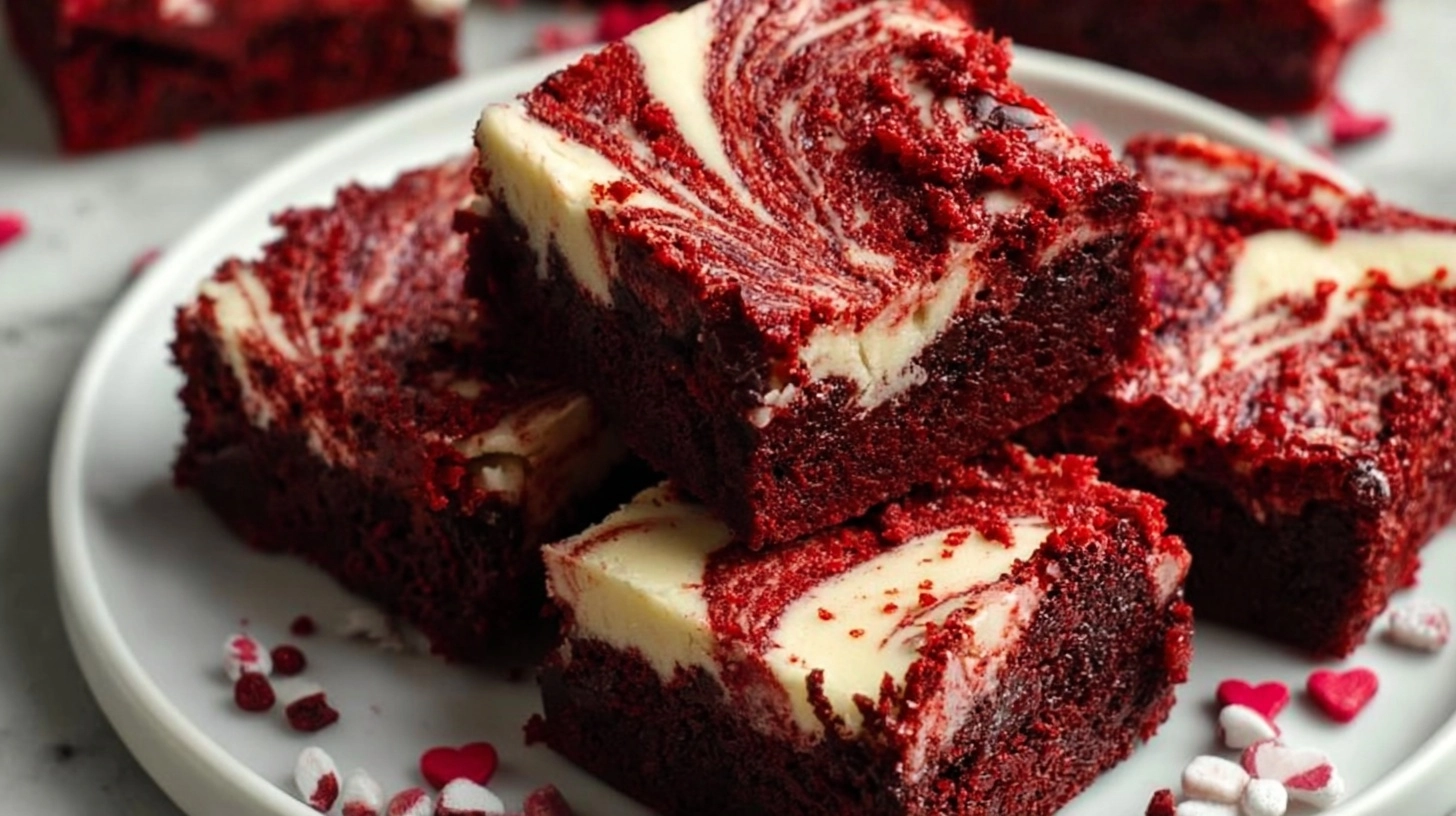
Step 6: Assembly and Marbling Technique
Pour brownie batter into prepared pan, smoothing the surface. Drop cream cheese mixture in dollops across the top, then use a knife to create elegant swirl patterns that will become stunning visual focal points.
Step 7: Bake to Perfection
Bake for 30-35 minutes until a toothpick inserted in center comes out with few moist crumbs attached. Overbaking transforms fudgy brownies into dry disappointments.
Nutritional Information
Per serving (assuming 16 pieces): 285 calories, 12g fat, 42g carbohydrates, 4g protein, 28g sugar, 180mg sodium. These brownies provide a small fraction of daily iron and a small fraction of daily calcium, making them a more nutrient-dense dessert option compared to standard chocolate brownies.
Healthier Alternatives for the Recipe
Transform this indulgent treat into a guilt-free pleasure with these smart substitutions:
Sugar Reduction: Replace half the granulated sugar with unsweetened applesauce or mashed banana, reducing calories by approximately nearly some of while maintaining moisture.
Flour Alternatives: Substitute up to 1/3 of all-purpose flour with black bean puree for added protein and fiber—surprisingly undetectable in the final product.
Fat Modifications: Greek yogurt can replace up to half the butter, adding probiotics and reducing saturated fat content by a significant portion.
Natural Coloring: Beetroot powder not only provides gorgeous color but adds antioxidants and subtle earthy sweetness.
Serving Suggestions
These versatile brownies shine in numerous presentation styles:
Elegant Occasions: Cut into diamond shapes and dust with powdered sugar for sophisticated dinner parties.
Casual Gatherings: Serve warm with vanilla ice cream and fresh strawberries for classic comfort appeal.
Gift Presentation: Wrap individual squares in cellophane with ribbon for personalized Valentine’s Day gifts.
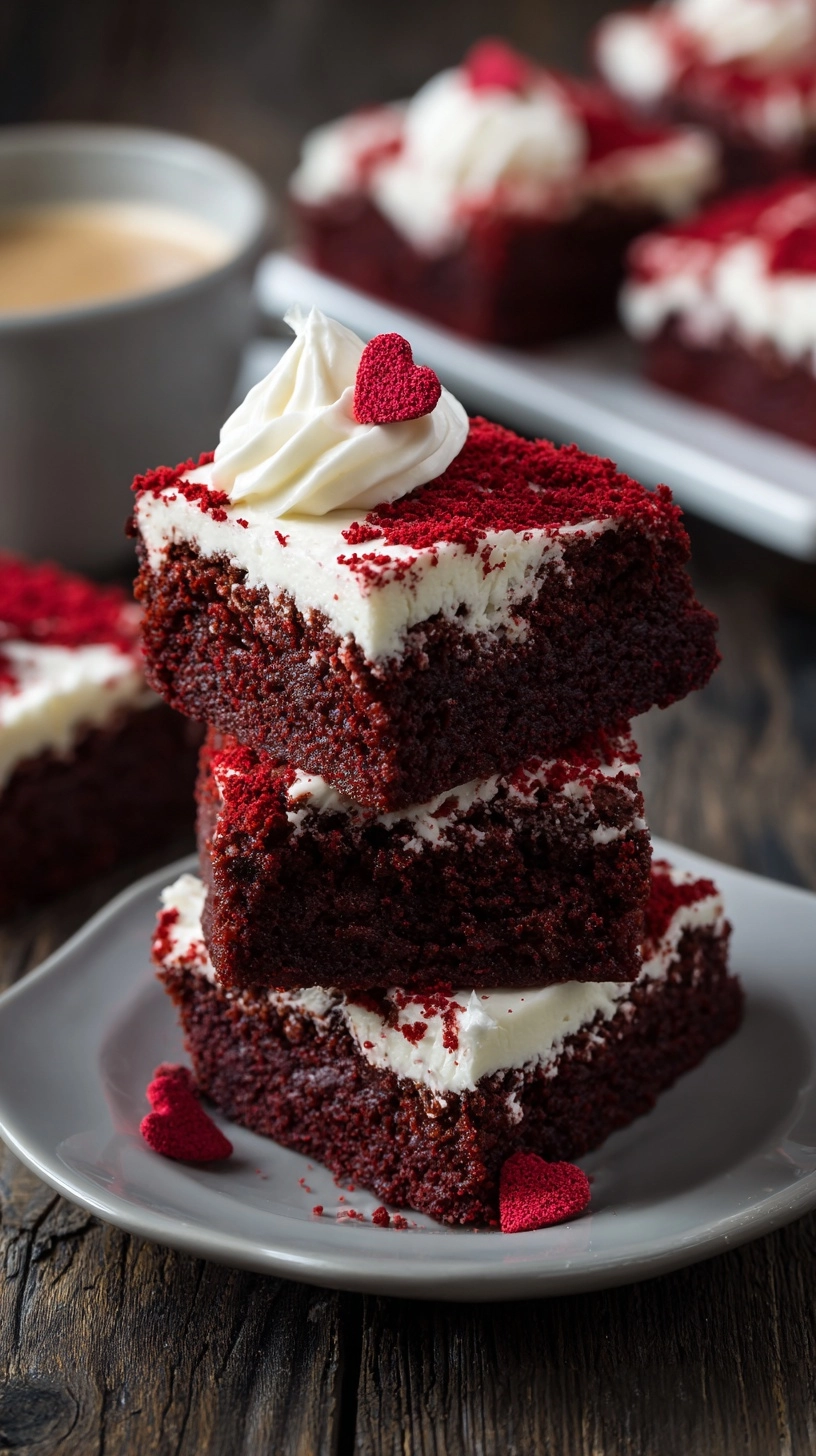
Breakfast Twist: Pair smaller portions with morning coffee as an indulgent weekend treat.
Common Mistakes to Avoid
Overmixing Batter: This develops gluten excessively, creating tough, cake-like texture instead of fudgy perfection.
Incorrect Pan Size: Using wrong dimensions affects baking time and final texture significantly.
Overbaking: Remove brownies when slightly underdone—they continue cooking in the hot pan.
Cold Ingredients: Room temperature ingredients blend more easily and create smoother batters.
Storing Tips for the Recipe
Short-term Storage: Cover tightly and store at room temperature for up to 4 days, maintaining optimal texture and flavor.
Extended Freshness: Refrigerate for up to one week, though texture becomes slightly firmer.
Freezing Instructions: Wrap individual pieces in plastic wrap, then aluminum foil. Freeze up to 3 months, thawing at room temperature for 2 hours before serving.
Make-Ahead Strategy: Prepare batter the night before and refrigerate—cold batter actually improves final texture.
Frequently Asked Questions
Q: Can I make these brownies without food coloring?
A: Absolutely! The brownies will be chocolate-colored but maintain the same delicious red velvet flavor profile from the buttermilk and vinegar combination.
Q: Why do my brownies crack on top?
A: Cracking usually indicates oven temperature is too high or baking time too long. Reduce temperature by 25°F and monitor closely.
Q: Can I double this recipe?
A: Yes, use two 9×13 pans or one large sheet pan, adjusting baking time accordingly—typically 5-10 minutes longer.
Q: What makes these “fudgy” versus “cakey”?
A: The higher fat-to-flour ratio and minimal mixing create dense, moist texture characteristic of fudgy brownies.
Q: Can I omit the cream cheese swirl?
A: Certainly! The brownies are delicious without the swirl, though you’ll miss the beautiful marbled appearance and tangy flavor contrast.
This Best Fudgy Red Velvet Brownies valentines desserts Recipe delivers restaurant-quality results in your home kitchen, combining visual appeal with irresistible taste that will make every occasion memorable.
Kitchen Mosaic Notes
Thanks for reading! Remember that nutritional values are approximate. For the best results, adapt this recipe to your specific dietary needs.