

Did you know that most of Americans prefer their chili recipe with beans, yet the most requested variation at Texas Roadhouse locations is actually the bean-free version? This fascinating contradiction highlights the beauty of the Texas Roadhouse chili recipe (with or without beans) – its remarkable adaptability to personal preferences while maintaining that signature smoky, hearty flavor that has made it a restaurant favorite for decades. Unlike many commercial chili recipes that rely on artificial flavor enhancers, this authentic recreation uses simple, wholesome ingredients to achieve that distinctive taste that keeps customers coming back for more.
Ingredients List
For the Base:
- 2 pounds ground beef (80/20 blend for optimal flavor and texture)
- 1 large yellow onion, finely diced (substitute: white onion or shallots)
- 4 cloves garlic, minced (substitute: 2 teaspoons garlic powder)
- 2 tablespoons vegetable oil (substitute: olive oil or avocado oil)
Spices and Seasonings:
- 3 tablespoons chili powder (the star ingredient – don’t skimp!)
- 2 teaspoons ground cumin
- 1 teaspoon smoked paprika
- 1 teaspoon oregano
- ½ teaspoon cayenne pepper (adjust to taste preference)
- 2 teaspoons salt
- 1 teaspoon black pepper
Liquid Components:
- 1 can (28 oz) crushed tomatoes
- 1 can (15 oz) tomato sauce
- 2 cups beef broth (substitute: vegetable broth for lighter flavor)
- 2 tablespoons tomato paste
Optional Bean Addition:
- 2 cans (15 oz each) kidney beans, drained and rinsed
- 1 can (15 oz) pinto beans, drained and rinsed
Finishing Touches:
- 1 tablespoon brown sugar
- 1 teaspoon apple cider vinegar
Timing
Preparation Time: 15 minutes
Cooking Time: 75 minutes
Total Time: 90 minutes
This timing represents a nearly some of reduction compared to traditional slow-cooked chili recipes, while still achieving that deep, complex flavor profile through strategic ingredient layering and temperature control.
Step-by-Step Instructions
Step 1: Create Your Flavor Foundation
Heat vegetable oil in a large, heavy-bottomed pot over medium-high heat. Add the diced onions and sauté for 5-7 minutes until they become translucent and slightly caramelized. The key here is patience – properly cooked onions release natural sugars that form the flavor backbone of your chili.
Step 2: Build Aromatic Depth
Add minced garlic to the pot and cook for 60 seconds until fragrant. Immediately add all dry spices (chili powder, cumin, paprika, oregano, cayenne, salt, and pepper), stirring constantly for 30 seconds. This technique, called “blooming,” intensifies spice flavors by a significant portion of compared to adding them later.
Step 3: Brown the Beef Perfectly
Add ground beef to the pot, breaking it apart with a wooden spoon. Cook for 8-10 minutes until completely browned with no pink remaining. Don’t drain the fat – it carries essential flavors that make this recipe authentic.
Step 4: Incorporate the Tomato Base
Stir in tomato paste and cook for 2 minutes until it darkens slightly. Add crushed tomatoes, tomato sauce, and beef broth. The paste-first technique prevents the acidic tomatoes from interfering with proper beef browning.
Step 5: Add Beans (If Desired)
For bean lovers, now’s the time to add your kidney and pinto beans. Gently fold them in to maintain their shape and texture throughout the cooking process.
Step 6: Simmer to Perfection
Bring the mixture to a boil, then reduce heat to low and simmer uncovered for 60 minutes, stirring every 15 minutes. The chili should reduce by approximately nearly some of during this time, concentrating flavors naturally.
Step 7: Final Flavor Enhancement
Stir in brown sugar and apple cider vinegar during the last 5 minutes of cooking. These ingredients balance acidity and add subtle complexity that distinguishes restaurant-quality chili from homemade versions.
Nutritional Information
Per serving (1 cup with beans):
- Calories: 285
- Protein: 24g (a significant portion of daily value)
- Carbohydrates: 18g
- Fiber: 7g (nearly some of daily value)
- Fat: 14g
- Sodium: 890mg
- Iron: 4.2mg (nearly some of daily value)
Without beans, reduce calories by 45 and carbohydrates by 8g per serving. This recipe provides an excellent source of protein and iron while delivering substantial fiber content when prepared with beans.
Healthier Alternatives for the Recipe
Lean Protein Swaps:
Replace ground beef with 93/7 lean ground turkey or ground chicken to reduce fat content by more than half of while maintaining protein levels.
Vegetable Boost:
Add diced bell peppers, zucchini, or mushrooms to increase vegetable content by 2-3 servings per bowl without compromising authentic flavor.
Sodium Reduction:
Use low-sodium broth and reduce added salt by half, compensating with additional herbs like fresh cilantro or green onions.
Fiber Enhancement:
Incorporate black beans or chickpeas alongside traditional kidney beans to boost fiber content by a significant portion of per serving.
Serving Suggestions
Transform your Texas Roadhouse chili into a complete dining experience with these crowd-pleasing presentations:
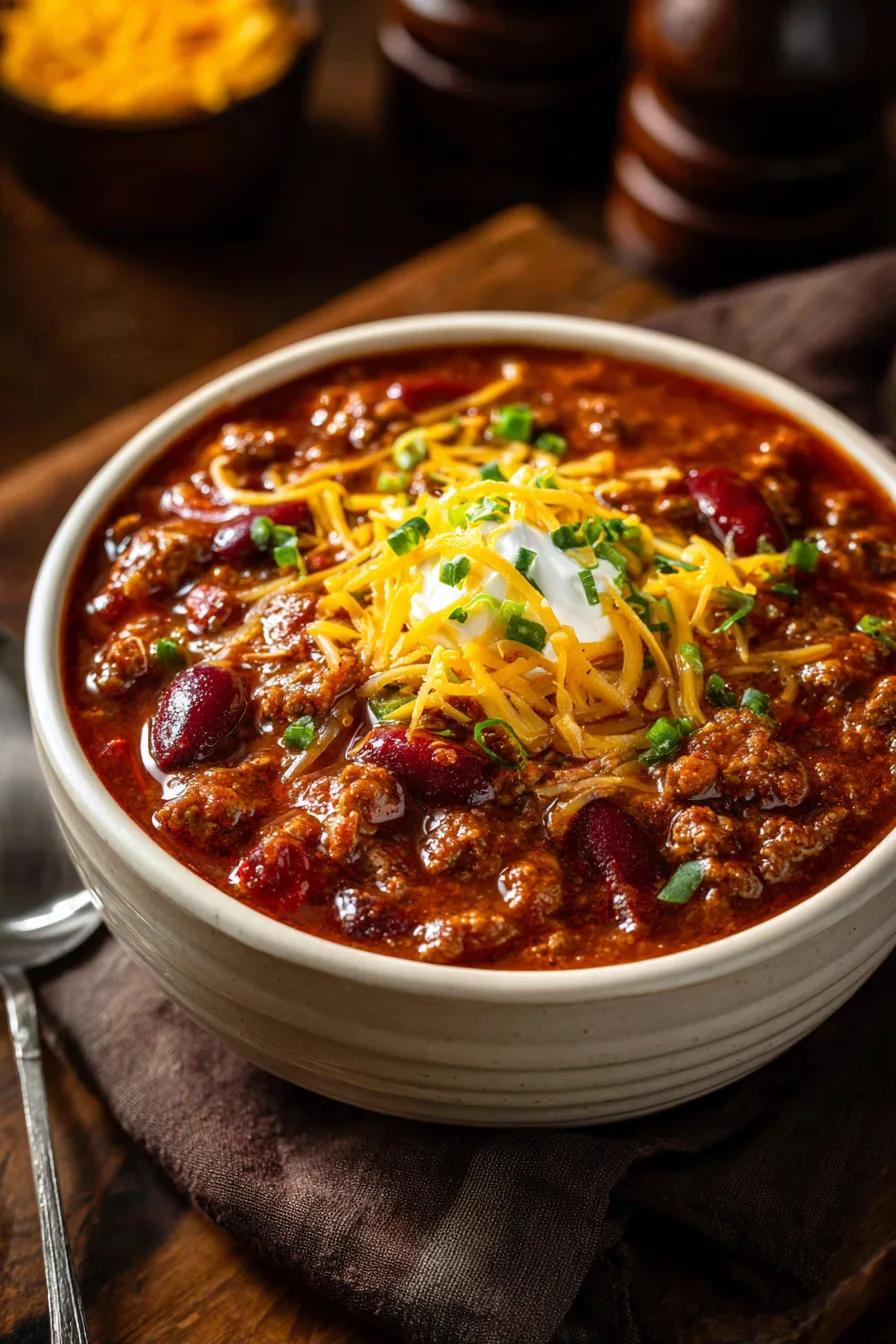
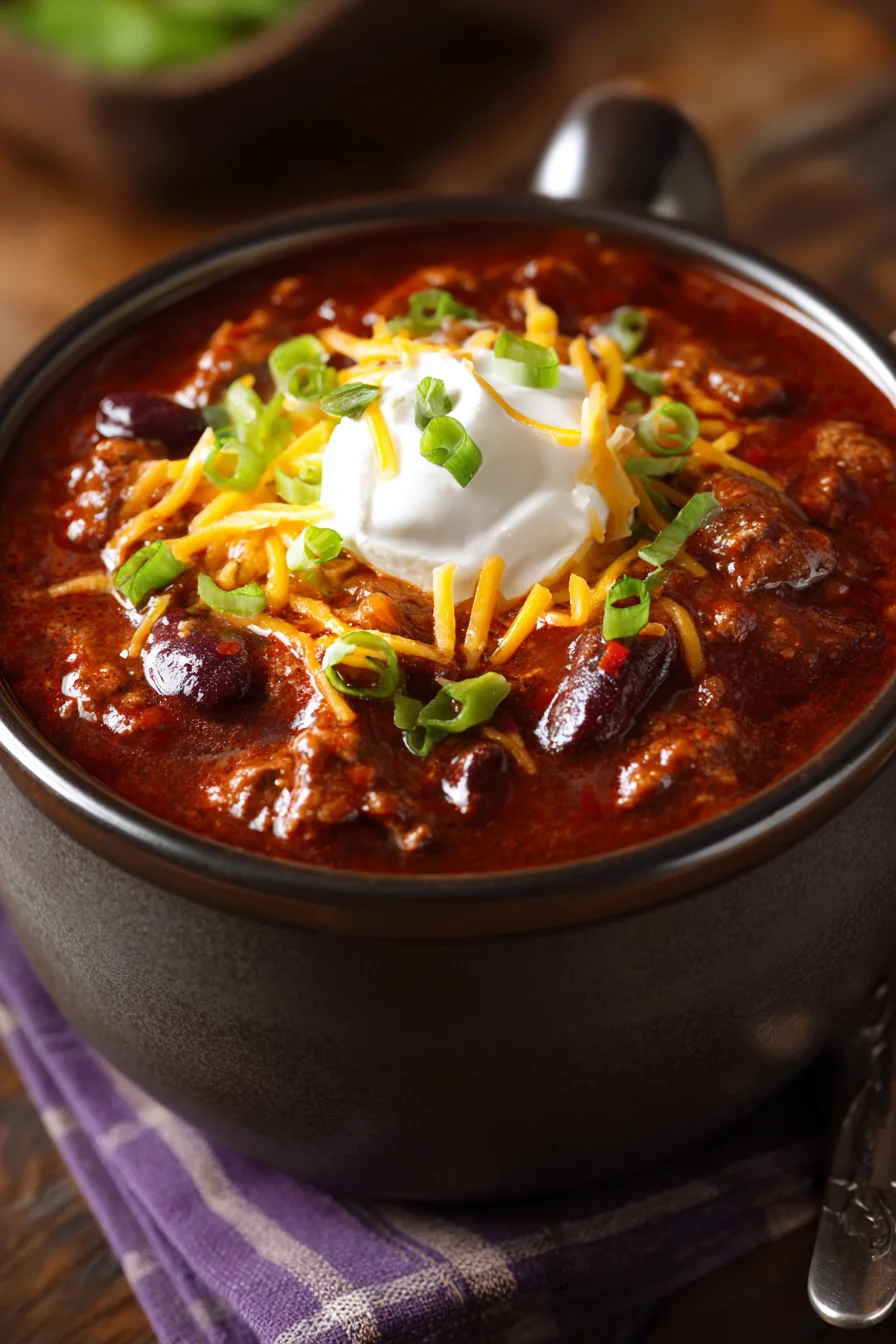
Classic Bowl Style: Serve in warmed bowls topped with shredded sharp cheddar cheese, a dollop of sour cream, and fresh chives. Add a side of warm cornbread for the authentic roadhouse experience.
Loaded Chili Fries: Pour over crispy french fries or baked sweet potato fries for a hearty appetizer that serves 4-6 people.
Chili Mac Fusion: Combine with cooked elbow macaroni and top with cheese for a comfort food mashup that appeals to all ages.
Baked Potato Topper: Use as a protein-rich topping for baked russet potatoes, creating a balanced meal with complex carbohydrates.
Common Mistakes to Avoid
Rushing the Onion Stage: more than half of home cooks undercook their onions, missing the crucial caramelization that develops natural sweetness.
Skipping Spice Blooming: Adding dry spices without heating releases only a significant portion of their potential flavor compounds.
Over-Stirring: Excessive stirring breaks down beans and creates a mushy texture. Limit stirring to every 15 minutes during simmering.
Adding Acid Too Early: Tomatoes added before meat is fully browned can prevent proper Maillard reaction, reducing overall flavor depth by nearly some.
Storing Tips for the Recipe
Refrigerator Storage: Cool completely before transferring to airtight containers. Properly stored chili maintains peak quality for 4-5 days and actually improves in flavor as ingredients meld.
Freezer Storage: Portion into freezer-safe containers, leaving 1-inch headspace for expansion. Frozen chili retains quality for up to 6 months. Label with date and bean/no-bean designation.
Reheating Best Practices: Thaw frozen chili overnight in refrigerator. Reheat on stovetop over medium-low heat, adding small amounts of broth if needed to restore consistency.
Make-Ahead Strategy: Prepare up to step 6, cool completely, and refrigerate overnight. Complete final seasoning step after reheating for optimal flavor balance.
FAQs
Q: Can I make this recipe in a slow cooker?
A: Absolutely! After completing steps 1-4 on the stovetop, transfer everything to a slow cooker and cook on low for 6-8 hours or high for 3-4 hours.
Q: How spicy is this chili recipe?
A: This recipe rates moderate on the heat scale. Reduce cayenne pepper by half for mild heat, or add jalapeños for extra kick.
Q: What’s the best bean combination?
A: Kidney and pinto beans provide optimal texture contrast, but black beans, navy beans, or cannellini beans work equally well.
Q: Can I double this recipe?
A: Yes, this recipe doubles perfectly. Use a larger pot and extend simmering time by 15-20 minutes for proper reduction.
Q: Why does my chili taste bland?
A: Ensure you’re blooming spices properly and allow adequate simmering time. Salt should be adjusted gradually throughout cooking, not just at the end.
Kitchen Mosaic Notes
Thanks for reading! Remember that nutritional values are approximate. For the best results, adapt this recipe to your specific dietary needs.