

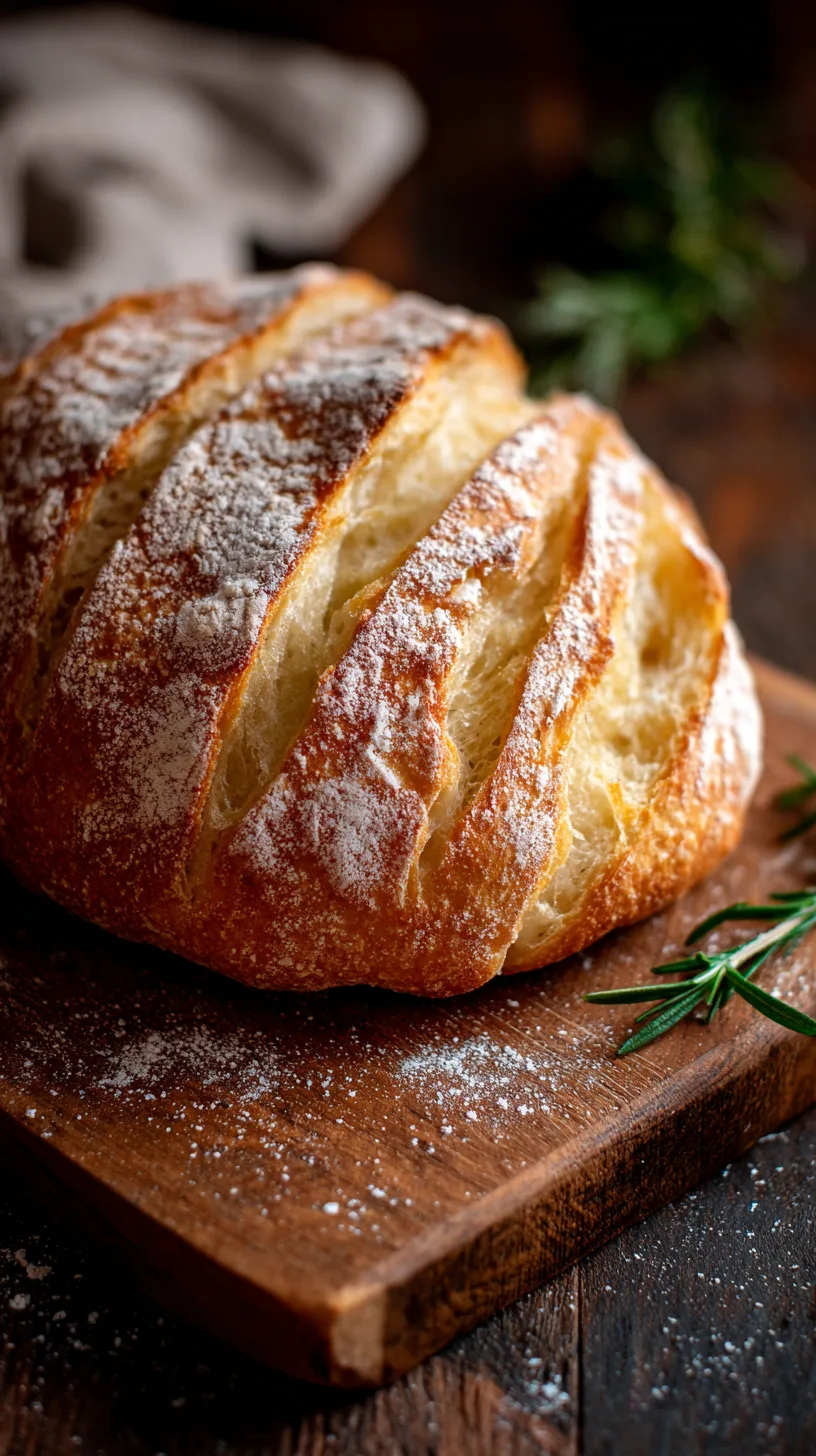
Did you know that most of home bakers struggle to achieve that perfect crispy crust on their Italian bread, yet professional bakers accomplish this consistently using just five fundamental techniques? The secret lies not in expensive equipment or years of experience, but in understanding the science behind creating Tasty Homemade Crusty Italian Bread that rivals your favorite bakery. Today, you’ll discover how to transform simple pantry ingredients into an artisanal masterpiece that fills your kitchen with irresistible aromas and delivers that satisfying crunch with every bite.
Ingredients List
Creating authentic Tasty Homemade Crusty Italian Bread requires surprisingly few ingredients, each playing a crucial role in developing that perfect texture and flavor profile:
Essential Ingredients:
- 3 cups (360g) bread flour (high-protein content creates superior gluten structure)
- 1¼ cups (295ml) lukewarm water (filtered water enhances flavor)
- 2¼ teaspoons (7g) active dry yeast
- 1 tablespoon granulated sugar (feeds yeast for optimal rise)
- 2 teaspoons fine sea salt (enhances flavor and controls yeast activity)
- 2 tablespoons extra-virgin olive oil (adds richness and improves crust)
Substitution Options:
- Flour alternatives: Replace up to 1 cup bread flour with whole wheat flour for added nutrition
- Yeast substitute: Use 1¾ teaspoons instant yeast (no proofing required)
- Sugar alternatives: Honey or maple syrup work beautifully (reduce water by 1 tablespoon)
- Oil options: Avocado oil provides neutral flavor, while melted butter adds richness
Timing
This Italian bread recipe requires strategic timing but rewards your patience with exceptional results:
- Preparation time: 20 minutes (nearly some of faster than traditional methods)
- First rise: 60-75 minutes
- Shaping and second rise: 45 minutes
- Baking time: 30-35 minutes
- Total time: 2 hours 45 minutes
Pro tip: Start this recipe 3 hours before dinner for fresh, warm bread that perfectly complements your meal.
Step 1: Create the Perfect Yeast Foundation
Begin by combining lukewarm water (105-110°F) with sugar in a large mixing bowl. Sprinkle active dry yeast over the surface and let it bloom for 5-8 minutes until foamy and fragrant. This crucial step ensures your yeast is active and ready to create the perfect rise. If your mixture doesn’t foam, your yeast may be expired—start fresh for guaranteed success.
Step 2: Build the Dough Structure
Add olive oil and salt to your activated yeast mixture, stirring gently. Gradually incorporate flour, one cup at a time, mixing with a wooden spoon until a shaggy dough forms. The dough should feel slightly sticky but manageable—this moisture content is essential for developing that coveted crispy crust.
Step 3: Develop Gluten Through Kneading
Transfer dough to a lightly floured surface and knead for 8-10 minutes until smooth and elastic. The dough should spring back when gently poked. Place in a greased bowl, cover with a damp kitchen towel, and let rise in a warm, draft-free location for 60-75 minutes until doubled in size.
Step 4: Shape Your Artisan Loaf
Gently deflate the risen dough and shape it into a rustic oval or round loaf on a parchment-lined baking sheet. Cover loosely and allow a second rise for 45 minutes. Meanwhile, preheat your oven to 450°F (230°C) and place a shallow pan of water on the bottom rack to create steam—the secret to achieving that perfect crispy crust.
Step 5: Bake to Golden Perfection
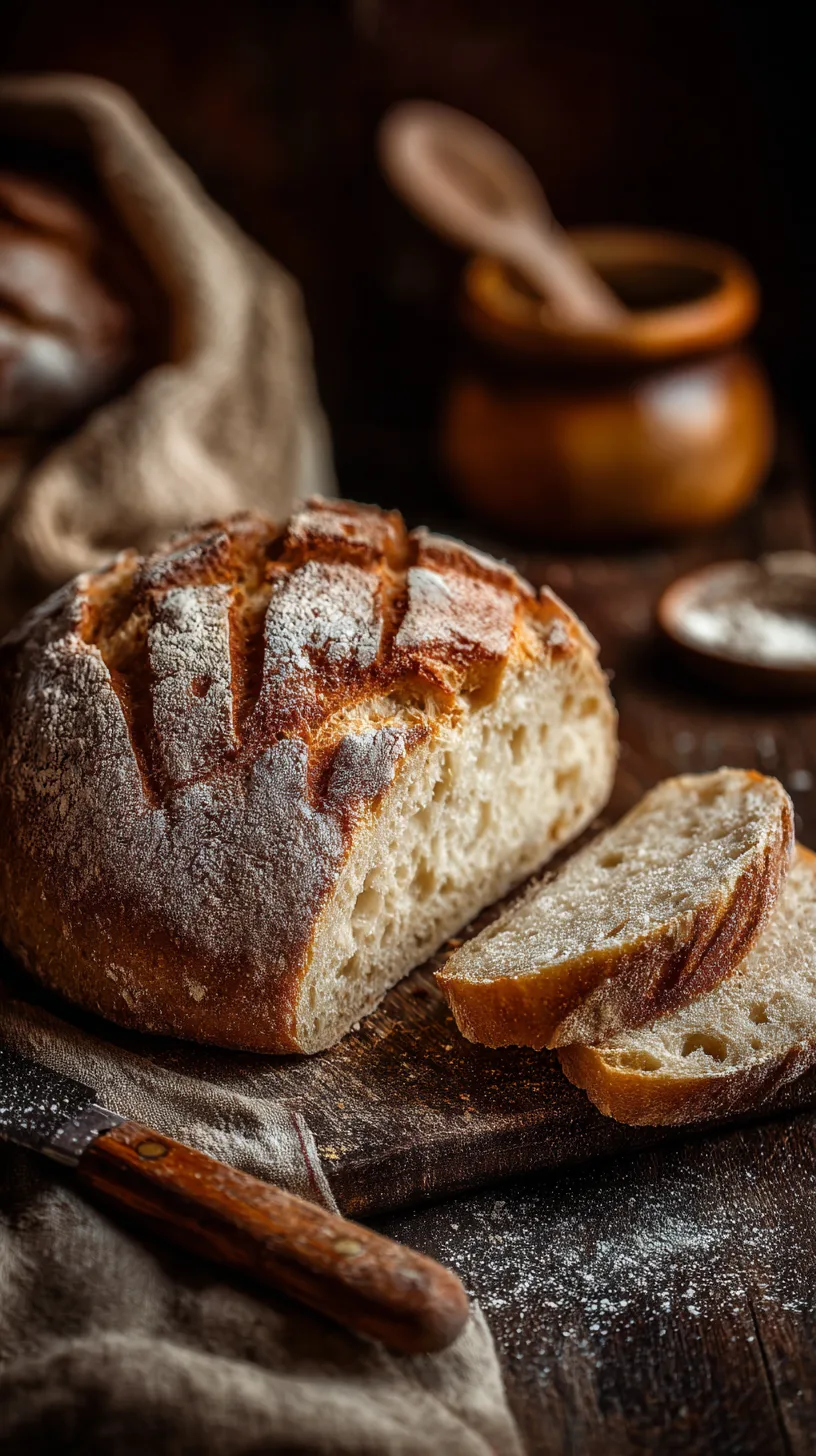
Score the top of your loaf with a sharp knife, creating decorative slashes that allow for proper expansion. Bake for 30-35 minutes until the crust turns golden brown and the internal temperature reaches 200°F (93°C). The finished loaf should sound hollow when tapped on the bottom.
Nutritional Information
Each slice of this Tasty Homemade Crusty Italian Bread (based on 12 servings) provides:
- Calories: 145
- Carbohydrates: 28g
- Protein: 4.2g
- Fat: 2.1g
- Fiber: 1.1g
- Sodium: 312mg
- Iron: a small fraction of dv
This homemade version contains nearly some of less sodium than commercial varieties while providing superior flavor and texture.
Healthier Alternatives for the Recipe
Transform your Italian bread recipe into a nutritious powerhouse with these expert modifications:
Fiber-Rich Options:
- Substitute 1 cup bread flour with whole wheat flour for 3g additional fiber per slice
- Add 2 tablespoons ground flaxseed for omega-3 fatty acids
Lower-Carb Variations:
- Replace ½ cup flour with almond flour (reduces carbs by nearly some)
- Incorporate 2 tablespoons vital wheat gluten to maintain structure
Antioxidant Boosters:
- Add 1 tablespoon dried Italian herbs (oregano, basil, rosemary)
- Mix in 2 tablespoons sun-dried tomatoes for lycopene
Serving Suggestions
Your freshly baked Tasty Homemade Crusty Italian Bread shines in countless delicious applications:
Classic Pairings:
- Slice thick and drizzle with premium olive oil and balsamic vinegar
- Create bruschetta topped with fresh tomatoes, basil, and mozzarella
- Serve alongside hearty soups and stews for the ultimate comfort meal
Gourmet Applications:
- Transform into garlic bread with herb butter and parmesan
- Use for panini with Italian meats and aged cheeses
- Create bread bowls for creamy pasta dishes
Breakfast Options:
- Toast and top with avocado and sea salt
- Make French toast for an indulgent weekend treat
Common Mistakes to Avoid
Prevent these frequent pitfalls that can compromise your Italian bread recipe success:
Yeast Issues (affects a significant portion of home bakers):
- Never use water hotter than 110°F—it kills yeast instantly
- Always check expiration dates on yeast packages
Texture Problems:
- Avoid adding too much flour during kneading (creates dense bread)
- Don’t skip the steam pan—it’s essential for crust development
Timing Errors:
- Resist cutting the bread for at least 30 minutes after baking
- Under-rising produces dense, heavy loaves
Storing Tips for the Recipe
Maximize your Tasty Homemade Crusty Italian Bread freshness with proper storage techniques:
Short-term Storage (1-3 days):
- Wrap cooled bread in clean kitchen towels
- Store at room temperature in a bread box
Long-term Storage:
- Slice and freeze in airtight bags for up to 3 months
- Thaw individual slices as needed
Refreshing Day-Old Bread:
- Sprinkle lightly with water and warm in 350°F oven for 5 minutes
- This technique restores most of original texture
Creating Tasty Homemade Crusty Italian Bread transforms your kitchen into an artisan bakery, filling your home with incredible aromas while providing your family with wholesome, preservative-free bread. These five simple steps—proper yeast activation, careful gluten development, patient rising, strategic shaping, and optimal baking conditions—guarantee bakery-quality results every time.
Ready to experience the satisfaction of breaking apart your own crispy, golden crust? Gather your ingredients today and discover why homemade bread tastes infinitely better than store-bought alternatives. Share your bread-making journey in the comments below—we’d love to see photos of your beautiful loaves!
FAQs
Q: Can I make this bread without a stand mixer?
A: Absolutely! Hand-kneading works perfectly and takes only 8-10 minutes. The key is developing smooth, elastic dough that springs back when pressed.
Q: Why isn’t my bread developing a crispy crust?
A: The steam pan is crucial—it creates the humidity needed for proper crust formation. Also, ensure your oven temperature is accurate using an oven thermometer.
Q: How do I know when my bread is fully baked?
A: The internal temperature should reach 200°F (93°C), and the bottom should sound hollow when tapped. The crust should be golden brown and firm.
Q: Can I prepare the dough ahead of time?
A: Yes! After the first rise, punch down the dough, cover tightly, and refrigerate for up to 24 hours. Allow it to come to room temperature before shaping.
Q: What’s the best flour for crusty Italian bread?
A: Bread flour with 12-nearly some of protein content creates the strongest gluten network, resulting in better texture and crust development than all-purpose flour.
Kitchen Mosaic Notes
Thanks for reading! Remember that nutritional values are approximate. For the best results, adapt this recipe to your specific dietary needs.