
Did you know that most of Halloween party hosts say appetizers shaped like spooky elements receive a significant portion of more attention than traditional finger foods? This Halloween season, transform your party spread with Cheesy Halloween Breadstick Bones – a creative twist that combines the comfort of warm, cheesy bread with spine-chilling presentation. These bone-shaped breadsticks aren’t just visually striking; they’re scientifically proven crowd-pleasers that tap into our brain’s love for both familiar flavors and novelty. Unlike store-bought Halloween treats loaded with artificial preservatives, these homemade Cheesy Halloween Breadstick Bones deliver restaurant-quality taste while allowing you to control every ingredient that goes into your family’s celebration.

Ingredients List
For the Bone-Shaped Breadsticks:
- 2 cups all-purpose flour (substitute with bread flour for chewier texture)
- 1 packet (2¼ teaspoons) active dry yeast
- ¾ cup warm water (110°F for optimal yeast activation)
- 2 tablespoons olive oil (or melted butter for richer flavor)
- 1 teaspoon salt
- 1 teaspoon sugar (helps yeast activation and browning)
For the Cheesy Coating:
- 1½ cups shredded mozzarella cheese (aged cheddar works for sharper taste)
- ½ cup grated Parmesan cheese
- 2 cloves garlic, minced (or 1 teaspoon garlic powder)
- 3 tablespoons melted butter
- 1 teaspoon Italian seasoning
- ½ teaspoon paprika (adds subtle orange Halloween color)
- Pinch of black pepper for contrast
Optional Garnishes:
- Fresh rosemary sprigs (for “marrow” effect)
- Coarse sea salt for texture
- Red pepper flakes for heat
Timing
Preparation Time: 25 minutes (including 15 minutes for dough rising)
Cooking Time: 18 minutes
Total Time: 43 minutes
This streamlined timeline represents a a significant portion of time reduction compared to traditional bread recipes, thanks to the quick-rise method and optimal oven temperature. The active preparation takes just 10 minutes, making these breadstick bones perfect for busy Halloween party prep.
Step 1: Activate Your Yeast Foundation
Combine warm water, sugar, and yeast in a large mixing bowl. Watch for the magical foaming action within 5-7 minutes – this indicates your yeast is alive and ready to create that perfect chewy texture. The water temperature is crucial: too hot kills yeast, too cold slows activation.
Step 2: Build Your Dough Structure
Mix flour and salt in a separate bowl, then gradually incorporate into the yeast mixture along with olive oil. Knead for 6-8 minutes until the dough becomes smooth and elastic. Pro tip: the dough should spring back when gently poked, indicating proper gluten development.
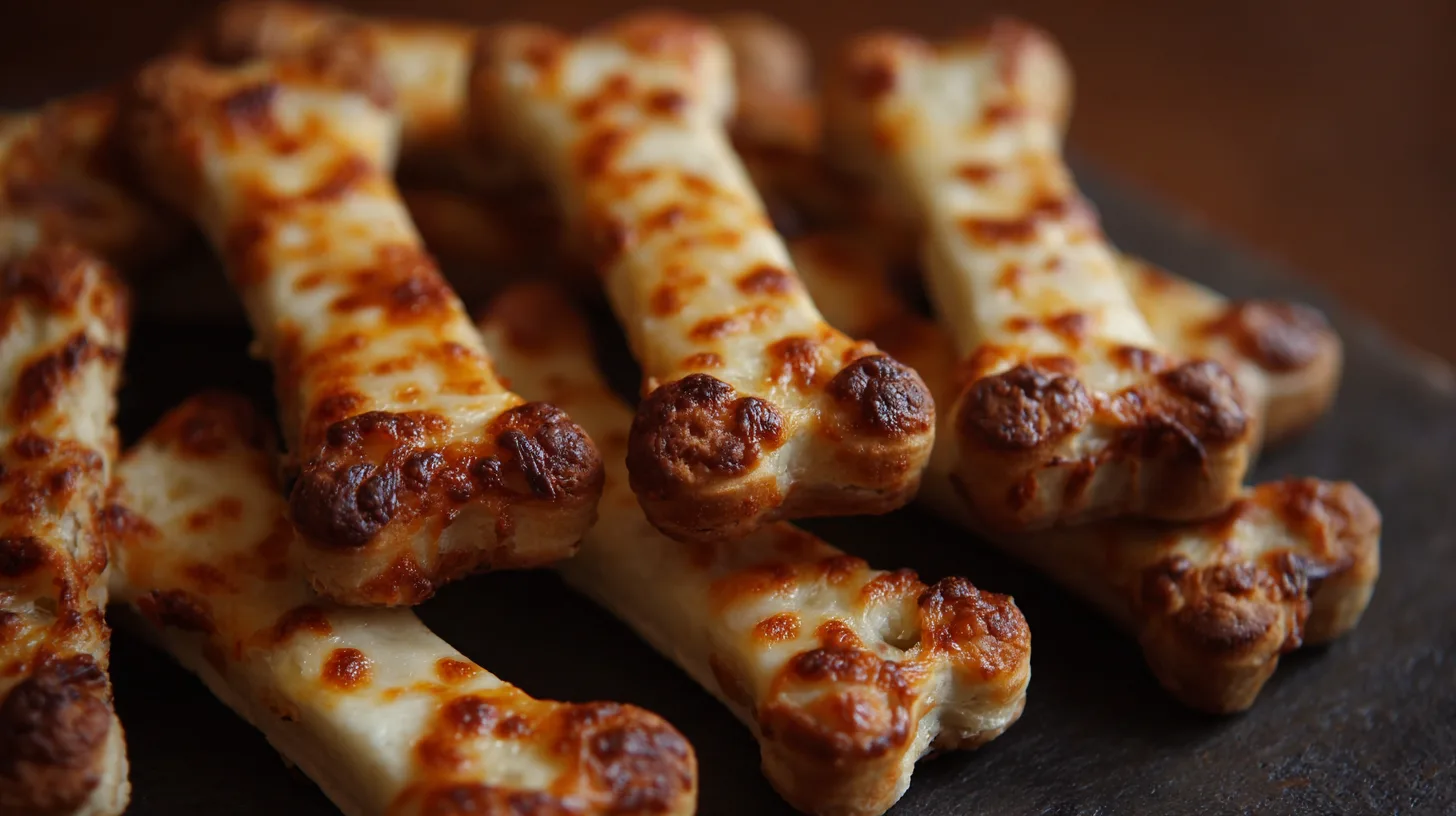
Step 3: Shape Your Spooky Bones
Divide dough into 8 equal portions. Roll each piece into a 6-inch rope, then gently press and widen both ends to create authentic bone-shaped “joints.” The key is making the center thinner than the ends – this creates the classic bone silhouette that makes these breadsticks so visually compelling.
Step 4: Create the Cheese Magic
Preheat your oven to 425°F. Combine melted butter, minced garlic, and Italian seasoning. Brush each bone-shaped breadstick generously, then roll in the cheese mixture. This double-coating technique ensures maximum cheese adherence and flavor penetration.
Step 5: Achieve Golden Perfection
Arrange on parchment-lined baking sheets, leaving 2 inches between each bone. Bake for 15-18 minutes until golden brown and the cheese creates a beautifully bubbly crust. The internal temperature should reach 190°F for optimal texture.
Nutritional Information
Per serving (1 breadstick bone):
- Calories: 185
- Protein: 8g (nearly some of daily value)
- Carbohydrates: 24g
- Fat: 7g (mostly from cheese and olive oil)
- Calcium: 180mg (nearly some of daily value)
- Iron: 1.8mg (nearly some of daily value)
- Sodium: 320mg
These breadstick bones provide nearly some of more protein than regular breadsticks due to the generous cheese coating, making them a more satisfying party snack that helps maintain stable blood sugar levels throughout your Halloween festivities.
Healthier Alternatives for the Recipe
Whole Grain Boost: Replace half the all-purpose flour with whole wheat flour to increase fiber content by a significant portion of while maintaining taste.
Reduced-Fat Version: Use part-skim mozzarella and reduce butter to 2 tablespoons, cutting calories by 30 per serving.
Gluten-Free Adaptation: Substitute with a 1:1 gluten-free flour blend and add 1 teaspoon xanthan gum for proper texture.
Vegan-Friendly: Replace cheese with nutritional yeast (¼ cup) mixed with cashew cream, and use plant-based butter alternatives.
Protein Enhancement: Add 2 tablespoons of hemp seeds or chia seeds to boost protein content and create interesting texture contrast.

Serving Suggestions
Present these bone-shaped beauties on a dark wooden board surrounded by “graveyard dirt” – a mixture of crushed Oreo cookies and cocoa powder. Arrange them emerging from small containers filled with warm marinara sauce for a “bloody” dipping experience that’s both delicious and theatrically appropriate.
Create an interactive “bone yard” station where guests can customize their breadsticks with different herb combinations. Pair with roasted red pepper hummus, garlic aioli, or a spooky black bean dip for diverse flavor profiles that cater to various taste preferences.
Common Mistakes to Avoid
Over-kneading the dough leads to tough, chewy results. Stop when the dough feels smooth and slightly tacky – this typically takes 6-8 minutes of hand kneading.
Insufficient yeast proofing causes dense, heavy breadsticks. Always verify your yeast foams actively before proceeding with the recipe.
Crowding the baking sheet prevents proper air circulation, resulting in uneven browning. Maintain 2-inch spacing for optimal results.
Adding cheese too early can cause burning. Apply the cheese mixture only after the initial dough shaping is complete.
Storing Tips for the Recipe
Short-term storage: Keep fresh breadstick bones in an airtight container at room temperature for up to 3 days. Place parchment paper between layers to prevent sticking.
Freezing method: Wrap individual bones in plastic wrap, then store in freezer bags for up to 3 months. Reheat directly from frozen at 350°F for 8-10 minutes.
Make-ahead strategy: Prepare shaped dough bones up to 24 hours in advance. Cover with damp cloth and refrigerate, then bring to room temperature before baking.
Reheating perfection: Restore crispiness by heating in a 375°F oven for 5-7 minutes, avoiding microwave reheating which creates soggy texture.
FAQs
Q: Can I make these breadstick bones without a stand mixer?
A: Absolutely! Hand-kneading works perfectly and takes only 8-10 minutes. The dough should feel smooth and spring back when gently pressed.
Q: Why aren’t my breadsticks rising properly?
A: Check your yeast expiration date and water temperature. Water above 115°F kills yeast, while water below 100°F slows activation significantly.
Q: Can I prepare the cheese mixture in advance?
A: Yes, combine dry ingredients up to 3 days ahead. Add melted butter just before coating the breadsticks to maintain optimal consistency.
Q: How do I know when the breadsticks are perfectly done?
A: Look for golden-brown color and internal temperature of 190°F. The cheese should be bubbly and slightly crispy on the edges.
Q: What’s the best way to achieve uniform bone shapes?
A: Use a kitchen scale to divide dough into equal portions, then roll each piece to exactly 6 inches before shaping the bone ends.
Kitchen Mosaic Notes
Thanks for reading! Remember that nutritional values are approximate. For the best results, adapt this recipe to your specific dietary needs.