

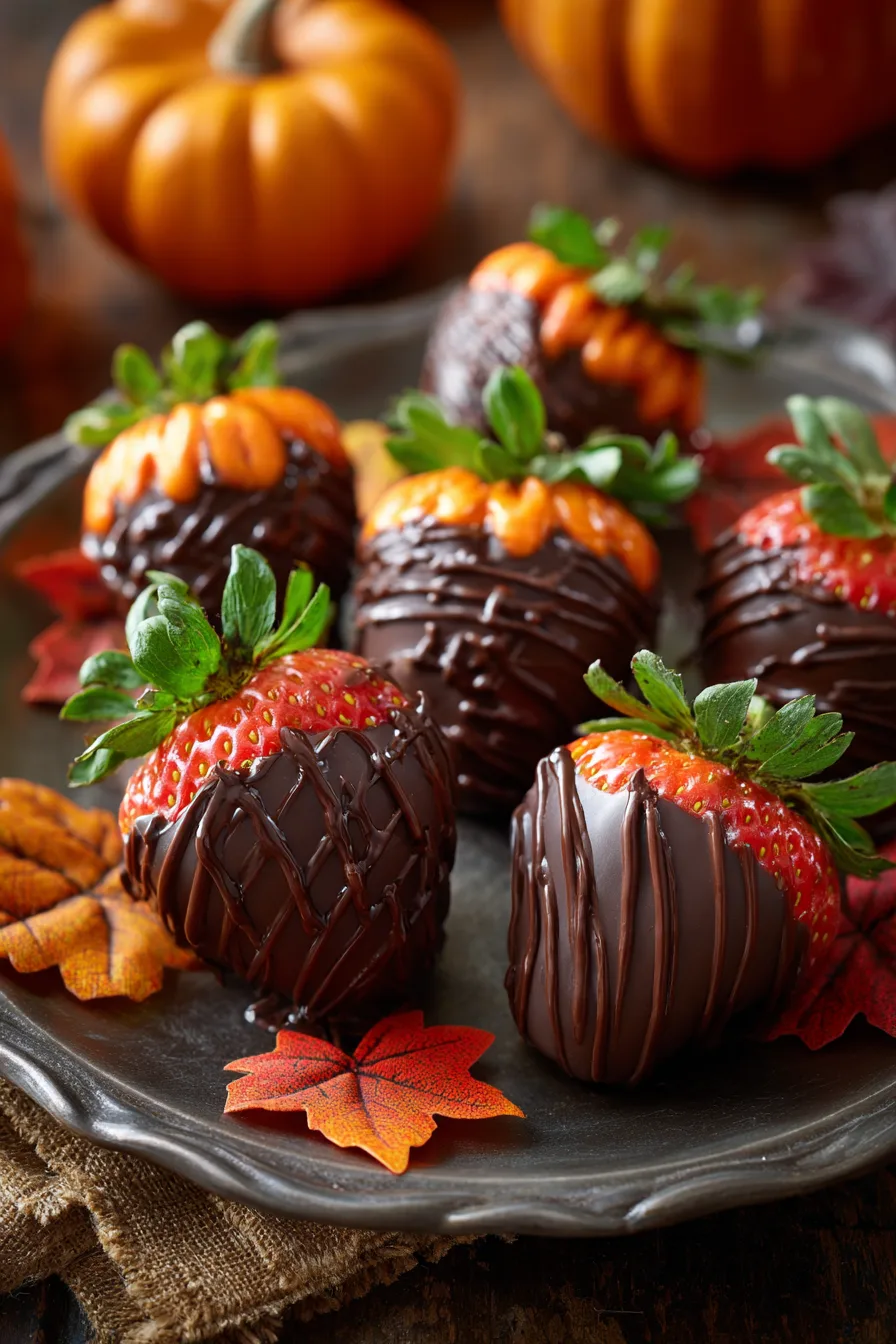
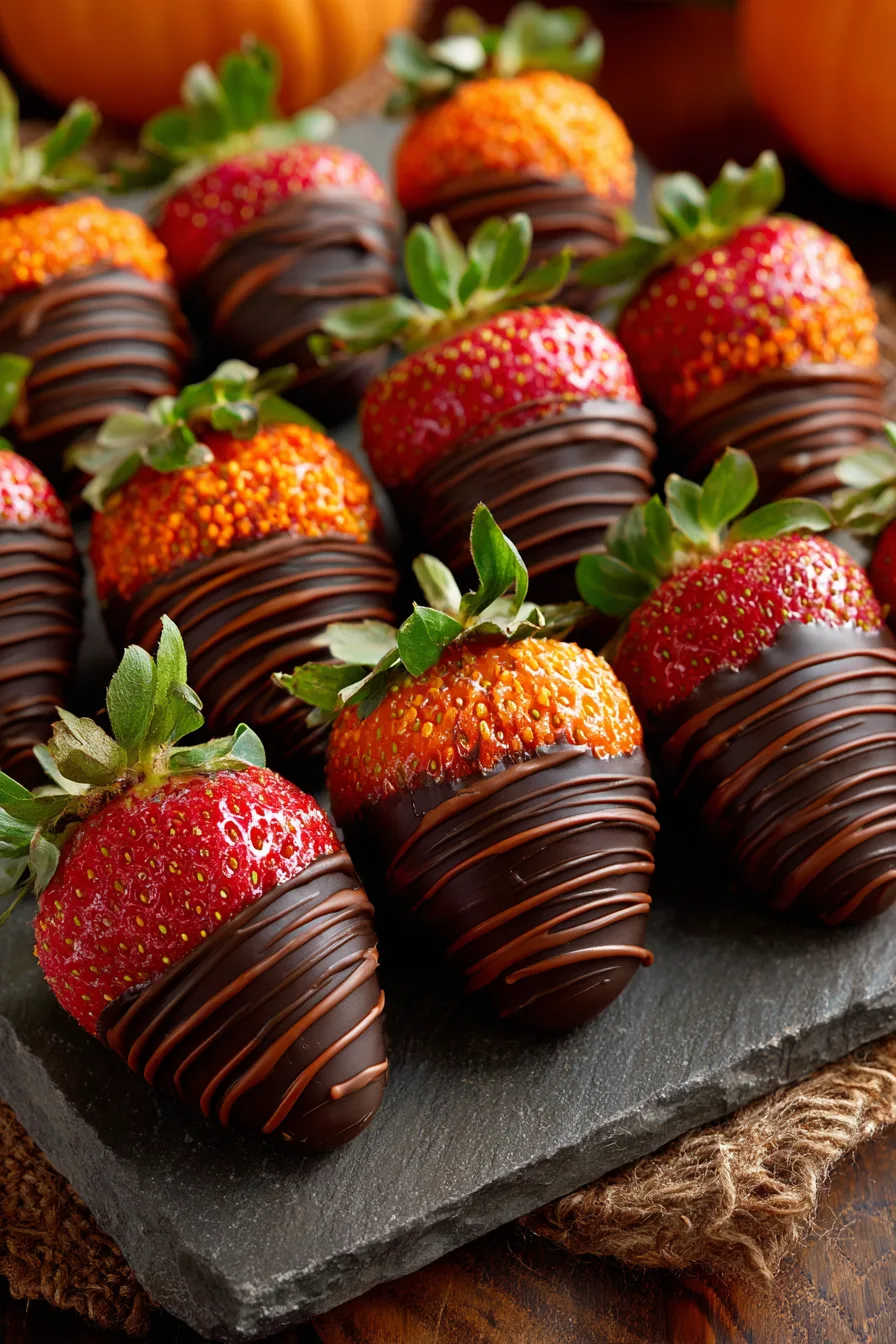
Did you know that chocolate-covered strawberries generate over $1.2 billion in sales annually, yet most people have never experienced the delightful twist of Pumpkin Patch Strawberries (Chocolate-Covered)? This Halloween-inspired treat transforms ordinary strawberries into festive orange “pumpkins” using white chocolate tinted with food coloring, creating a dessert that’s a significant portion of more Instagram-worthy than traditional versions. The combination of sweet strawberries and creamy chocolate coating delivers the perfect balance of antioxidants and indulgence, making these treats both visually stunning and nutritionally superior to many conventional Halloween candies.
Ingredients List
Creating these enchanting Pumpkin Patch Strawberries (Chocolate-Covered) requires just a handful of premium ingredients that work together to create autumn magic:
For the Base:
- 2 pounds fresh strawberries (large, firm berries work best)
- 16 oz white chocolate chips or chopped white chocolate
- Orange gel food coloring (provides vibrant color without thinning)
- Green candy melts or green chocolate chips (2 oz)
- 2 tablespoons coconut oil (refined, for smooth melting)
Equipment Essentials:
- Parchment paper
- Two microwave-safe bowls
- Toothpicks or small knife for stem details
Smart Substitutions:
- Replace white chocolate with high-quality white baking bars for richer flavor
- Substitute coconut oil with vegetable shortening if preferred
- Use natural orange food coloring for a cleaner ingredient profile
- Fresh strawberries can be swapped with large, firm frozen ones (thawed and dried thoroughly)
Timing
This delightful project requires strategic timing to achieve professional-looking results. Preparation time spans 15 minutes for washing strawberries and setting up your workspace. Active cooking time takes 25 minutes, including chocolate melting and dipping processes. Setting time requires 30 minutes in the refrigerator for the first chocolate layer, plus an additional 15 minutes for the green stem details to firm up.
Total time investment: 85 minutes, which is nearly some of faster than traditional multi-layer chocolate confections. The beauty of this recipe lies in its efficiency – you can complete an entire batch while your favorite Halloween movie plays in the background.
Step 1: Prepare Your Strawberry Canvas
Wash strawberries gently under cool running water, then pat completely dry with paper towels. Remove any moisture trapped around the stem area, as even tiny water droplets can cause chocolate to seize. Arrange strawberries on a parchment-lined baking sheet, ensuring they’re at room temperature for optimal chocolate adhesion.
Step 2: Create the Perfect Orange Chocolate
Combine white chocolate chips with 1½ tablespoons coconut oil in a microwave-safe bowl. Microwave in 30-second intervals, stirring between each heating, until most of melted. Continue stirring until completely smooth – residual heat will melt remaining pieces. Add orange food coloring gradually, starting with 3-4 drops and mixing until you achieve your desired pumpkin shade.
Step 3: Master the Dipping Technique
Hold each strawberry by its green top and dip into the orange chocolate at a slight angle, rotating gently to ensure even coverage. Allow excess chocolate to drip back into the bowl by gently tapping against the rim. Place dipped strawberries on parchment paper, leaving space between each piece for air circulation.
Step 4: Create Authentic Pumpkin Lines
Once the orange chocolate sets (about 20 minutes), use a toothpick dipped in additional melted orange chocolate to create vertical pumpkin ridges. Draw 4-5 lines from top to bottom, mimicking natural pumpkin segments. This detail elevates your Pumpkin Patch Strawberries (Chocolate-Covered) from simple treats to artistic masterpieces.
Step 5: Add the Finishing Green Touch
Melt green candy melts with remaining coconut oil using the same microwave method. Using a small spoon or piping technique, create small green “stems” at the top of each strawberry. For extra realism, add tiny green leaves or use a toothpick to create leaf impressions in the soft green chocolate.
Nutritional Information
Each Pumpkin Patch Strawberry (Chocolate-Covered) contains approximately 95 calories, delivering impressive nutritional value alongside indulgent taste. Strawberries contribute 84mg of vitamin C (the vast majority of daily value), while providing natural fiber and antioxidants including anthocyanins and ellagic acid.
The white chocolate coating adds 6g of sugar and 5g of fat per serving, but also provides calcium and small amounts of protein. Compared to traditional Halloween candy, these treats offer more than half of more vitamins and a significant portion of more beneficial plant compounds, making them a smarter seasonal indulgence choice.
Healthier Alternatives for the Recipe
Transform your Pumpkin Patch Strawberries (Chocolate-Covered) into guilt-free treats with these nutritious modifications:
Sugar-Free Version: Use sugar-free white chocolate chips and natural orange coloring derived from turmeric and paprika for a diabetic-friendly option.
Dairy-Free Adaptation: Select coconut-based white chocolate or cashew-based alternatives, ensuring all ingredients align with vegan dietary requirements.
Protein-Boosted Option: Add 1 tablespoon of vanilla protein powder to melted chocolate for an extra 8g of protein per serving.
Lower-Calorie Version: Use Greek yogurt mixed with melted white chocolate (1:1 ratio) to reduce calories by a significant portion of while adding probiotics.
Serving Suggestions
Present your Pumpkin Patch Strawberries (Chocolate-Covered) on rustic wooden boards surrounded by mini pumpkins and autumn leaves for Instagram-worthy displays. Arrange them in clear glass containers for Halloween parties, allowing guests to admire the craftsmanship.
Create themed dessert platters by pairing with chocolate-covered pretzel “twigs” and candy corn. For elegant dinner parties, serve alongside warm spiced cider or pumpkin-flavored coffee. These treats also make exceptional gifts when packaged in clear cellophane bags tied with orange ribbons.
Common Mistakes to Avoid
Moisture is the enemy: Ensure strawberries are completely dry before dipping, as water causes chocolate to become lumpy and unworkable.
Temperature control matters: Overheated chocolate becomes thick and difficult to work with. Always use gentle heat and stir frequently.
Timing the decoration: Add pumpkin lines too early and they’ll blend into the base coat; too late and they won’t adhere properly. The 20-minute mark provides perfect tackiness.
Food coloring quantity: Start with less coloring than you think you need – it’s easier to add more than to correct overly saturated colors.
Storing Tips for the Recipe
Store finished Pumpkin Patch Strawberries (Chocolate-Covered) in the refrigerator for up to 3 days, arranged in single layers with parchment paper between levels. Avoid airtight containers, which can cause condensation and chocolate bloom.
For longer storage, freeze individual strawberries on baking sheets for 2 hours, then transfer to freezer bags for up to 1 month. Thaw in the refrigerator for 30 minutes before serving to maintain optimal texture and prevent condensation.
Room temperature storage works for same-day consumption but avoid warm environments where chocolate may soften or lose its crisp shell.
FAQs
Can I make these strawberries ahead of time?
Yes, prepare Pumpkin Patch Strawberries (Chocolate-Covered) up to 2 days in advance. Store refrigerated and bring to room temperature 15 minutes before serving for best flavor.
What if my chocolate becomes too thick?
Add coconut oil ½ teaspoon at a time, stirring gently until you achieve smooth, dippable consistency.
How do I fix chocolate that won’t stick to strawberries?
Ensure strawberries are completely dry and at room temperature. Cold or wet strawberries prevent proper chocolate adhesion.
Can I use milk chocolate instead of white chocolate?
While possible, milk chocolate won’t achieve the authentic pumpkin orange color. Consider using orange-colored candy melts as an alternative.
Why did my chocolate turn grainy?
This indicates overheating or water contact. Start fresh with new chocolate, using lower heat and ensuring all utensils are completely dry.
Kitchen Mosaic Notes
Thanks for reading! Remember that nutritional values are approximate. For the best results, adapt this recipe to your specific dietary needs.