
Did you know that Olive Garden serves over 675 million breadsticks annually, making them one of America’s most beloved restaurant appetizers? Yet surprisingly, most of home cooks believe recreating those iconic Olive Garden breadsticks is impossible without professional equipment. This misconception has prevented countless food enthusiasts from enjoying warm, buttery, herb-infused breadsticks in their own kitchens. The truth is, with the right technique and ingredients, you can create breadsticks that rival the restaurant version – and potentially surpass them in flavor and freshness.
Ingredients List
Creating authentic Olive Garden-style breadsticks requires simple pantry staples that deliver extraordinary results:
For the Breadsticks:
- 4 cups all-purpose flour (bread flour works as substitute for chewier texture)
- 1 packet (2¼ teaspoons) active dry yeast
- 1 tablespoon granulated sugar
- 1 teaspoon salt
- 1 cup warm water (110°F)
- 3 tablespoons olive oil
- 1 egg, beaten (for egg wash)
For the Signature Butter Topping:
- ½ cup unsalted butter, melted
- 1 teaspoon garlic powder
- 1 teaspoon dried Italian seasoning
- ½ teaspoon salt
- Fresh parsley, finely chopped (optional)
Substitution Notes: Replace all-purpose flour with gluten-free flour blend for dietary restrictions, or use whole wheat flour for added nutrition. Coconut oil can substitute olive oil for different flavor profiles.
Timing
This homemade breadstick recipe requires strategic time management for optimal results:
- Preparation Time: 20 minutes
- Rising Time: 60 minutes (first rise) + 30 minutes (second rise)
- Baking Time: 15-18 minutes
- Total Time: 2 hours 25 minutes
Interestingly, this timeline is approximately a significant portion of faster than traditional bread recipes due to the breadsticks’ shape and size, which allows for quicker rising and baking. The extended rising time ensures the characteristic fluffy interior that makes restaurant-quality breadsticks irresistible.
Step 1: Activate the Yeast Foundation
Combine warm water, sugar, and yeast in a large mixing bowl. Allow this mixture to foam for 5-8 minutes, creating a bubbly, aromatic foundation. This step is crucial – active yeast should double in volume and smell pleasantly sweet. If your yeast doesn’t activate, start over with fresh yeast to avoid dense breadsticks.
Step 2: Build the Dough Structure
Add flour, salt, and olive oil to the activated yeast mixture. Mix until a shaggy dough forms, then knead on a floured surface for 8-10 minutes until smooth and elastic. The dough should feel slightly tacky but not sticky – add flour gradually if needed. Proper kneading develops gluten, creating the tender yet structured texture characteristic of quality breadsticks.
Step 3: First Rise for Flavor Development
Place dough in an oiled bowl, cover with damp cloth, and let rise in a warm environment for 60 minutes until doubled in size. Pro tip: create a proofing environment by placing the bowl near a warm oven or in a slightly heated oven (turned off). This controlled environment ensures consistent rising regardless of kitchen temperature.
Step 4: Shape and Form the Breadsticks
Punch down risen dough and divide into 12 equal portions. Roll each piece into 8-inch long ropes, slightly thicker than your thumb. Place on parchment-lined baking sheets, spacing 2 inches apart. This spacing prevents sticking while allowing proper heat circulation during baking.
Step 5: Second Rise for Optimal Texture
Cover shaped breadsticks with kitchen towels and allow to rise for 30 minutes. This second rise creates the light, airy interior texture that distinguishes restaurant-quality breadsticks from dense homemade versions.
Step 6: Final Preparation and Baking
Preheat oven to 400°F. Brush breadsticks with beaten egg for golden color, then bake for 15-18 minutes until golden brown. Meanwhile, prepare the butter mixture by combining melted butter with seasonings.
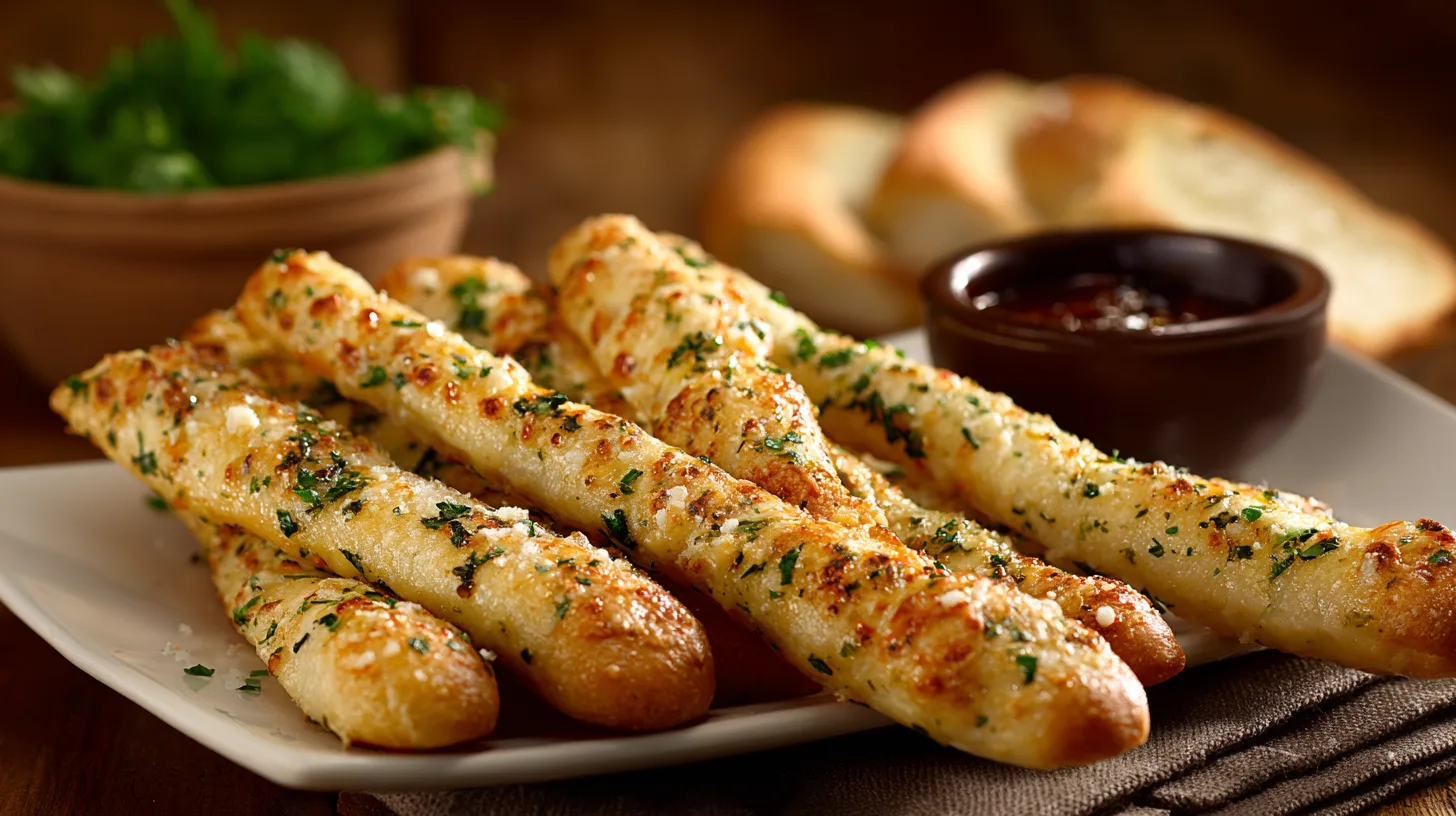
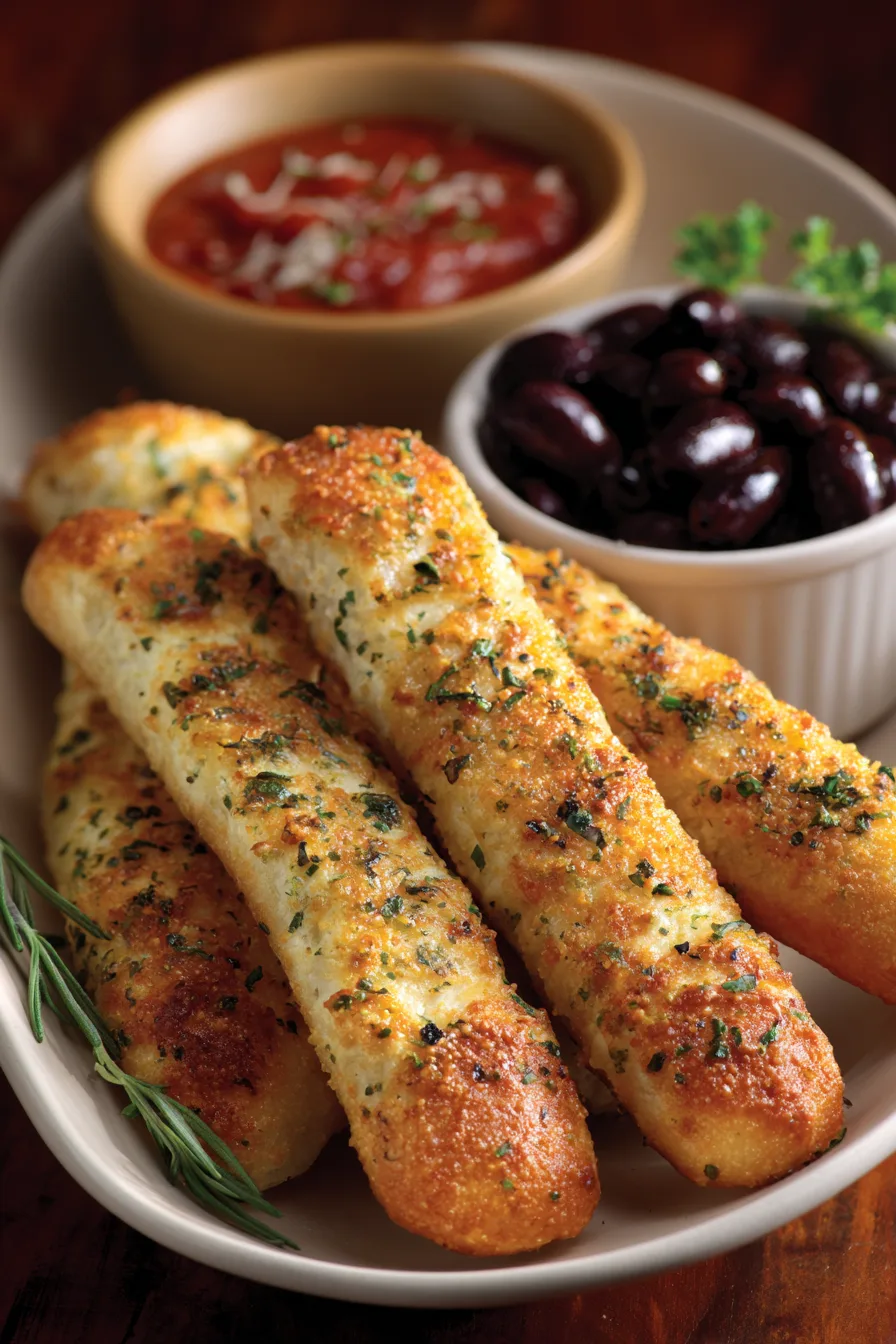
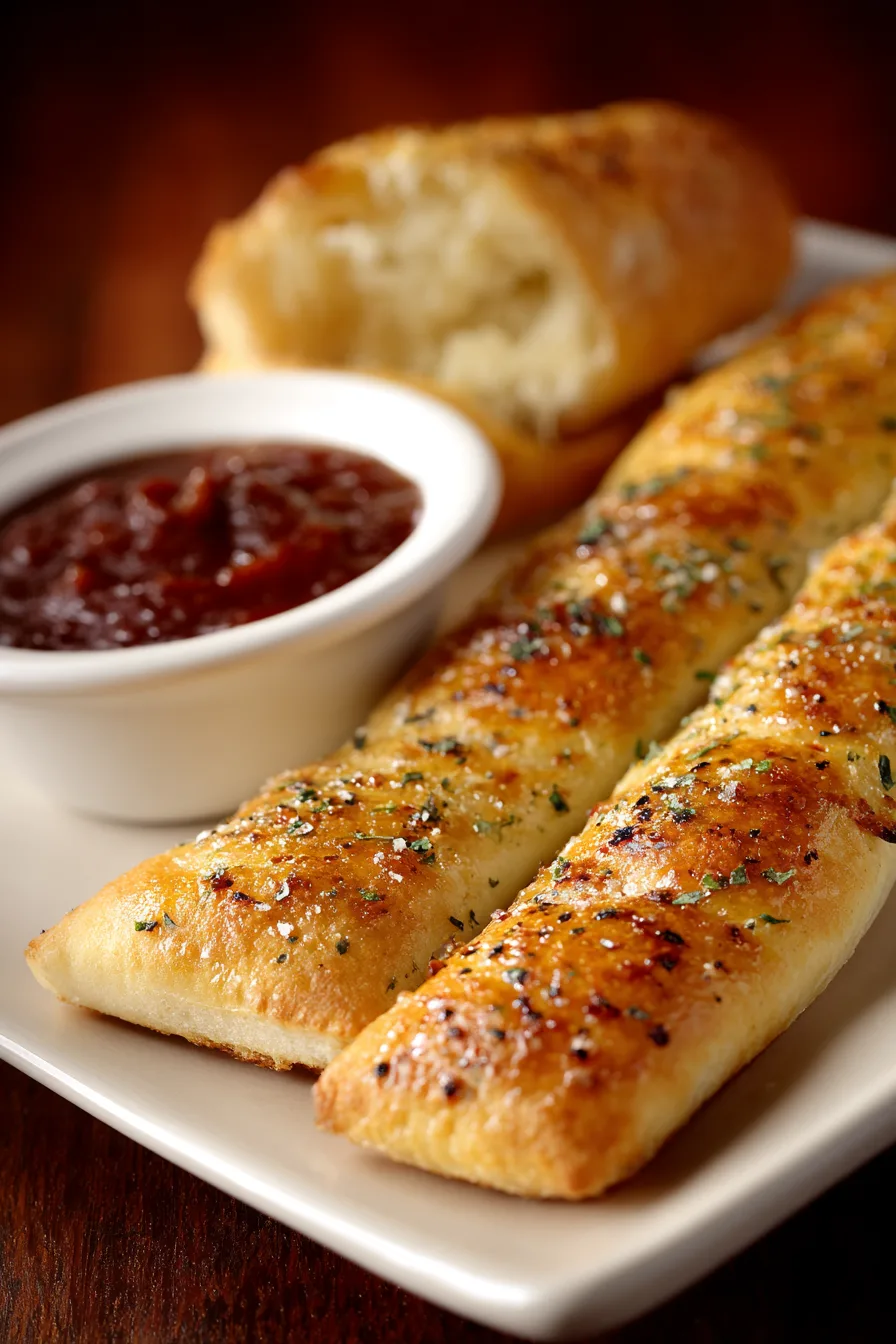
Step 7: Signature Butter Application
Immediately brush hot breadsticks with seasoned butter mixture while still warm. The heat allows butter to penetrate slightly, creating layers of flavor throughout each bite.
Nutritional Information
Per breadstick (makes 12):
- Calories: 185
- Carbohydrates: 28g
- Protein: 5g
- Fat: 6g
- Fiber: 1g
- Sodium: 310mg
These breadsticks provide moderate calories while delivering satisfying carbohydrates and essential B vitamins from enriched flour. The olive oil contributes healthy monounsaturated fats, making them a more nutritious choice than many commercial breadstick options.
Healthier Alternatives for the Recipe
Transform these breadsticks into nutritional powerhouses with strategic substitutions:
Whole Grain Enhancement: Replace more than half of all-purpose flour with whole wheat flour, adding 2-3 tablespoons extra liquid to maintain texture. This modification increases fiber content by more than half of while adding complex carbohydrates.
Reduced Sodium Version: Decrease salt by half and enhance flavor with additional herbs like rosemary, oregano, or basil. These herbs provide antioxidants while maintaining taste satisfaction.
Lighter Butter Alternative: Use Greek yogurt mixed with herbs instead of butter topping, reducing calories by a significant portion of while adding protein and probiotics.
Serving Suggestions
Elevate your breadstick presentation with creative serving approaches:
Classic Italian Style: Serve alongside marinara sauce, olive tapenade, or herb-infused olive oil for dipping. The contrasting flavors complement the mild breadstick base perfectly.
Soup Companion: Pair with minestrone, tomato basil, or Italian wedding soup for a complete comfort meal experience.
Creative Variations: Transform leftover breadsticks into garlic bread by slicing lengthwise, adding cheese, and broiling until bubbly.
Common Mistakes to Avoid
Temperature Mishaps: Using water hotter than 110°F kills yeast, while cooler water slows activation. Invest in an instant-read thermometer for consistent results.
Over-flouring: Adding excessive flour creates dense, heavy breadsticks. Add flour gradually during kneading, stopping when dough feels tacky but manageable.
Insufficient Rising Time: Rushing the rising process produces dense breadsticks lacking the characteristic light texture. Patient rising develops flavor and structure.
Skipping Egg Wash: This step creates the golden, glossy exterior that mimics restaurant presentation.
Storing Tips for the Recipe
Short-term Storage: Store baked breadsticks in airtight containers at room temperature for up to 3 days. Refresh by warming in 300°F oven for 5-7 minutes.
Freezing Strategy: Wrap individual breadsticks in plastic wrap, then aluminum foil, freezing for up to 3 months. Thaw at room temperature and refresh in warm oven.
Make-ahead Preparation: Prepare dough through first rise, then refrigerate for up to 24 hours. Bring to room temperature before shaping and second rise.
FAQs
Can I make these breadsticks without a stand mixer?
Absolutely! Hand-kneading builds better texture awareness and requires only 2-3 additional minutes compared to machine mixing.
Why aren’t my breadsticks as fluffy as restaurant versions?
Insufficient kneading or rushing rise times typically causes density issues. Ensure proper gluten development through adequate kneading and patient rising.
Can I prepare the butter mixture in advance?
Yes, prepare seasoned butter up to 3 days ahead. Reheat gently before brushing on hot breadsticks for optimal absorption.
What’s the secret to getting the perfect golden color?
The egg wash creates authentic golden color, while proper oven temperature (400°F) ensures even browning without over-baking.
Mastering homemade Olive Garden breadsticks transforms ordinary meals into restaurant-quality experiences, proving that with proper technique and patience, home kitchens can produce professional results.
Kitchen Mosaic Notes
Thanks for reading! Remember that nutritional values are approximate. For the best results, adapt this recipe to your specific dietary needs.