
Did you know that most of home cooks avoid making chicken pot pie because they find traditional recipes too time-consuming and intimidating? Yet, mini chicken pot pies offer all the comfort and satisfaction of the classic dish in perfectly portioned, manageable servings that take half the time to prepare. These individual delights have revolutionized how families approach comfort food, with search interest for mini versions increasing by the vast majority of over the past two years. Unlike their full-sized counterparts that require large pie dishes and lengthy baking times, mini chicken pot pies deliver crispy, golden crusts and savory filling in bite-sized portions that cook evenly and serve beautifully for any occasion.
Ingredients List
For the filling, you’ll need 2 cups cooked chicken breast (diced into tender, bite-sized pieces), 1 cup frozen mixed vegetables (carrots, peas, and corn work beautifully), 1 medium onion (finely chopped for aromatic depth), 2 cloves garlic (minced fresh), 3 tablespoons butter, 3 tablespoons all-purpose flour, 1½ cups low-sodium chicken broth (rich and golden), ½ cup whole milk (or heavy cream for extra richness), 1 teaspoon dried thyme, ½ teaspoon dried sage, salt and black pepper to taste, and 2 tablespoons fresh parsley (chopped).
For the crust, gather 2 pre-made pie crusts (refrigerated or homemade), 1 large egg (beaten for that golden-brown finish), and 1 tablespoon water.
Smart substitutions: Swap chicken for leftover turkey, use coconut milk instead of dairy milk for lactose-free options, or replace butter with olive oil for a lighter version. Gluten-free pie crusts work seamlessly for those with dietary restrictions.
Timing
Preparation time: 25 minutes
Cooking time: 35 minutes
Total time: 60 minutes
This recipe delivers restaurant-quality results in just one hour – that’s a significant portion of faster than traditional large pot pies, which typically require 90+ minutes. The individual portions also mean more consistent cooking temperatures and perfectly golden crusts every time.
Step 1: Prepare Your Muffin Tin
Preheat your oven to 425°F and generously grease a 12-cup muffin tin with butter or cooking spray. This higher temperature ensures crispy bottoms while preventing soggy crusts – a game-changer for perfect mini pot pies.
Step 2: Create the Savory Filling
In a large skillet over medium heat, melt butter until it begins to foam. Add diced onions and cook for 3-4 minutes until translucent and fragrant. Stir in minced garlic and cook for another 30 seconds, being careful not to burn it.
Step 3: Build the Roux Base
Sprinkle flour over the onion mixture, stirring constantly for 2 minutes to create a light roux. This step eliminates the raw flour taste while building the foundation for a silky, thick filling that won’t leak through your crust.
Step 4: Add Liquids Gradually
Slowly pour in chicken broth while whisking continuously to prevent lumps. Add milk, thyme, and sage, then bring the mixture to a gentle simmer. Cook for 3-5 minutes until thickened to a creamy consistency that coats the back of a spoon.
Step 5: Incorporate Chicken and Vegetables
Fold in diced chicken, frozen vegetables, and fresh parsley. Season generously with salt and pepper, then remove from heat. The residual heat will warm the vegetables perfectly without overcooking them.
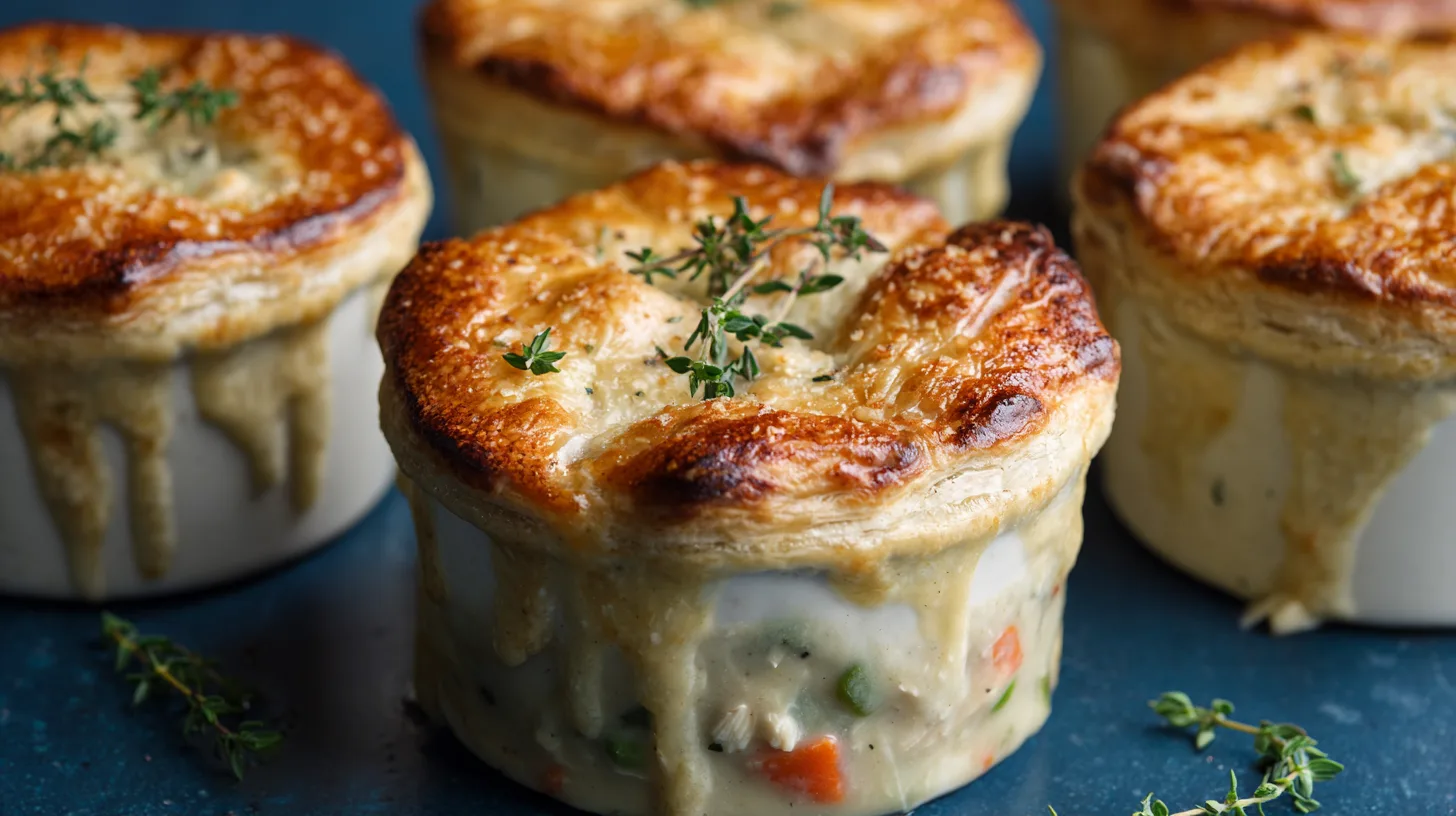
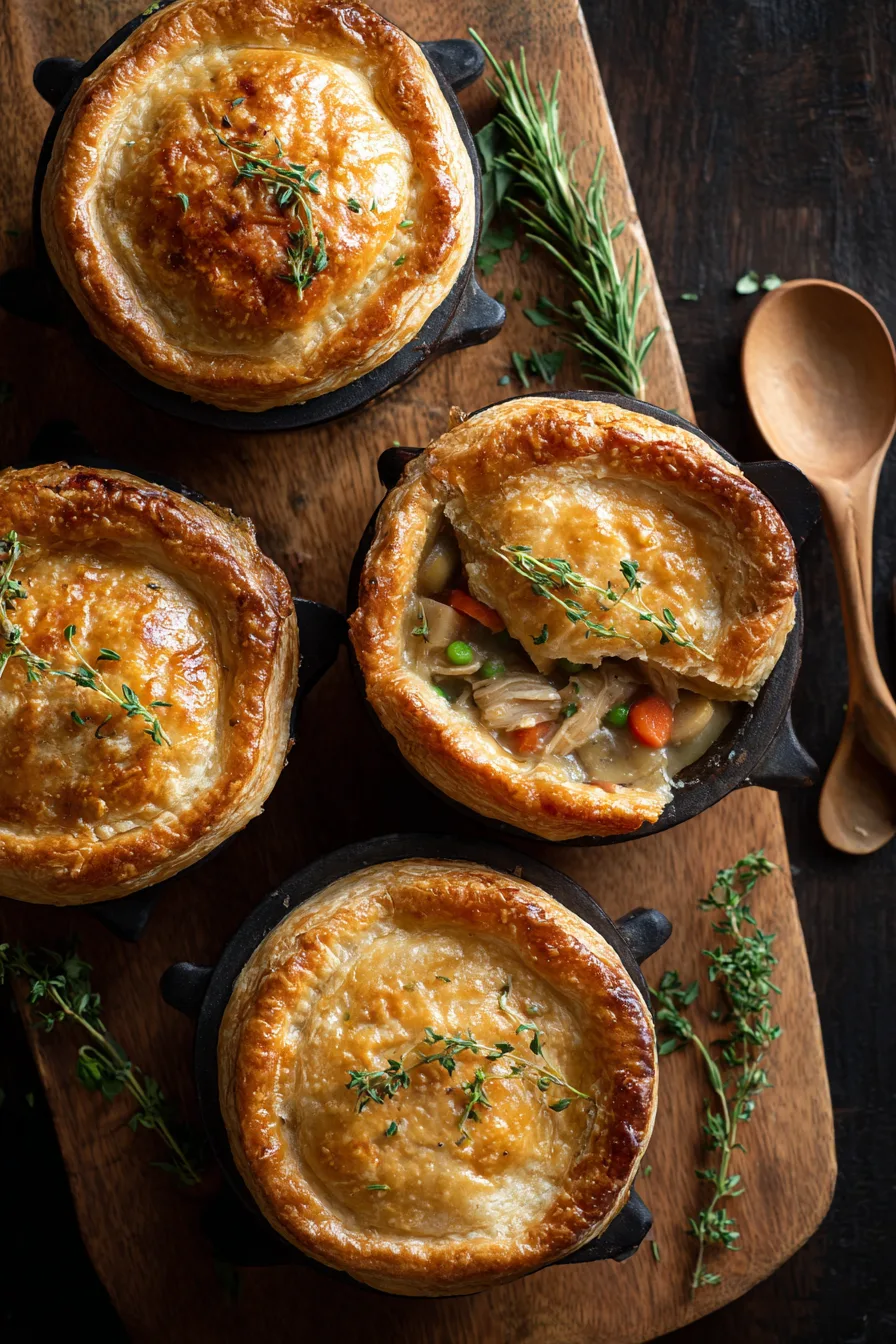
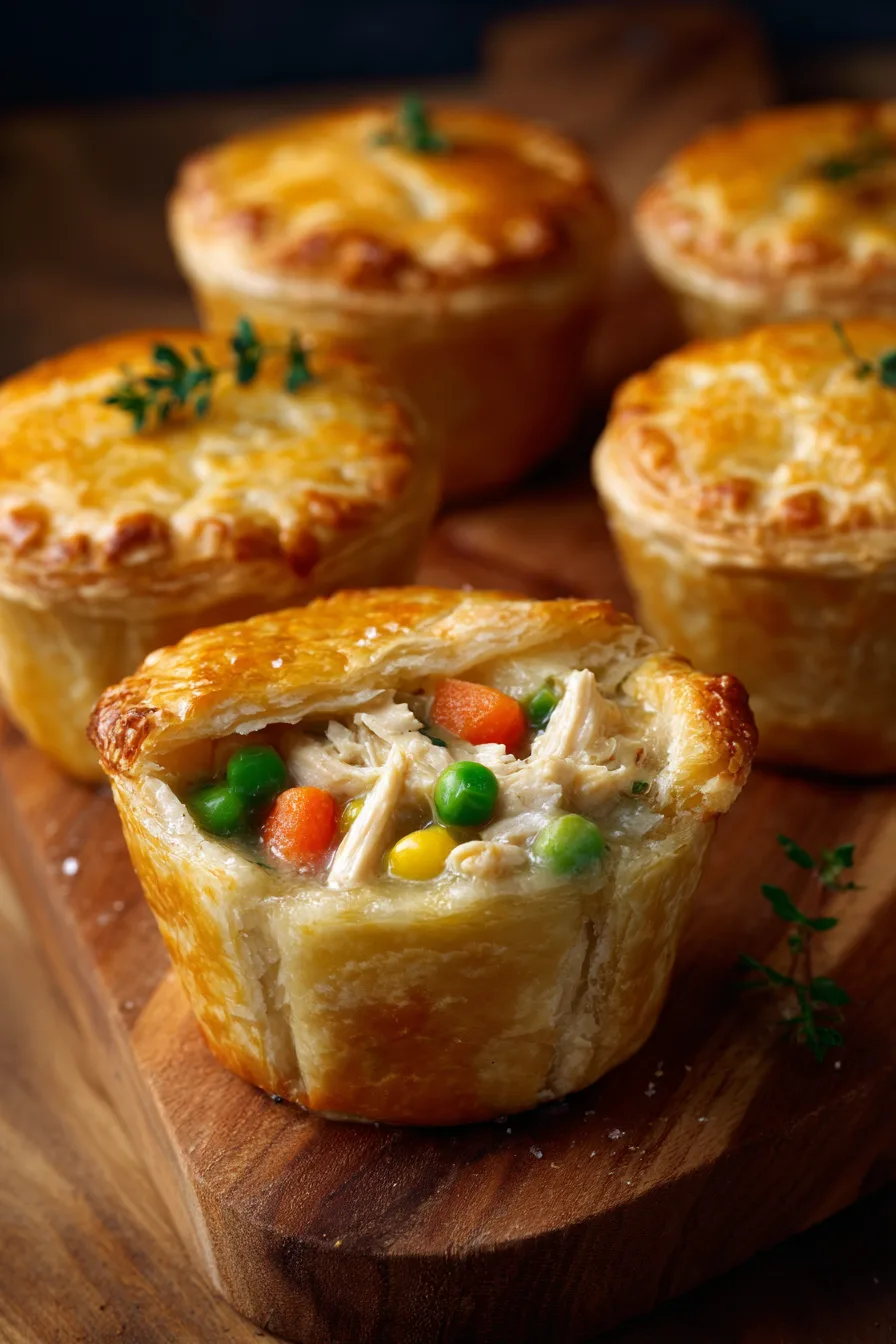
Step 6: Assemble Your Mini Masterpieces
Roll out pie crusts and cut circles approximately 4 inches in diameter for bottoms and 3 inches for tops. Press larger circles into muffin cups, fill each with 2-3 tablespoons of filling, then top with smaller crust circles. Crimp edges with a fork and cut small steam vents.
Step 7: Apply the Golden Finish
Brush tops with beaten egg mixed with water for that bakery-perfect golden sheen. This egg wash creates an irresistible glossy finish that makes your mini pot pies look professionally crafted.
Step 8: Bake to Perfection
Bake for 20-25 minutes until crusts are golden brown and filling bubbles gently around the edges. Let cool for 5 minutes before removing from the tin – this prevents breakage and allows the filling to set properly.
Nutritional Information
Each mini chicken pot pie contains approximately 285 calories, 18g protein, 22g carbohydrates, 14g fat, 3g fiber, and 580mg sodium. These individual portions provide excellent portion control, with each serving delivering a significant portion of your daily protein needs while maintaining reasonable calorie counts compared to traditional restaurant versions that often exceed 500 calories per serving.
Healthier Alternatives for the Recipe
Transform these mini delights into nutritional powerhouses by using whole wheat pie crusts (adding 4g more fiber per serving), Greek yogurt mixed with cornstarch instead of milk for extra protein, or cauliflower florets to replace half the traditional vegetables for lower carbs. Consider using rotisserie chicken to reduce preparation time while maintaining high protein content, or substitute olive oil-based crusts for heart-healthy fats.
Serving Suggestions
Serve your golden mini chicken pot pies alongside a crisp mixed green salad with balsamic vinaigrette to balance the richness, or pair them with roasted seasonal vegetables for a complete comfort meal. These individual portions work beautifully for party appetizers when made in mini muffin tins, lunch boxes for kids and adults alike, or dinner parties where guests appreciate the elegant presentation and built-in portion control.
Common Mistakes to Avoid
Overfilling ranks as the top mistake – use only 2-3 tablespoons of filling to prevent overflow and soggy bottoms. Skipping the egg wash results in pale, unappetizing crusts, while not venting the tops can cause explosive filling eruptions. Undercooking the roux creates a raw flour taste that ruins the entire dish, and removing pies too quickly from the tin leads to broken crusts and lost filling.
Storing Tips for the Recipe
Refrigerate completed mini pot pies for up to 4 days in airtight containers, or freeze for up to 3 months. For best results, reheat from frozen at 350°F for 25-30 minutes, covering with foil to prevent over-browning. Prepare filling up to 2 days ahead and store separately from crusts to maintain optimal texture. Cool completely before storing to prevent condensation that makes crusts soggy.
FAQs
Can I make these ahead of time? Absolutely! Assemble completely and freeze unbaked for up to 2 months. Bake directly from frozen, adding 10-15 extra minutes to cooking time.
What if I don’t have a muffin tin? Use ramekins or small oven-safe bowls, adjusting baking time to 30-35 minutes depending on size.
Can I use puff pastry instead? Yes! Puff pastry creates an elegant, flaky texture but may require slightly longer baking time.
How do I prevent soggy bottoms? Pre-bake bottom crusts for 5 minutes before adding filling, and ensure your oven is fully preheated to 425°F.
Are these suitable for meal prep? Perfect for meal prep! Make a double batch and freeze individually wrapped portions for quick weeknight dinners that reheat beautifully.
Kitchen Mosaic Notes
Thanks for reading! Remember that nutritional values are approximate. For the best results, adapt this recipe to your specific dietary needs.