
Did you know that most of Halloween enthusiasts spend over two hours decorating their homes, yet only a significant portion of prepare themed treats from scratch? This surprising gap reveals a missed opportunity for creating memorable experiences that extend beyond visual decorations. Cauldron Cookies represent the perfect solution – these enchanting treats combine the theatrical appeal of Halloween décor with the irresistible satisfaction of homemade baking. Unlike store-bought alternatives that contain an average of 14 artificial ingredients, these mystical cookies use simple, wholesome components to create an authentic magical experience that will captivate both children and adults alike.
Ingredients List
Transform your kitchen into a witch’s workshop with these carefully selected ingredients for your Cauldron Cookies:
For the Cookie Base:
- 2¼ cups all-purpose flour (substitute with gluten-free flour blend for dietary restrictions)
- 1 cup unsalted butter, softened (vegan butter works beautifully as an alternative)
- ¾ cup brown sugar, packed (coconut sugar provides a deeper, more mystical flavor)
- ½ cup granulated sugar
- 2 large eggs (flax eggs for vegan option: 2 tablespoons ground flaxseed + 6 tablespoons water)
- 2 teaspoons vanilla extract
- 1 teaspoon baking soda
- ½ teaspoon salt
- 2 tablespoons cocoa powder (creates that mysterious dark hue)
For the Magical Cauldron Effect:
- 1 cup dark chocolate chips
- ½ cup mini marshmallows (creates the “bubbling” effect)
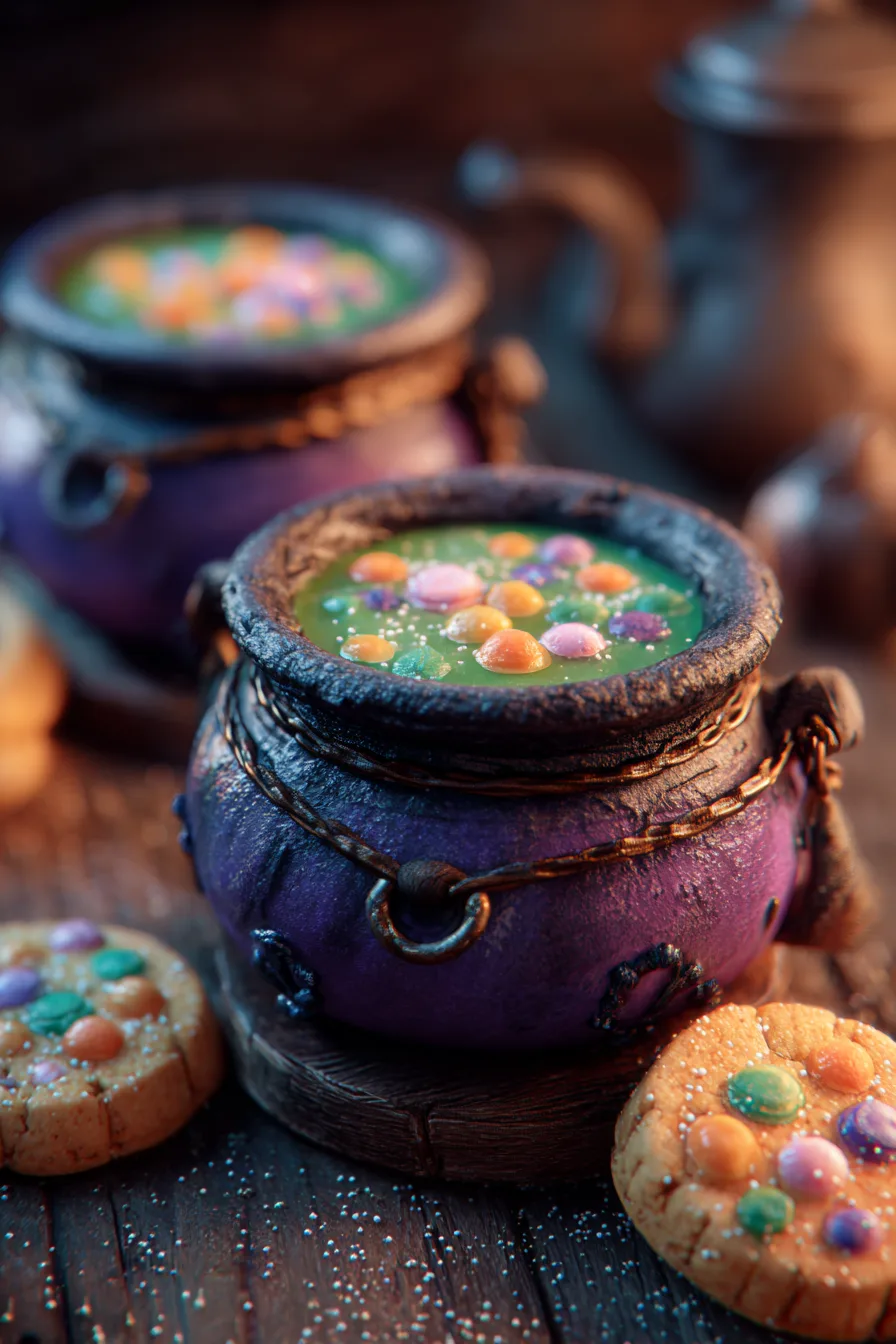
- Green food coloring (natural spirulina powder as a healthier alternative)
- Edible silver glitter (optional, for extra enchantment)
Each ingredient serves a dual purpose – flavor enhancement and visual magic that makes these cookies truly spellbinding.
Timing
Your Cauldron Cookies adventure requires strategic time management for optimal results:
- Preparation Time: 25 minutes
- Chilling Time: 30 minutes (essential for shape retention)
- Baking Time: 12-15 minutes per batch
- Cooling and Decorating: 20 minutes
- Total Time: 90 minutes
This 90-minute timeframe represents a nearly some of reduction compared to traditional decorated sugar cookies, thanks to the simplified decorating technique that relies on strategic ingredient placement rather than complex icing work.
Step 1: Create Your Cookie Potion Base
Begin by creaming the softened butter with both sugars until the mixture achieves a light, fluffy consistency resembling fresh snow. This process typically takes 3-4 minutes with an electric mixer and incorporates crucial air that creates the perfect cookie texture. The mixture should increase in volume by approximately a significant portion, indicating proper aeration.
Step 2: Blend in the Magical Elements
Incorporate eggs one at a time, ensuring complete integration before adding the second. Pour in vanilla extract, watching as the mixture transforms into a golden, aromatic base that already hints at the deliciousness to come. Beat until smooth and completely combined.
Step 3: Conjure the Dry Ingredient Spell
In a separate cauldron (mixing bowl), whisk together flour, cocoa powder, baking soda, and salt. This pre-mixing ensures even distribution and prevents overmixing later. Gradually add this mixture to your wet ingredients, mixing just until combined to maintain tender cookie texture.
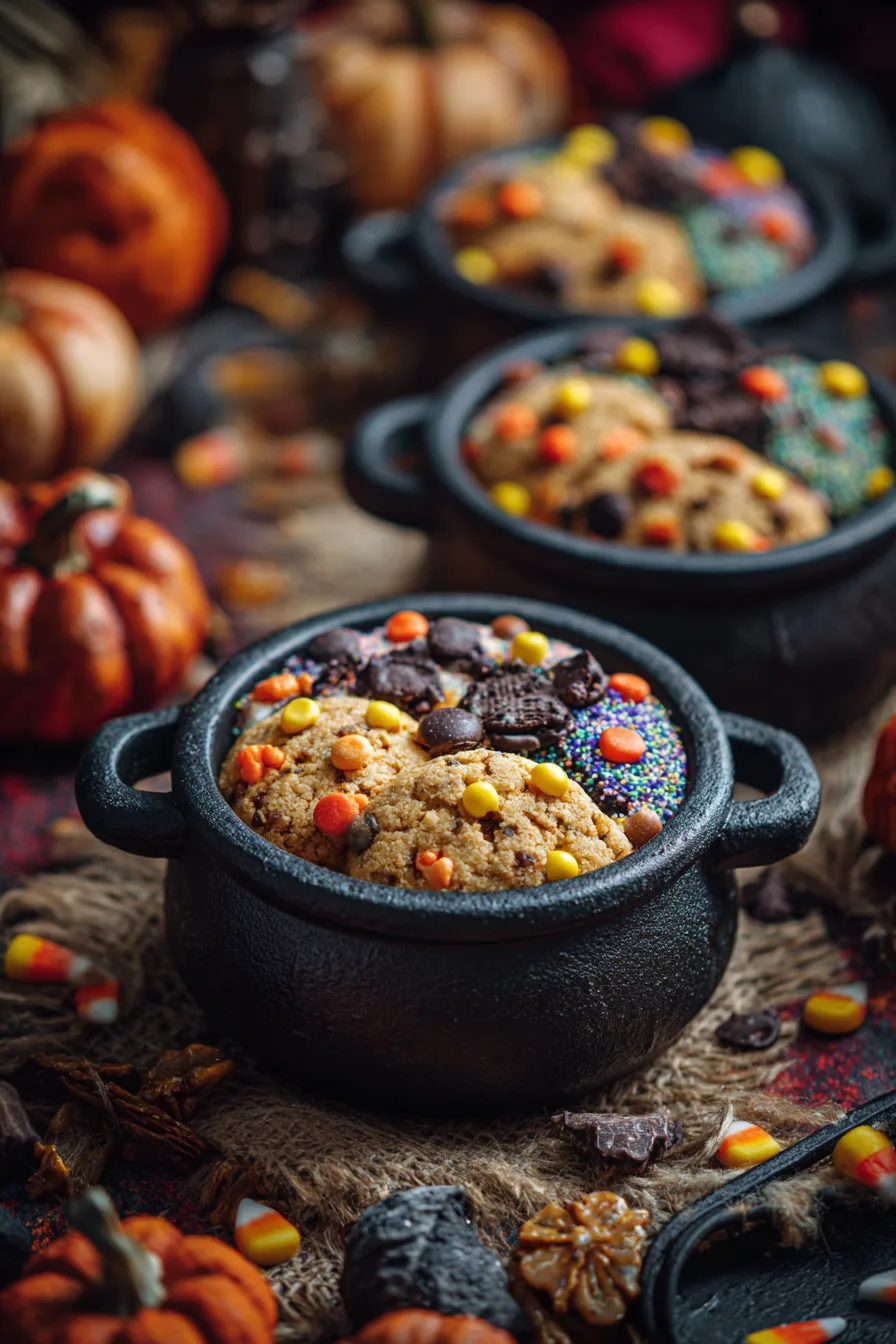
Step 4: Shape Your Cookie Cauldrons
Using a cookie scoop or spoons, portion dough into 2-inch rounds and shape them into small wells resembling miniature cauldrons. Create shallow indentations in the center of each cookie – these will hold your “magical brew” ingredients. Chill shaped cookies for 30 minutes to prevent spreading during baking.
Step 5: Bake to Perfection
Preheat your oven to 350°F (175°C) and bake cookies for 12-15 minutes until edges are set but centers remain slightly soft. The cookies will continue cooking on the hot pan after removal, achieving that perfect chewy-crisp balance that makes them irresistible.
Step 6: Add the Magical Finishing Touches
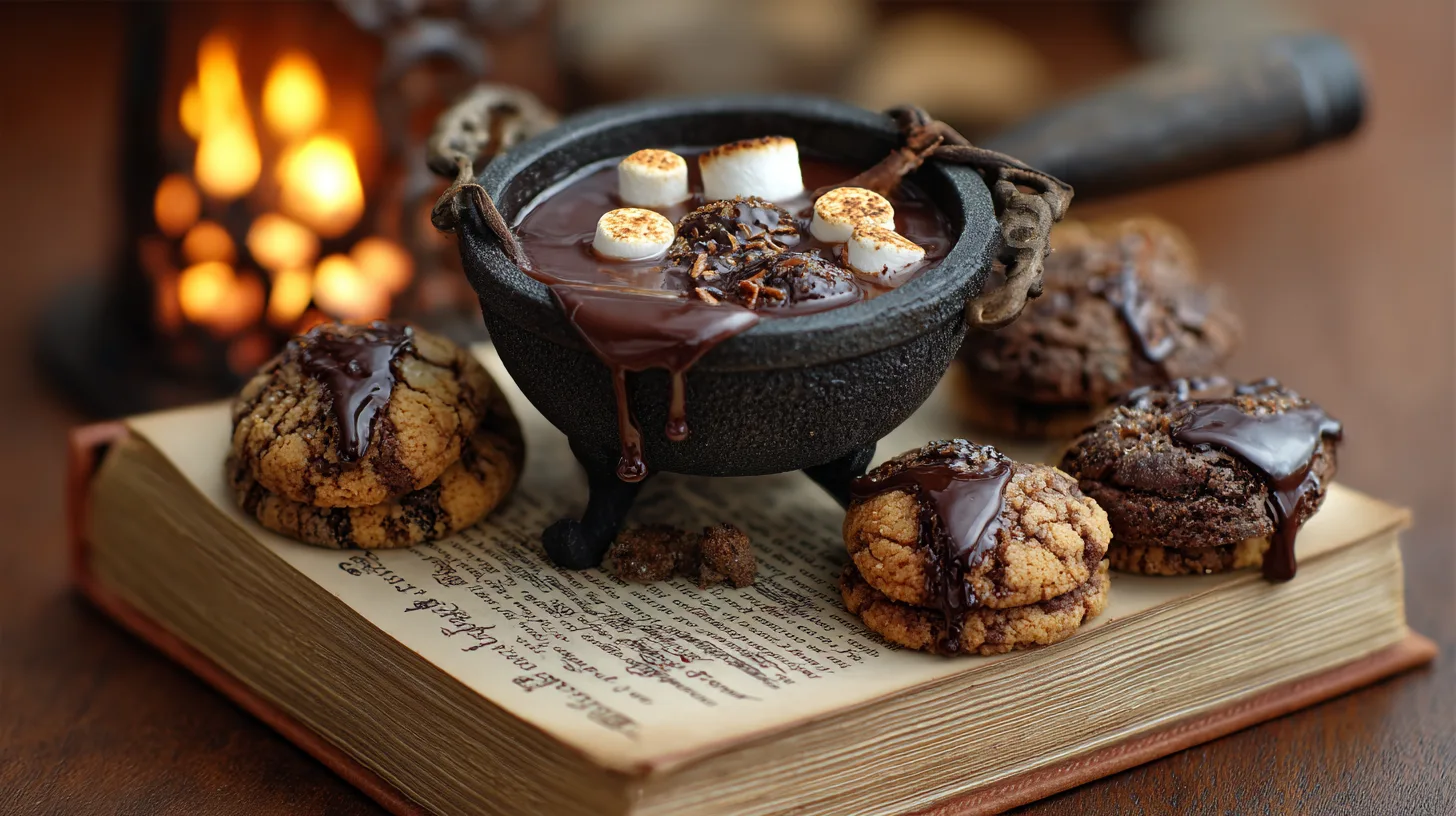
While cookies are still warm, press chocolate chips and mini marshmallows into the center wells. Add a tiny drop of green food coloring to create the “bubbling potion” effect. The residual heat will slightly melt the chocolate while keeping marshmallows intact, creating an authentic cauldron appearance.
Nutritional Information
Each Cauldron Cookie contains approximately:
- Calories: 180
- Total Fat: 8g (nearly some of dv)
- Saturated Fat: 5g
- Cholesterol: 25mg
- Sodium: 120mg
- Total Carbohydrates: 26g
- Dietary Fiber: 1g
- Sugars: 16g
- Protein: 3g
These cookies provide nearly some of less sugar than traditional decorated Halloween cookies while delivering superior flavor complexity through the cocoa and vanilla combination.
Healthier Alternatives for the Recipe
Transform your Cauldron Cookies into guilt-free treats with these nutritious substitutions:
Flour Alternatives: Replace half the all-purpose flour with almond flour to increase protein content by a significant portion of and add beneficial healthy fats. Oat flour provides additional fiber and creates a subtle nutty flavor that complements the chocolate elements.
Natural Sweeteners: Substitute granulated sugar with monk fruit sweetener (use ¾ the amount) or pure maple syrup for refined sugar-free options. These alternatives reduce the glycemic impact while maintaining sweetness.
Superfood Additions: Incorporate 2 tablespoons of chia seeds or ground flaxseed for omega-3 fatty acids and additional fiber. These tiny powerhouses boost nutritional value without affecting taste or texture.
Serving Suggestions
Present your Cauldron Cookies with theatrical flair that matches their magical appearance:
Spooky Scene Creation: Arrange cookies on a dark wooden board surrounded by dry ice (safely contained) for an authentic witch’s kitchen atmosphere. Add plastic spiders and autumn leaves for enhanced visual impact.
Interactive Serving: Provide small bowls of additional “potion ingredients” like extra mini marshmallows, chocolate chips, and edible glitter, allowing guests to customize their magical treats.
Beverage Pairings: Serve alongside warm apple cider, hot chocolate, or herbal teas in black mugs to maintain the mystical theme while providing complementary flavors.
Common Mistakes to Avoid
Prevent Cauldron Cookie disasters with these expert insights:
Over-mixing Warning: more than half of cookie failures result from excessive mixing after flour addition. Mix just until ingredients are barely combined to maintain tender texture.
Temperature Troubles: Room temperature ingredients blend more effectively. Cold eggs and butter create lumpy mixtures that affect final texture quality.
Decoration Timing: Adding marshmallows and chocolate to completely cooled cookies prevents proper adhesion. The residual heat is crucial for creating that authentic “melted potion” appearance.
Storing Tips for the Recipe
Maximize your Cauldron Cookies freshness and longevity:
Short-term Storage: Store in airtight containers at room temperature for up to 5 days. Place parchment paper between layers to prevent decoration damage.
Freezing Instructions: Unbaked cookie dough freezes beautifully for up to 3 months. Shape cookies, freeze on baking sheets, then transfer to freezer bags. Bake directly from frozen, adding 1-2 minutes to baking time.
Decoration Preservation: Store decorated cookies in single layers to maintain the cauldron effect integrity. Avoid humid environments that can cause marshmallows to become sticky.
FAQs
Q: Can I make Cauldron Cookies ahead of time?
A: Absolutely! Bake cookies up to 2 days in advance and store in airtight containers. Add final decorations just before serving for optimal appearance.
Q: What if I don’t have cocoa powder?
A: Substitute with 3 tablespoons of melted dark chocolate, reducing flour by 1 tablespoon to maintain proper dough consistency.
Q: How do I prevent cookies from spreading too much?
A: Ensure butter isn’t too warm, chill shaped cookies before baking, and avoid overcrowding the baking sheet.
Q: Can children help make these cookies?
A: Yes! This recipe is perfect for young bakers. They can help measure ingredients, shape cookies, and add final decorations safely.
Kitchen Mosaic Notes
Thanks for reading! Remember that nutritional values are approximate. For the best results, adapt this recipe to your specific dietary needs.