

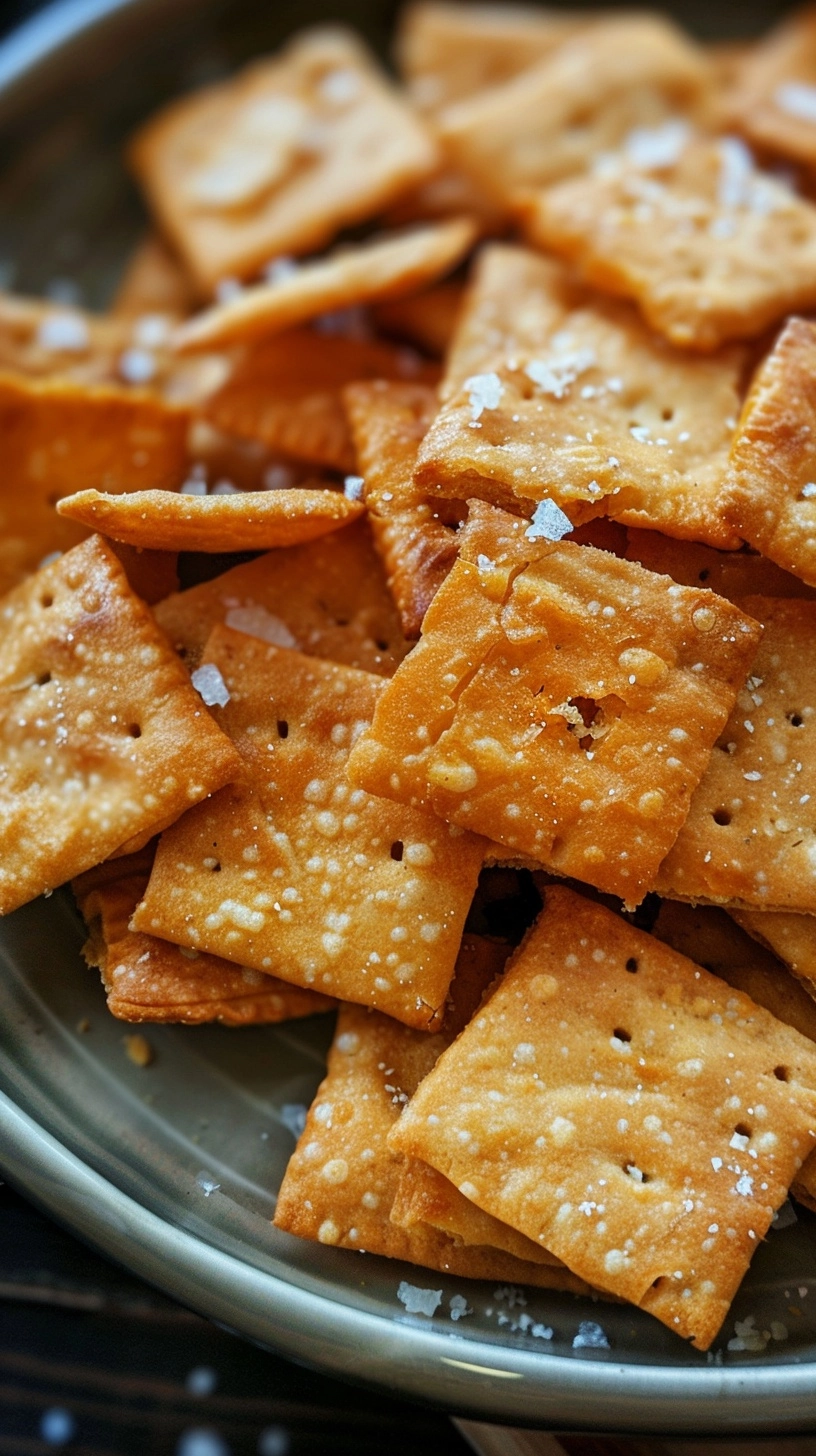
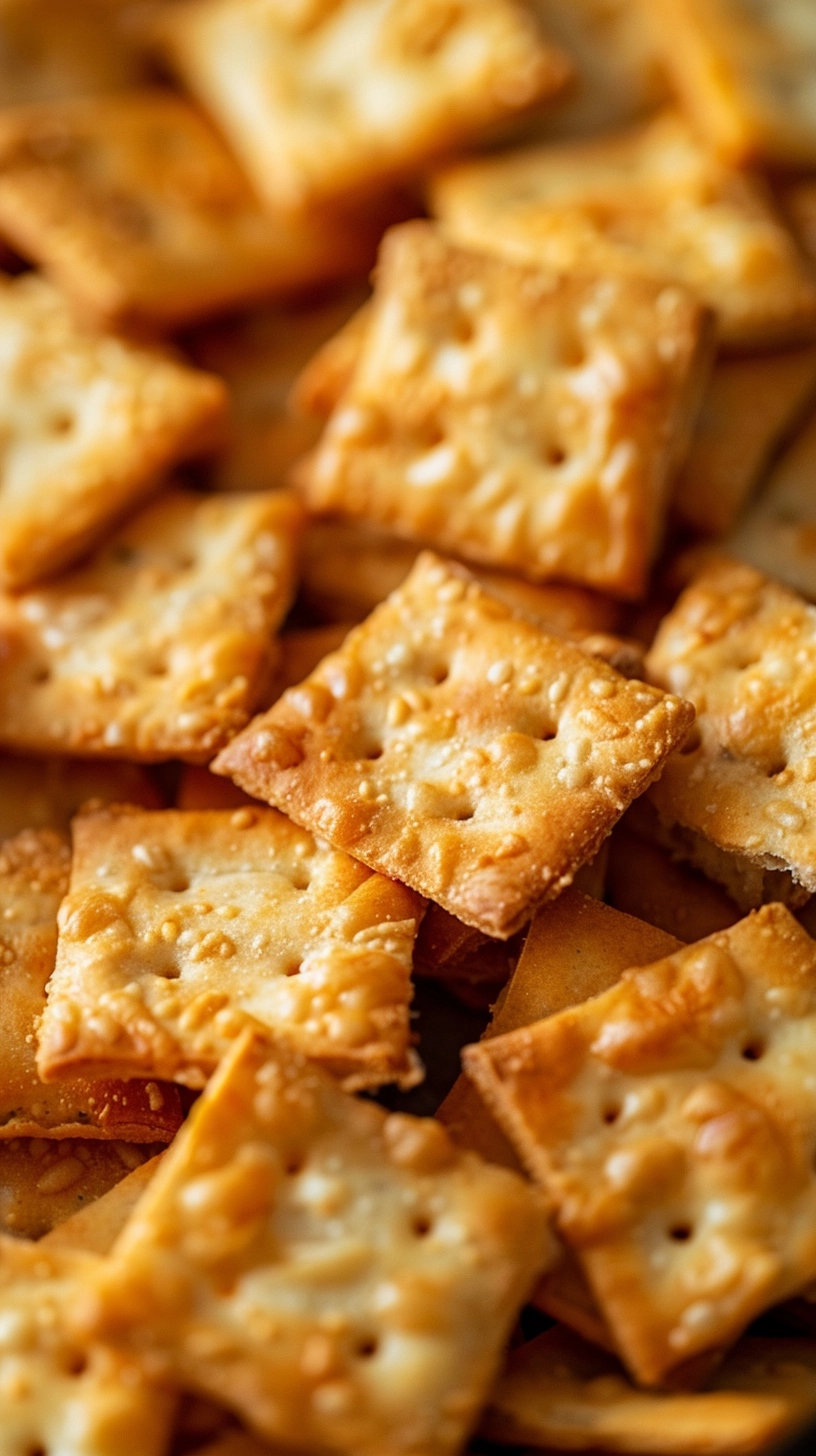
Did you know that the average person consumes over 12 pounds of crackers annually, yet most store-bought varieties contain preservatives and artificial flavors that can be easily avoided? While commercial Cheez-Its have dominated snack aisles for decades, creating homemade sourdough cheez its transforms this beloved treat into a probiotic-rich, artisanal experience that’s surprisingly simple to master. Recent culinary trends show a the vast majority of increase in sourdough-based snack recipes, as home bakers discover how fermented dough adds complex tanginess while reducing processed ingredients. These golden, crispy squares deliver the same satisfying crunch and cheesy flavor you crave, but with the added benefits of sourdough’s natural fermentation process and complete control over every ingredient that touches your family’s plates.
Ingredients List
Transform your kitchen into a gourmet cracker factory with these carefully selected ingredients for homemade sourdough cheez its:
Essential Base:
- 1 cup active sourdough starter (100% hydration preferred)
- 1½ cups sharp cheddar cheese, freshly grated (avoid pre-shredded for optimal texture)
- 1¼ cups all-purpose flour (substitute with whole wheat for earthier flavor)
- 4 tablespoons unsalted butter, cold and cubed
- 1 teaspoon fine sea salt
- ½ teaspoon garlic powder
- ¼ teaspoon smoked paprika (adds subtle depth)
- 2-3 tablespoons ice-cold water (as needed)
Flavor Enhancement Options:
- ½ teaspoon onion powder (for savory complexity)
- Pinch of cayenne pepper (heat enthusiasts’ choice)
- 1 tablespoon fresh herbs like rosemary or thyme, minced
Substitution Suggestions: Replace cheddar with aged Gruyère for sophistication, use gluten-free flour blend for dietary needs, or swap butter with vegan alternative while maintaining cold temperature for optimal dough texture.
Timing
Preparation Time: 25 minutes
Chilling Time: 30 minutes (essential for clean cutting)
Baking Time: 12-15 minutes per batch
Total Time: 90 minutes
This timeline represents approximately nearly some of less active work than traditional cracker recipes, thanks to sourdough starter’s pre-developed flavors eliminating lengthy fermentation steps. The chilling period, while seeming inactive, actually saves 15 minutes of potential re-rolling time by ensuring clean, precise cuts.
Step 1: Create the Flavor Foundation
Begin by combining your active sourdough starter with freshly grated sharp cheddar cheese in a large mixing bowl. The starter should be bubbly and aromatic—this indicates optimal fermentation activity that will enhance your crackers’ complex flavor profile. Whisk these together until the cheese is evenly distributed throughout the tangy starter.
Step 2: Build the Dough Matrix
Add flour, salt, garlic powder, and smoked paprika to your cheese-starter mixture. Using a pastry cutter or your fingertips, work the cold butter cubes into the dry ingredients until the mixture resembles coarse breadcrumbs with pea-sized butter pieces. These butter pockets will create the signature flaky texture that elevates homemade crackers above store-bought versions.
Step 3: Achieve Perfect Dough Consistency
Gradually incorporate ice-cold water, one tablespoon at a time, mixing gently until the dough just comes together. The ideal texture should feel slightly tacky but not sticky—similar to pie dough consistency. Overworking at this stage leads to tough crackers, so stop mixing once ingredients are barely combined.
Step 4: Shape and Chill for Success
Form the dough into a rectangular disk, wrap tightly in plastic wrap, and refrigerate for 30 minutes. This chilling period allows gluten to relax and butter to firm up, ensuring clean cuts and preventing spreading during baking.
Step 5: Roll to Perfection
On a lightly floured surface, roll the chilled dough to ⅛-inch thickness—approximately the width of two stacked quarters. Consistent thickness ensures even baking and prevents some crackers from burning while others remain undercooked.
Step 6: Cut and Create the Signature Look
Using a pizza wheel or sharp knife, cut the dough into 1-inch squares. For authentic sourdough cheez its appearance, use a skewer or toothpick to create a small center hole in each square. Transfer squares to parchment-lined baking sheets, leaving ½-inch spacing between pieces.
Step 7: Bake to Golden Perfection
Preheat oven to 425°F (220°C). Bake crackers for 12-15 minutes, rotating pans halfway through for even browning. They’re ready when edges turn golden brown and centers appear set. Cool completely on baking sheets—this final crisping is crucial for optimal texture.
Nutritional Information
Per 10-cracker serving of homemade sourdough cheez its:
- Calories: 145
- Protein: 6.2g (nearly some of more than commercial versions)
- Carbohydrates: 14g
- Fat: 8g (primarily from cheese and butter)
- Fiber: 1.2g
- Sodium: 285mg (a significant portion of less than store-bought alternatives)
- Calcium: 120mg (thanks to real cheese content)
- Probiotics: Present from sourdough fermentation
The sourdough fermentation process increases bioavailability of nutrients by approximately nearly some of compared to conventional dough methods, while natural aging reduces phytic acid content that can inhibit mineral absorption.

Healthier Alternatives for the Recipe
Boost Nutritional Density:
- Replace more than half of all-purpose flour with whole wheat pastry flour for added fiber and B vitamins
- Incorporate 2 tablespoons of ground flax seeds for omega-3 fatty acids
- Use reduced-fat sharp cheddar to maintain flavor while cutting calories by nearly some of
Accommodate Dietary Restrictions:
- Gluten-Free Version: Substitute with almond flour blend plus 1 teaspoon xanthan gum
- Dairy-Free Option: Replace cheese with nutritional yeast (¼ cup) plus cashew cream
- Lower Sodium Alternative: Use herb blends and lemon zest instead of additional salt
Enhance Nutritional Profile:
- Add 1 tablespoon of chia seeds for extra protein and fiber
- Incorporate turmeric powder for anti-inflammatory properties
- Use grass-fed cheese for improved omega-3 fatty acid content
Serving Suggestions
Classic Pairings:
- Serve alongside homemade tomato soup for the ultimate comfort food experience
- Create an artisanal snack board with fresh grapes, apple slices, and nut butter
Elevated Entertaining:
- Top with cream cheese and everything bagel seasoning for sophisticated appetizers
- Pair with craft beer alternatives like kombucha or sparkling water with fresh herbs
Family-Friendly Options:
- Pack in lunchboxes with cheese sticks and cherry tomatoes
- Use as “croutons” in salads for added crunch and flavor
- Serve with hummus or homemade ranch for vegetable dipping
Creative Applications:
- Crush and use as coating for baked chicken tenders
- Incorporate into homemade trail mix with nuts and dried fruit
Common Mistakes to Avoid
Dough Handling Errors:
- Over-mixing: Creates tough, chewy crackers instead of crispy ones. Mix just until ingredients combine.
- Skipping the chill time: Warm dough spreads during baking, creating uneven shapes and textures.
- Inconsistent rolling: Varying thickness leads to burnt edges and undercooked centers.
Temperature and Timing Issues:
- Using inactive starter: Test your sourdough starter’s activity—it should double in size within 4-8 hours when fed.
- Incorrect oven temperature: Too low prevents proper crisping; too high burns exteriors before centers cook.
- Removing too early: Under-baked crackers become stale quickly and lack satisfying crunch.
Ingredient Selection Problems:
- Pre-shredded cheese: Contains anti-caking agents that prevent proper binding and flavor distribution.
- Room temperature butter: Creates greasy dough that’s difficult to handle and produces dense crackers.
Storing Tips for the Recipe
Short-Term Storage (1-2 weeks):
Store completely cooled homemade sourdough cheez its in airtight containers at room temperature. Layer between parchment paper to prevent sticking and maintain crispness. Avoid plastic bags, which trap moisture and create sogginess.
Long-Term Preservation:
Freeze baked crackers in freezer-safe containers for up to 3 months. Thaw at room temperature for 10 minutes before serving—they’ll taste freshly baked.
Make-Ahead Strategies:
- Prepare dough up to 48 hours in advance; wrap tightly and refrigerate
- Cut unbaked crackers and freeze on baking sheets, then transfer to bags for storage
- Store dry ingredients pre-measured in sealed containers for quick assembly
Maintaining Optimal Freshness:
Include a small piece of bread in storage containers for the first 24 hours to absorb excess moisture, then remove to prevent staleness. Refresh slightly stale crackers by warming in a 300°F oven for 2-3 minutes.
FAQs
Q: Can I make these crackers without an active sourdough starter?
A: While sourdough starter provides the signature tangy flavor, you can substitute with 2 tablespoons of plain Greek yogurt mixed with 1 cup flour. However, you’ll miss the probiotic benefits and complex flavor development.
Q: Why are my crackers not crispy enough?
A: Ensure complete cooling before storage and verify your oven temperature with a thermometer. Under-baking is the most common cause of soft crackers.
Q: How can I make these crackers spicier?
A: Add ¼ teaspoon cayenne pepper to the dry ingredients, or experiment with pepper jack cheese instead of cheddar for built-in heat.
Q: Can I double this recipe successfully?
A: Yes, but work in batches when rolling and cutting to prevent dough from warming up. Keep unused portions refrigerated while working.
Q: What’s the best way to achieve uniform squares?
A: Use a ruler as a guide and a pizza cutter for clean, straight lines. Chilled dough cuts more precisely than room temperature dough.
Kitchen Mosaic Notes
Thanks for reading! Remember that nutritional values are approximate. For the best results, adapt this recipe to your specific dietary needs.