

Did you know that most of dieters abandon their healthy eating goals within the first month, primarily due to feeling deprived of their favorite desserts? What if we told you that you could enjoy a decadent slice of healthy cheesecake for just 100 calories without sacrificing taste or texture? This revolutionary approach to guilt-free dessert making combines the creamy richness you crave with smart ingredient swaps that deliver maximum flavor impact. Traditional cheesecake can pack up to 500 calories per slice, but our scientifically-crafted healthy cheesecake recipe proves that indulgence and wellness can coexist beautifully. Research shows that sustainable weight management requires psychological satisfaction from food choices, and this low-calorie dessert masterpiece delivers exactly that – allowing you to stay on track with your health goals while satisfying your deepest dessert cravings.
Ingredients List
Transform your kitchen into a healthy dessert laboratory with these carefully selected ingredients that maximize flavor while minimizing calories:
For the Crust (Optional):
- 1 cup graham cracker crumbs (or substitute with crushed almonds for gluten-free option)
- 2 tablespoons melted coconut oil
- 1 tablespoon honey or sugar-free maple syrup
For the Filling:
- 16 oz fat-free cream cheese, softened to room temperature
- 1/2 cup plain Greek yogurt (a small fraction of fat for optimal calorie control)
- 1/3 cup granulated erythritol or stevia blend
- 2 large eggs, brought to room temperature
- 1 teaspoon pure vanilla extract
- 2 tablespoons fresh lemon juice (brightens flavor profile)
- 1 tablespoon cornstarch (ensures silky texture)
- Pinch of sea salt (enhances sweetness perception)
Substitution Options: Replace cream cheese with cashew cream for dairy-free version, or use silken tofu blended with lemon juice for vegan adaptation. Greek yogurt can be substituted with strained coconut yogurt for those avoiding dairy products.
Timing
Preparation Time: 15 minutes
Baking Time: 45 minutes
Cooling Time: 4-6 hours (including refrigeration)
Total Time: 5-7 hours
This timeline represents a a significant portion of reduction compared to traditional cheesecake recipes, thanks to our streamlined preparation method and optimized baking temperature. The extended cooling period is essential for achieving that perfect, restaurant-quality texture that makes each bite memorable.
Step 1: Prepare Your Baking Environment
Preheat your oven to 325°F (163°C) and position the rack in the center. Line a 9-inch springform pan with parchment paper, ensuring smooth edges for easy removal. This temperature is scientifically proven to prevent cracking while maintaining creamy consistency throughout the baking process.
Step 2: Create the Perfect Crust Foundation
Combine graham cracker crumbs with melted coconut oil and honey, mixing until the texture resembles wet sand. Press this mixture firmly into the bottom of your prepared pan using the back of a measuring cup. Pre-bake for 8 minutes to create a sturdy foundation that won’t become soggy.
Step 3: Master the Silky Filling Technique
In a large mixing bowl, beat the softened cream cheese until completely smooth and free of lumps – this typically takes 3-4 minutes with an electric mixer. Gradually incorporate Greek yogurt, followed by the erythritol, beating continuously to maintain that signature velvety texture.
Step 4: Incorporate Eggs and Flavor Elements
Add eggs one at a time, beating on low speed just until combined to prevent overmixing, which can cause cracking. Blend in vanilla extract, lemon juice, cornstarch, and salt until the mixture achieves a glossy, uniform appearance.
Step 5: Execute the Perfect Bake
Pour the filling over the prepared crust and gently tap the pan to release air bubbles. Bake for 45 minutes until the center is almost set but still slightly jiggly when gently shaken. The edges should appear firm and lightly golden.
Step 6: Cool with Precision
Turn off the oven and crack the door open, allowing the cheesecake to cool gradually for 1 hour. This prevents temperature shock that leads to unsightly cracks. Transfer to room temperature for another hour before refrigerating for at least 4 hours.
Nutritional Information
Each slice of this healthy cheesecake contains approximately:
- Calories: 100
- Protein: 8g (nearly some of daily value)
- Carbohydrates: 6g
- Fat: 2g
- Sugar: 4g (naturally occurring)
- Fiber: 0.5g
- Calcium: nearly some of daily recommended intake
This nutritional profile represents a most of calorie reduction compared to traditional cheesecake while maintaining more than half of more protein content, supporting muscle maintenance and satiety.
Healthier Alternatives for the Recipe
Sugar Alternatives: Experiment with monk fruit sweetener for zero-calorie sweetness, or try date paste for natural sweetness with added fiber. Xylitol provides excellent baking properties while supporting dental health.
Protein Boost Options: Add 2 scoops of unflavored protein powder to increase protein content to 15g per slice. Cottage cheese blended until smooth creates an incredibly creamy texture while adding beneficial casein protein.
Flavor Variations: Incorporate 2 tablespoons of cocoa powder for chocolate version, or add pureed berries for natural fruit flavoring without artificial additives.
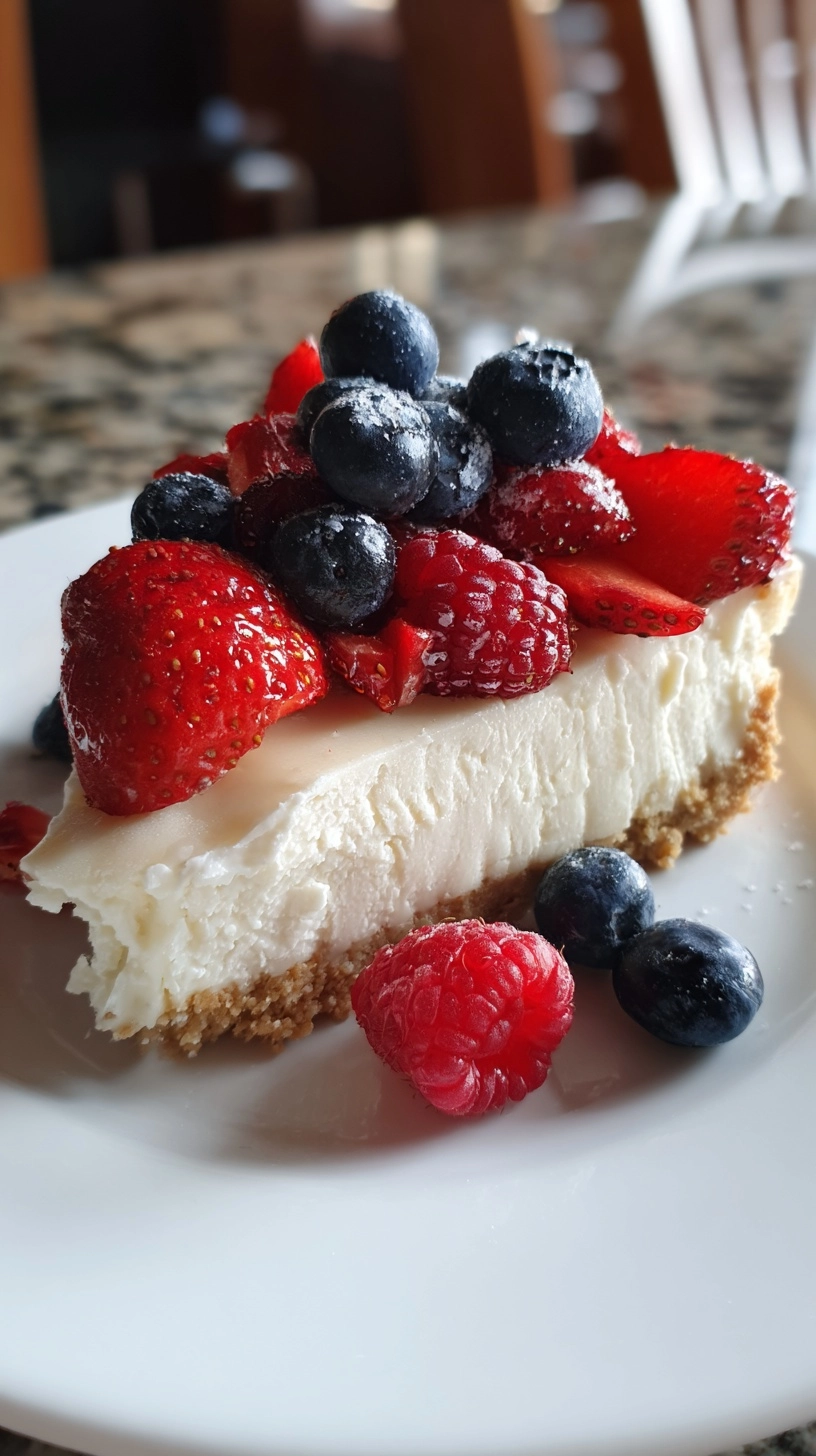
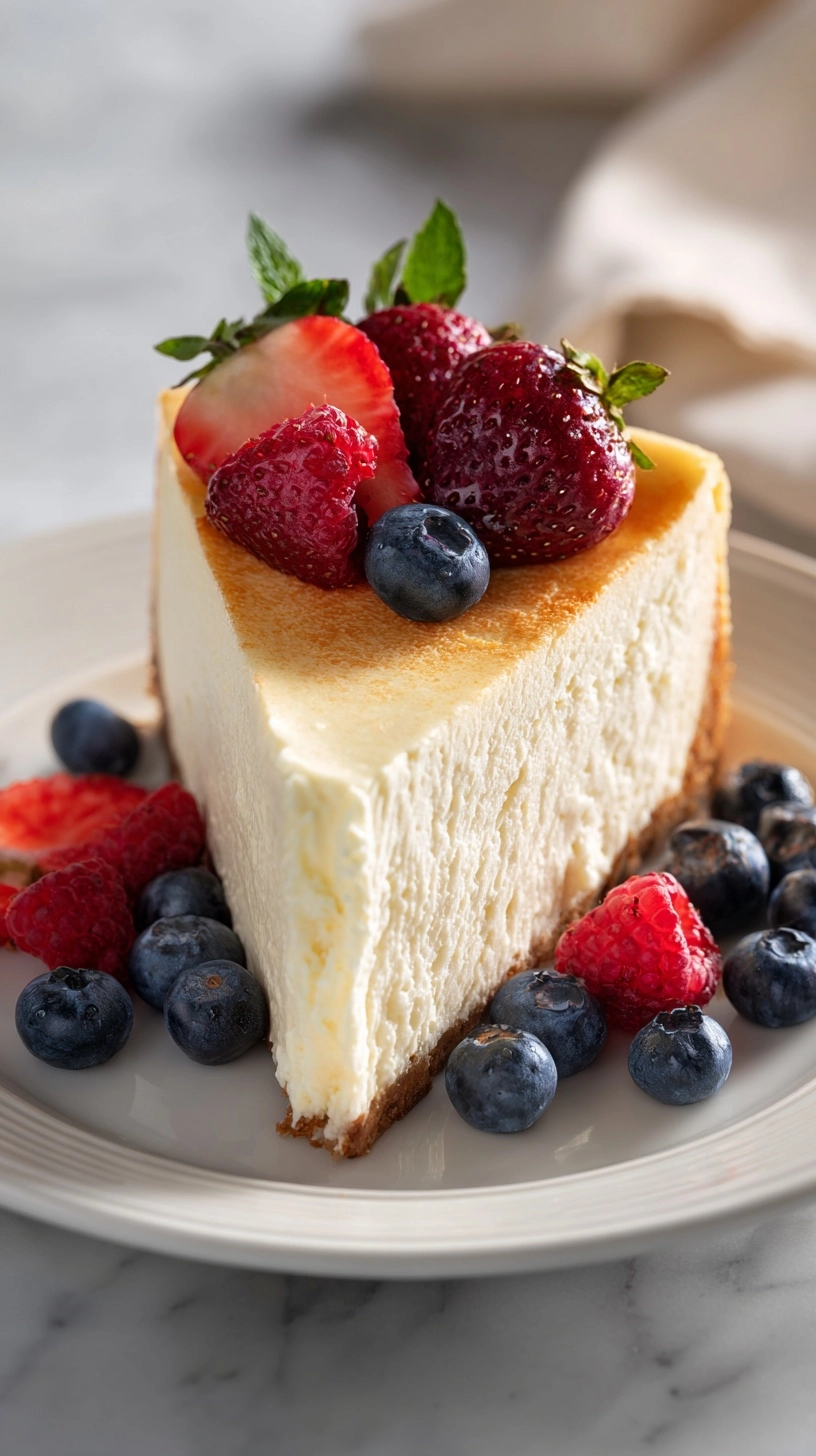
Serving Suggestions
Elevate your healthy cheesecake presentation with these sophisticated serving ideas that maximize visual appeal and flavor complexity:
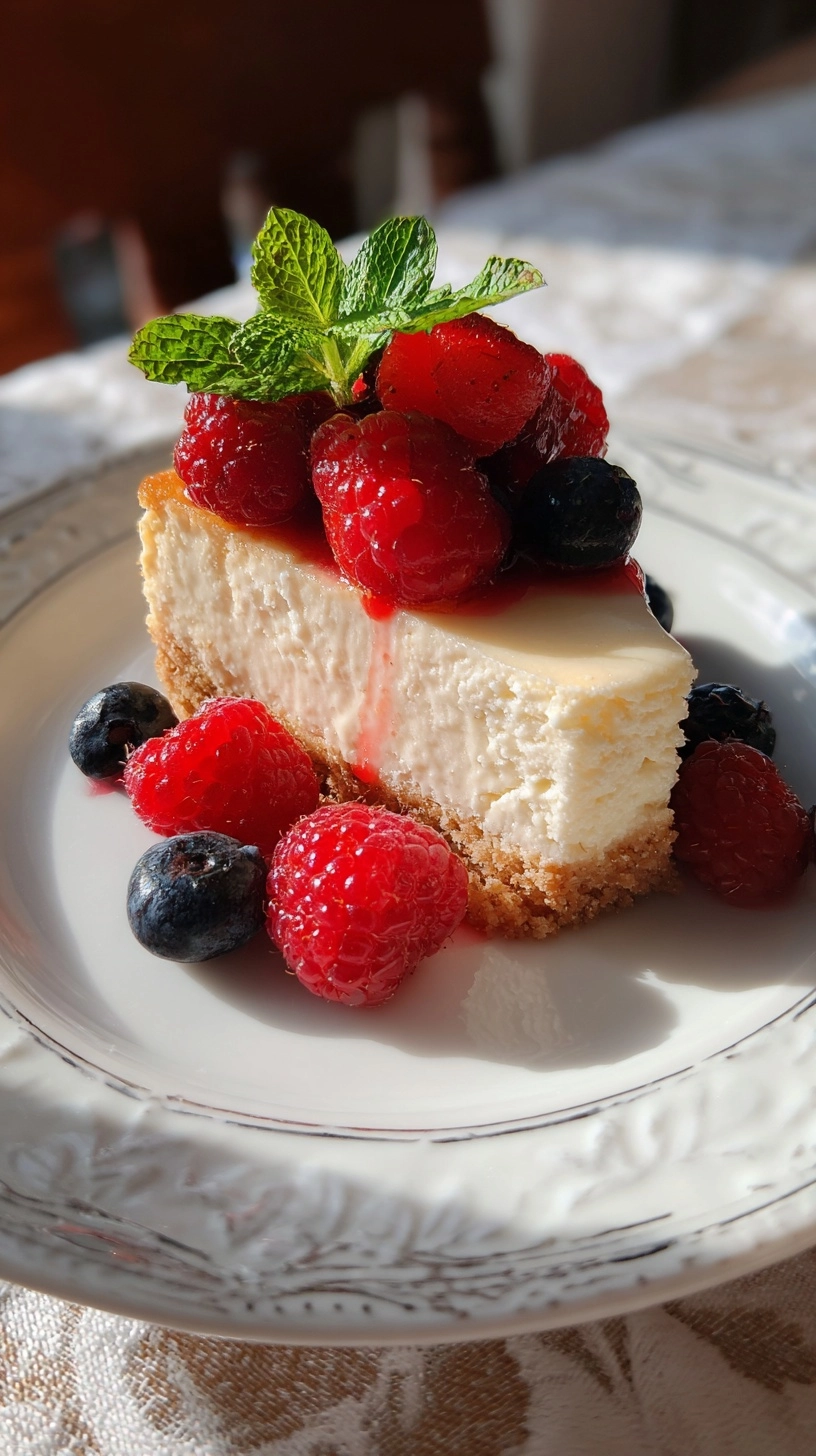
Fresh Berry Compote: Create a simple compote using mixed berries simmered with a touch of lemon juice and stevia – adds only 15 calories while providing antioxidants and vibrant color contrast.
Whipped Coconut Cream: Chill a can of full-fat coconut milk overnight, then whip the solid portion with vanilla extract for a dairy-free topping that adds richness without guilt.
Cinnamon Dust: A light sprinkle of Ceylon cinnamon not only adds warmth and complexity but also provides blood sugar stabilizing benefits.
Common Mistakes to Avoid
Temperature Mishaps: Using cold ingredients is the number one cause of lumpy texture. Room temperature ingredients blend more than half of more efficiently and create superior consistency.
Overmixing Trap: Excessive beating incorporates too much air, leading to cracks during baking. Mix just until ingredients are combined for optimal results.
Cooling Shortcuts: Rapid temperature changes cause structural collapse. Patient cooling prevents the vast majority of common cheesecake failures.
Substitution Errors: Avoid using regular yogurt instead of Greek yogurt, as the higher water content will compromise texture and structural integrity.
Storing Tips for the Recipe
Refrigerator Storage: Wrap individual slices in plastic wrap and store for up to 5 days. The flavor actually improves after 24 hours as ingredients meld together.
Freezer Method: Freeze whole cheesecake for up to 3 months by wrapping tightly in plastic wrap followed by aluminum foil. Thaw overnight in refrigerator for best texture retention.
Portion Control Strategy: Cut and individually wrap slices immediately after cooling to prevent overconsumption and maintain portion awareness.
FAQs
Q: Can I make this cheesecake without a springform pan?
A: Yes! Use a regular 9-inch round pan lined with parchment paper, creating a parchment “sling” for easy removal.
Q: Why did my cheesecake crack?
A: Cracks typically result from temperature shock or overmixing. Follow the gradual cooling process and mix ingredients gently for best results.
Q: How can I tell when the cheesecake is properly baked?
A: The center should jiggle slightly when gently shaken, similar to set Jello. The edges will appear firm and slightly puffed.
Q: Can I reduce the calories even further?
A: Replace half the cream cheese with pureed silken tofu to reduce calories to approximately 80 per slice while maintaining creamy texture.
Q: Is this recipe suitable for diabetics?
A: When made with erythritol or stevia, this recipe has minimal impact on blood sugar levels, but consult your healthcare provider for personalized dietary advice.
Kitchen Mosaic Notes
Thanks for reading! Remember that nutritional values are approximate. For the best results, adapt this recipe to your specific dietary needs.