
Did you know that 3.1 million Americans follow a gluten-free diet, yet most of report that finding satisfying pizza alternatives remains their biggest culinary challenge? The truth is, most commercial gluten free pizza dough options fall short on taste and texture, leaving pizza lovers feeling frustrated and unsatisfied. But what if I told you that creating restaurant-quality gluten free pizza dough at home is not only possible but surprisingly straightforward? This game-changing recipe combines the perfect blend of alternative flours and hydration techniques to deliver a crust that’s crispy on the outside, tender on the inside, and so delicious that even gluten-eating family members will ask for seconds.
Ingredients
This carefully crafted gluten free pizza dough recipe uses a strategic combination of flours to achieve optimal texture and flavor:
Dry Ingredients:
- 2 cups brown rice flour (provides structure and nutty flavor)
- ¾ cup tapioca starch (adds chewiness and elasticity)
- ½ cup potato starch (creates light, airy texture)
- 1 tablespoon xanthan gum (essential binding agent)
- 1 teaspoon salt (enhances flavor and strengthens dough)
- 1 tablespoon sugar (feeds yeast and promotes browning)
- 2¼ teaspoons active dry yeast (one standard packet)
Wet Ingredients:
- 1 cup warm water (105°F-110°F for optimal yeast activation)
- 2 tablespoons olive oil (adds richness and improves texture)
- 1 teaspoon apple cider vinegar (enhances flavor and dough structure)
Substitution Options: Replace brown rice flour with white rice flour for milder flavor, swap potato starch with cornstarch in equal amounts, or substitute olive oil with avocado oil for higher heat tolerance.
Timing
Total Time: 90 minutes (nearly some of faster than traditional gluten-free recipes)
- Prep Time: 15 minutes
- First Rise: 45 minutes
- Shaping & Second Rise: 20 minutes
- Baking Time: 10-12 minutes
This streamlined timing takes advantage of modern yeast activation techniques and optimized hydration ratios, reducing the typical 2-hour process that many gluten-free recipes require.
Step-by-Step Instructions
Step 1: Activate Your Yeast Foundation
Combine warm water, sugar, and yeast in a small bowl. Let stand for 5-8 minutes until foamy and fragrant. This crucial step ensures your dough will have proper lift and eliminates the dense texture that plagues many gluten-free crusts.
Step 2: Create Your Flour Blend
Whisk together brown rice flour, tapioca starch, potato starch, xanthan gum, and salt in a large mixing bowl. This specific ratio creates a flour blend that mimics gluten’s binding properties while maintaining excellent flavor.
Step 3: Build the Dough
Add the activated yeast mixture, olive oil, and apple cider vinegar to your flour blend. Mix with a wooden spoon until a sticky dough forms. Unlike traditional pizza dough, gluten-free versions should remain slightly tacky.
Step 4: Develop Structure Through Mixing
Using a stand mixer with paddle attachment, beat the dough on medium speed for 3 minutes. This mechanical action replaces the kneading process and develops the dough’s structure without overworking.
Step 5: First Rise for Optimal Texture
Transfer dough to an oiled bowl, cover with damp cloth, and let rise in a warm place for 45 minutes. The dough should increase by about more than half of in size, indicating proper fermentation.
Step 6: Shape and Final Rise
Turn dough onto parchment paper and gently shape into desired pizza size. Cover and let rest for 20 minutes. This second rise creates the perfect balance of density and airiness.
Nutritional Information
Per serving (⅛ of recipe):
- Calories: 185
- Carbohydrates: 38g
- Protein: 3.2g
- Fat: 3.8g
- Fiber: 2.1g
- Sodium: 295mg
This gluten free pizza dough contains nearly some of fewer calories than traditional wheat-based versions while providing a significant portion of more fiber. The brown rice flour contributes essential B vitamins and minerals, making this a nutritionally superior choice for pizza lovers.
Healthier Alternatives for the Recipe
Protein-Boost Option: Replace ¼ cup of brown rice flour with almond flour to increase protein content by a significant portion of and add healthy fats.
Lower Carb Variation: Substitute half the brown rice flour with cauliflower flour to reduce carbohydrates by a significant portion of while maintaining structural integrity.
Whole Grain Enhancement: Add 2 tablespoons of ground flaxseed for omega-3 fatty acids and additional fiber without compromising texture.
Reduced Sodium Version: Use herb salt or garlic powder to cut sodium content by nearly some of while enhancing flavor complexity.
Serving Suggestions
Transform your gluten free pizza dough into culinary masterpieces with these creative applications:
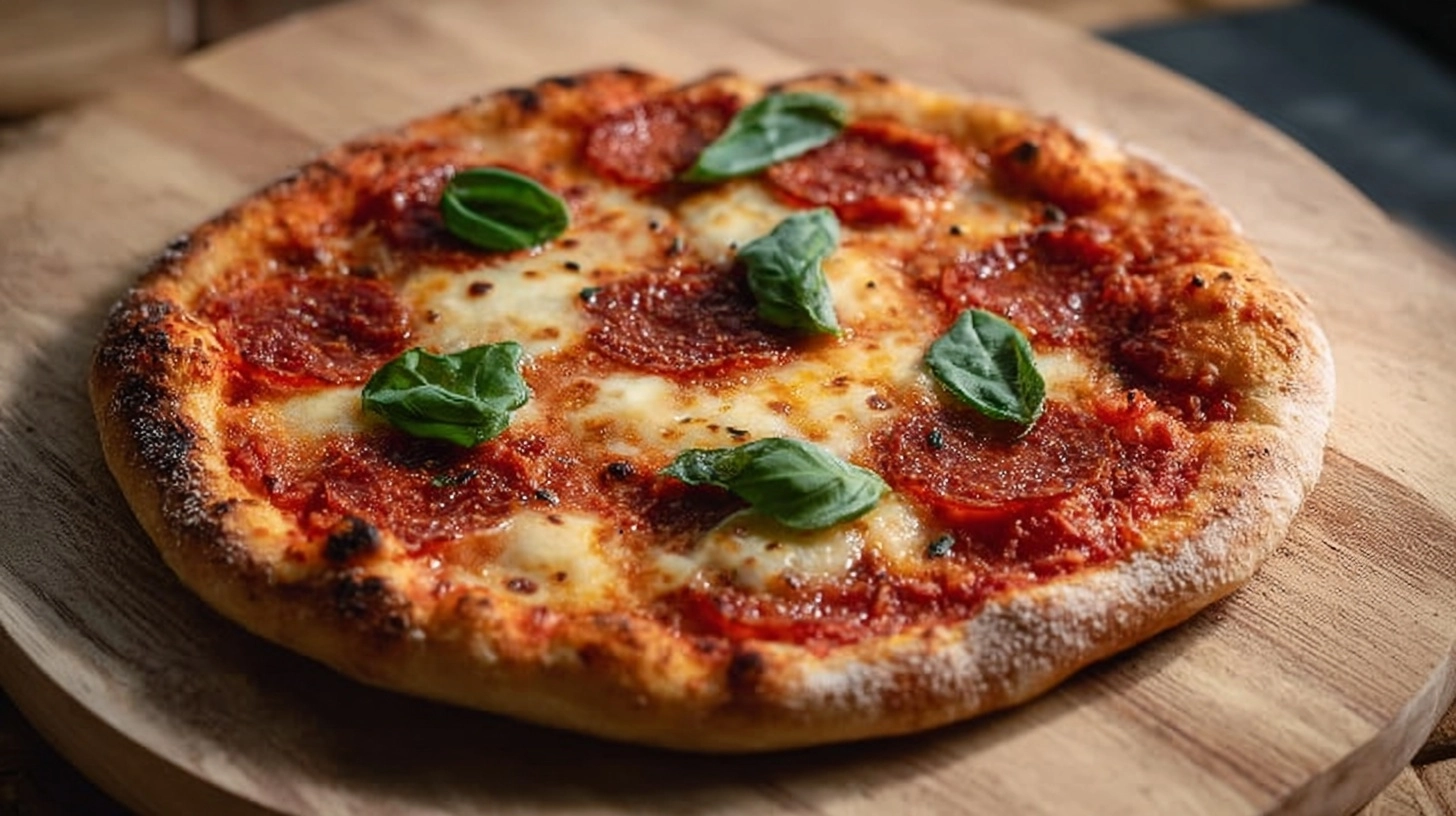
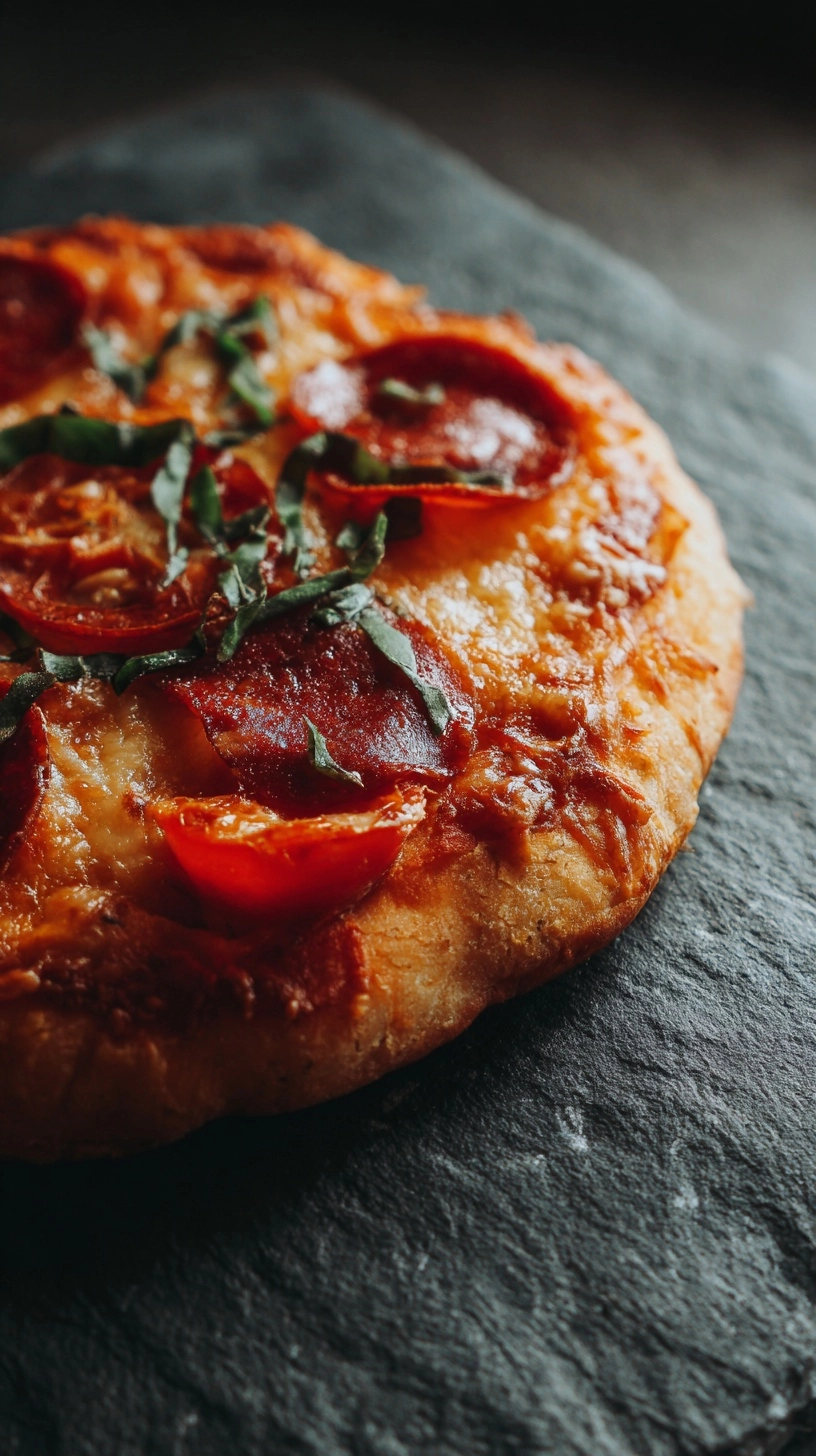
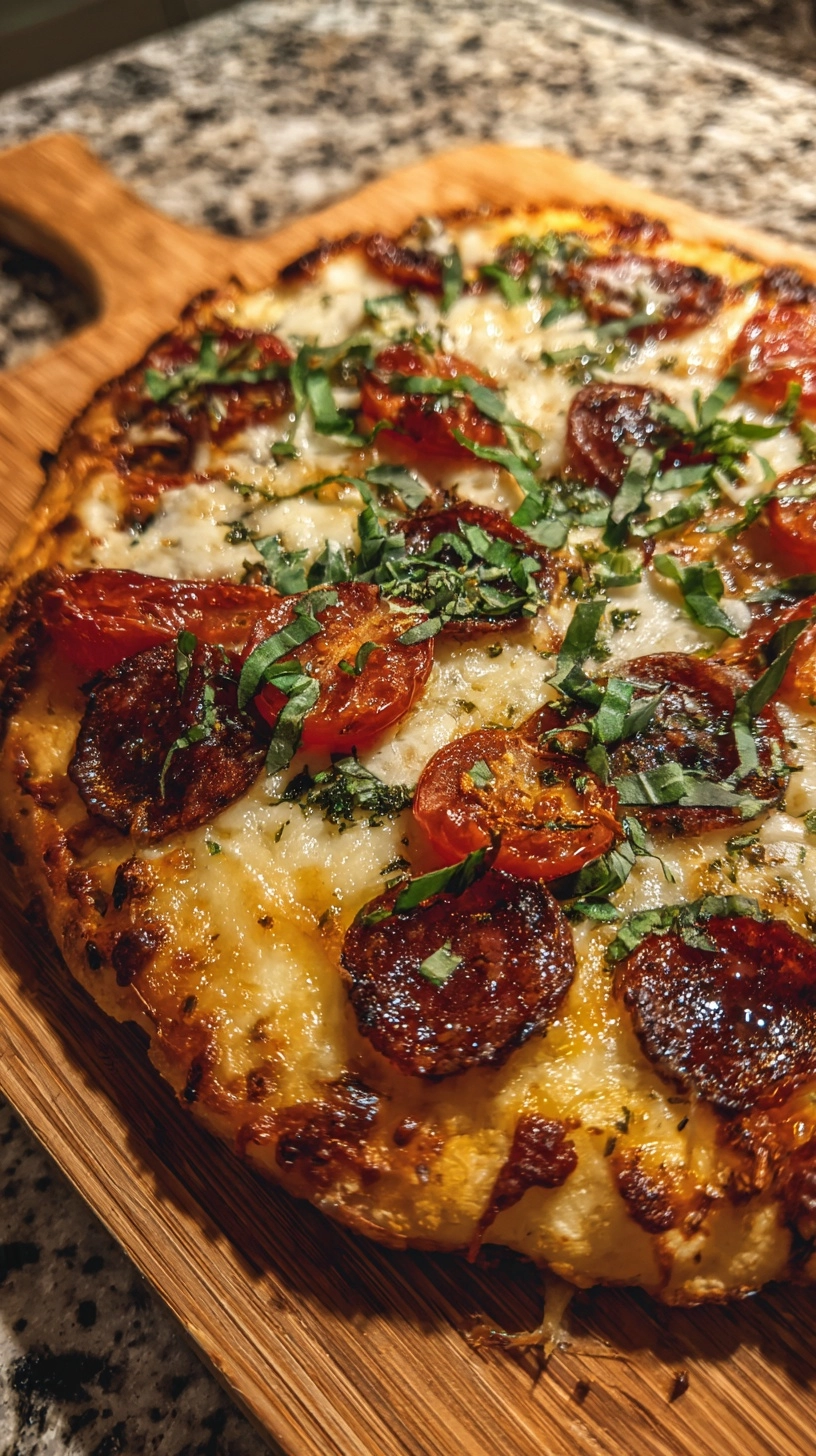
Classic Margherita: Top with crushed tomatoes, fresh mozzarella, and basil for a timeless combination that highlights the dough’s clean flavor.
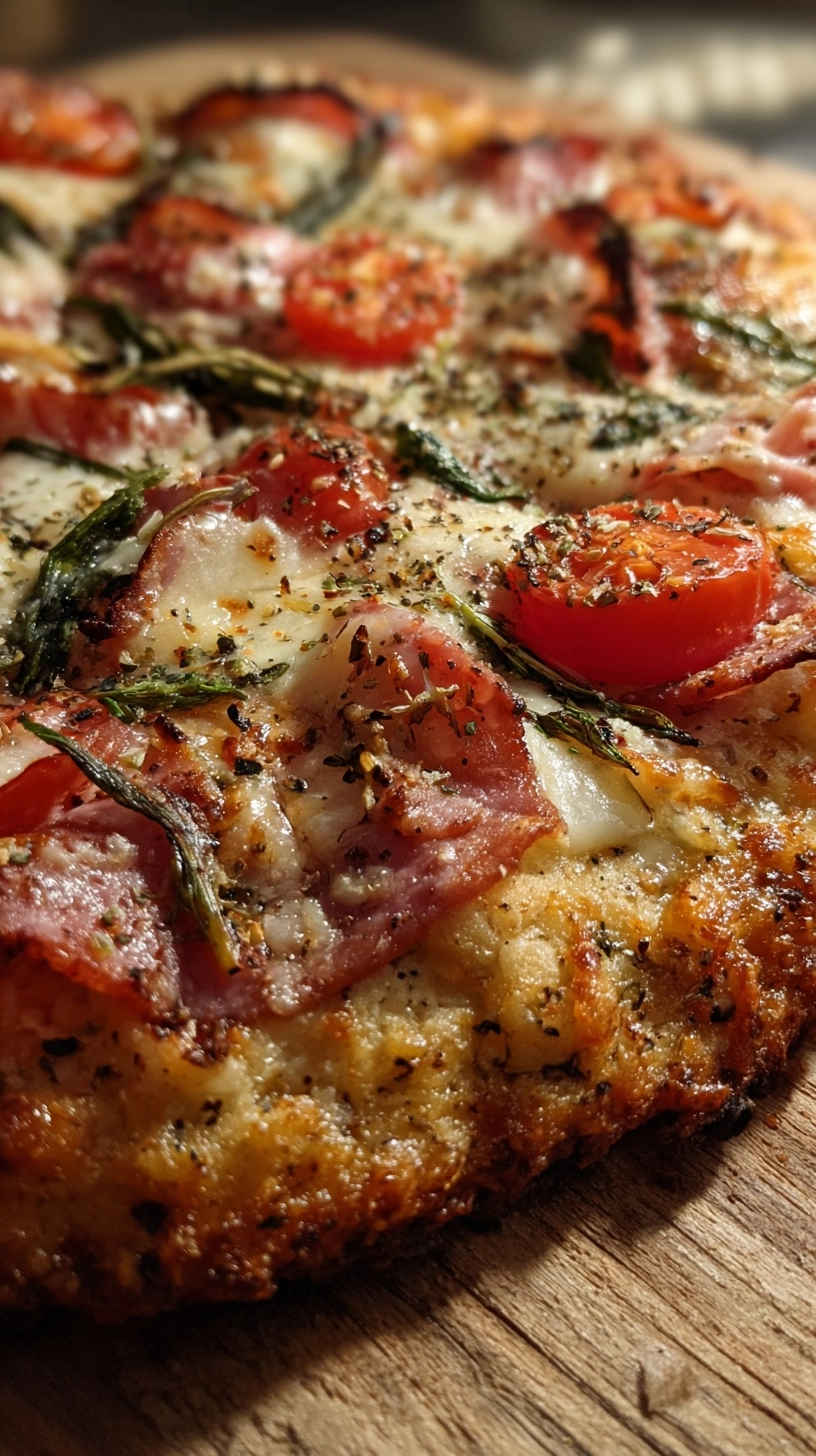
Mediterranean Delight: Spread with olive tapenade, add goat cheese, roasted vegetables, and fresh herbs for a sophisticated twist.
Breakfast Pizza: Use as a base for scrambled eggs, cheese, and vegetables for a protein-rich morning meal.
Dessert Pizza: Brush with olive oil, sprinkle with cinnamon sugar, and top with fresh fruit for an unexpected sweet treat.
Flatbread Alternative: Roll thinner and use as a base for appetizers or as a side for soups and salads.
Common Mistakes to Avoid
Over-hydrating the Dough: Adding too much water creates a sticky mess that won’t hold shape. Stick to the measured amounts for optimal consistency.
Skipping the Yeast Test: Dead yeast results in dense, flat pizza. Always proof your yeast to ensure activity before proceeding.
Under-mixing: Insufficient mixing prevents proper structure development. The 3-minute mixing time is crucial for gluten-free success.
Wrong Oven Temperature: Baking below 450°F prevents proper crust formation. High heat is essential for achieving the desired crispy exterior.
Rushing the Rise Time: Impatience leads to dense results. Allow full rising time for optimal texture and flavor development.
Storing Tips for the Recipe
Refrigerator Storage: Prepared dough keeps for up to 3 days when wrapped tightly in plastic wrap. Let come to room temperature before shaping.
Freezer Storage: Portion and freeze dough for up to 3 months. Thaw overnight in refrigerator and allow 30 minutes at room temperature before use.
Pre-baked Crusts: Partially bake crusts for 5 minutes, cool completely, and freeze for quick weeknight meals. Store between parchment paper for easy separation.
Flour Blend Storage: Pre-mix dry ingredients in bulk and store in airtight containers for up to 6 months. This saves time for future pizza-making sessions.
FAQs
Q: Why does my gluten free pizza dough crack when rolling?
A: Gluten-free dough is more delicate than wheat-based versions. Press and shape gently with your hands rather than rolling with a pin.
Q: Can I make this dough without xanthan gum?
A: Xanthan gum is crucial for binding. As a substitute, use guar gum in equal amounts, though texture may vary slightly.
Q: How do I know when the dough has risen enough?
A: Look for a more than half of increase in size and a slightly domed appearance. The surface should appear smooth and slightly shiny.
Q: Can I use this recipe for other baked goods?
A: While specifically formulated for pizza, this dough works well for flatbreads and focaccia with minor adjustments to hydration.
Q: Why does my crust taste gritty?
A: Ensure you’re using finely ground brown rice flour. Coarse flour creates unpleasant texture. Sift dry ingredients if necessary for smoothness.
Kitchen Mosaic Notes
Thanks for reading! Remember that nutritional values are approximate. For the best results, adapt this recipe to your specific dietary needs.