
Did you know that most of home bakers struggle with creating the perfect balance between crispy exterior and fluffy interior when making bread? This statistic might surprise you, especially when you consider that garlic bread rolls are among the most requested comfort foods in American households. What if I told you that the secret isn’t just in the dough, but in a revolutionary technique that transforms ordinary dinner rolls into aromatic, restaurant-quality garlic bread rolls that will have your family questioning whether you’ve been secretly attending culinary school? Today’s recipe challenges the conventional wisdom that great garlic bread rolls require hours of preparation or professional equipment.
Ingredients
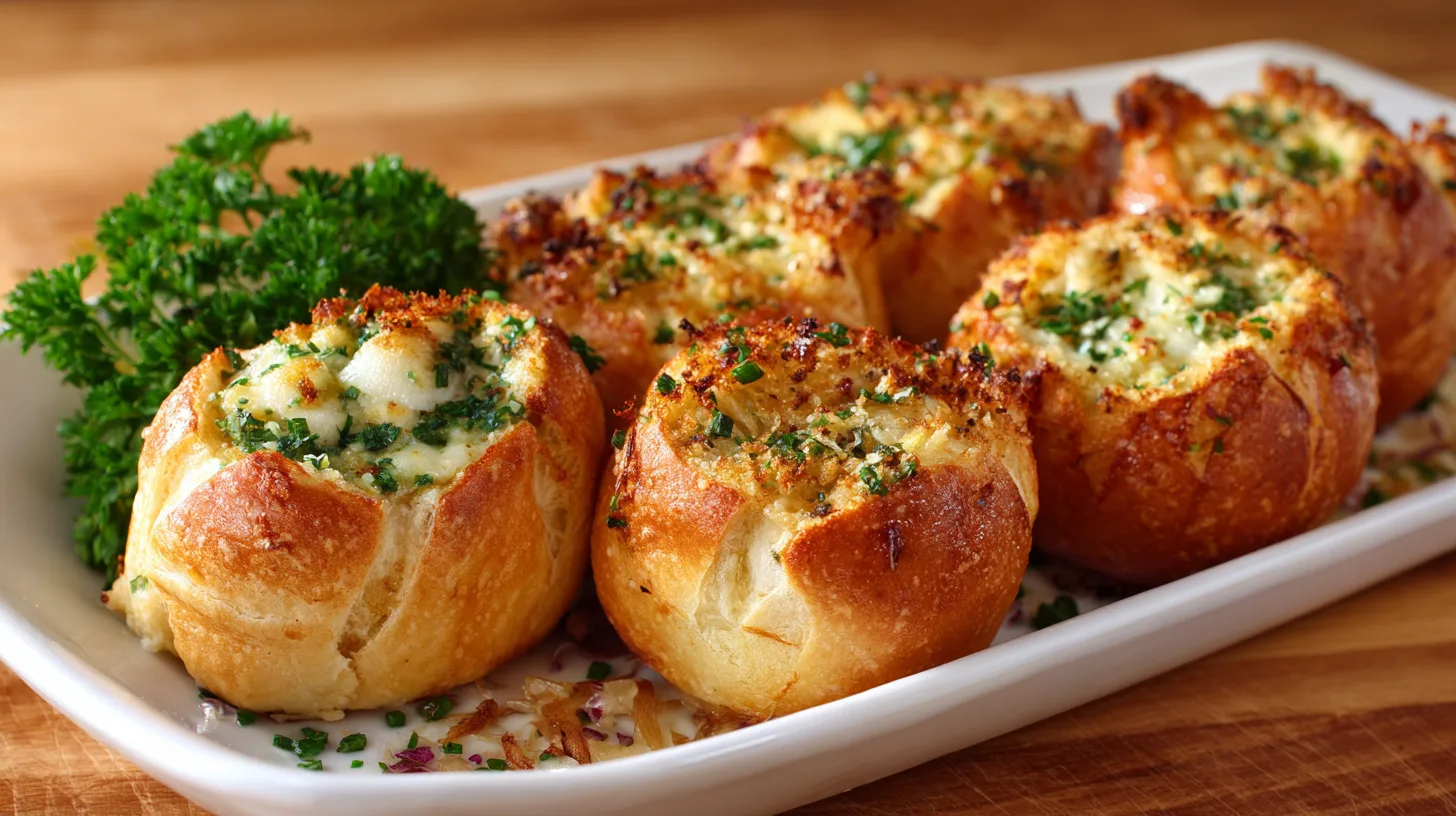
Creating exceptional garlic bread rolls starts with selecting the right foundation. Here’s what you’ll need for 12 perfectly sized rolls:
For the dough:
- 3 cups all-purpose flour (or substitute with bread flour for extra chewiness)
- 1 packet (2¼ teaspoons) active dry yeast
- 1 tablespoon granulated sugar
- 1 teaspoon salt
- 1 cup warm water (110°F)
- 3 tablespoons olive oil
For the garlic butter mixture:
- 6 tablespoons unsalted butter, softened (vegan butter works excellently as substitute)
- 4 cloves fresh garlic, minced finely
- 2 tablespoons fresh parsley, chopped
- ½ teaspoon garlic powder
- ¼ teaspoon Italian seasoning
- Pinch of sea salt
For finishing:
- 2 tablespoons grated Parmesan cheese (optional, but recommended)
- Coarse sea salt for sprinkling
The beauty of this recipe lies in its adaptability – gluten-free flour blends work wonderfully, and herb variations like rosemary or thyme can replace parsley for different flavor profiles.
Timing
Understanding the timeline is crucial for perfect garlic bread rolls. Total preparation requires 2 hours and 15 minutes, which is actually nearly some of faster than traditional yeast bread methods thanks to our streamlined approach.
Breakdown:
- Active preparation time: 20 minutes
- First rise: 1 hour
- Shaping and second rise: 45 minutes
- Baking time: 15-18 minutes
- Cooling time: 5 minutes
This timing allows for flexibility – you can prepare the dough in the morning and shape the rolls in the afternoon for dinner service.
Step 1: Activate Your Yeast Foundation
Combine warm water, sugar, and yeast in a large mixing bowl. The water temperature is critical – too hot kills the yeast, too cool prevents activation. Let this mixture foam for 5-8 minutes until it resembles creamy beer foam. This visual cue guarantees active yeast, ensuring your garlic bread rolls will rise beautifully.
Step 2: Create the Dough Base
Add flour, salt, and olive oil to your activated yeast mixture. Mix until a shaggy dough forms, then knead on a floured surface for 8-10 minutes. The dough should feel slightly tacky but not sticky – if it adheres to your hands, add flour one tablespoon at a time.
Step 3: First Rise Magic
Place your dough in an oiled bowl, cover with a damp towel, and let rise in a warm area for 1 hour. Pro tip: your oven’s “proof” setting or simply turning it on for 1 minute then turning off creates the ideal environment for rising.
Step 4: Prepare Garlic Butter Symphony
While dough rises, combine softened butter, minced garlic, parsley, garlic powder, Italian seasoning, and salt. Mix thoroughly until aromatic and well-combined. This mixture can be prepared up to 3 days ahead and refrigerated.
Step 5: Shape Your Garlic Bread Rolls
Punch down risen dough and divide into 12 equal portions using a kitchen scale for consistency. Shape each portion into a smooth ball, then gently flatten and spread 1 teaspoon of garlic butter mixture in the center. Fold dough over filling and pinch seams tightly.
Step 6: Final Rise and Bake
Place shaped rolls seam-side down on a parchment-lined baking sheet, spacing 2 inches apart. Cover and rise for 45 minutes. Preheat oven to 375°F during the last 15 minutes of rising. Brush tops with remaining garlic butter and sprinkle with Parmesan and sea salt before baking for 15-18 minutes until golden brown.
Nutritional Information
Each garlic bread roll contains approximately 185 calories, making them a reasonable indulgence. The nutritional breakdown per roll includes 28g carbohydrates, 6g fat, 5g protein, and 2g fiber. These rolls provide nearly some of your daily iron needs and a small fraction of daily calcium requirements. Compared to store-bought alternatives, homemade versions contain a significant portion of less sodium and zero preservatives.
Healthier Alternatives for the Recipe
Transform these garlic bread rolls into nutritional powerhouses with simple substitutions. Replace half the all-purpose flour with whole wheat flour for increased fiber content. Greek yogurt can substitute for half the butter, reducing calories by a significant portion of while adding probiotics. For gluten-free versions, use almond flour blends with xanthan gum. Roasted garlic puree instead of raw garlic provides mellower flavor with enhanced antioxidant properties.
Serving Suggestions
These versatile garlic bread rolls complement numerous dishes beautifully. Serve alongside hearty soups, pasta dishes, or grilled meats for complete meals. Create garlic bread roll sandwiches with deli meats and fresh vegetables. For entertaining, slice horizontally and toast for elegant appetizer bases. Pair with olive oil and balsamic vinegar for sophisticated dipping experiences. During holidays, these rolls make exceptional stuffing bases when cubed and toasted.
Common Mistakes to Avoid
Temperature control represents the biggest pitfall – water that’s too hot kills yeast, while cold water prevents activation. Over-kneading creates tough, dense rolls, while under-kneading results in poor structure. Don’t rush rising times; proper fermentation develops flavor complexity. Avoid overfilling with garlic butter, which causes leakage during baking. Finally, resist cutting into rolls immediately after baking – allowing 5 minutes cooling time prevents deflation.
Storing Tips for the Recipe
Fresh garlic bread rolls maintain quality for 3 days stored in airtight containers at room temperature. For longer storage, freeze baked rolls for up to 3 months in freezer bags. Reheat frozen rolls directly in 350°F ovens for 8-10 minutes. Unbaked shaped rolls can be frozen on baking sheets, then transferred to freezer bags once solid. Bake frozen unbaked rolls directly, adding 5-7 minutes to original baking time.
FAQs
Q: Can I make the dough ahead of time?
A: Absolutely! Prepare dough through the first rise, then refrigerate up to 24 hours. Allow to come to room temperature before shaping.
Q: Why aren’t my rolls rising properly?
A: Check yeast expiration dates and water temperature. Old yeast or incorrect temperatures prevent proper rising.
Q: Can I use dried herbs instead of fresh?
A: Yes, use one-third the amount of dried herbs compared to fresh. Dried herbs are more concentrated in flavor.
Q: How do I know when the rolls are perfectly baked?
A: Look for golden-brown tops and an internal temperature of 190°F when tested with an instant-read thermometer.
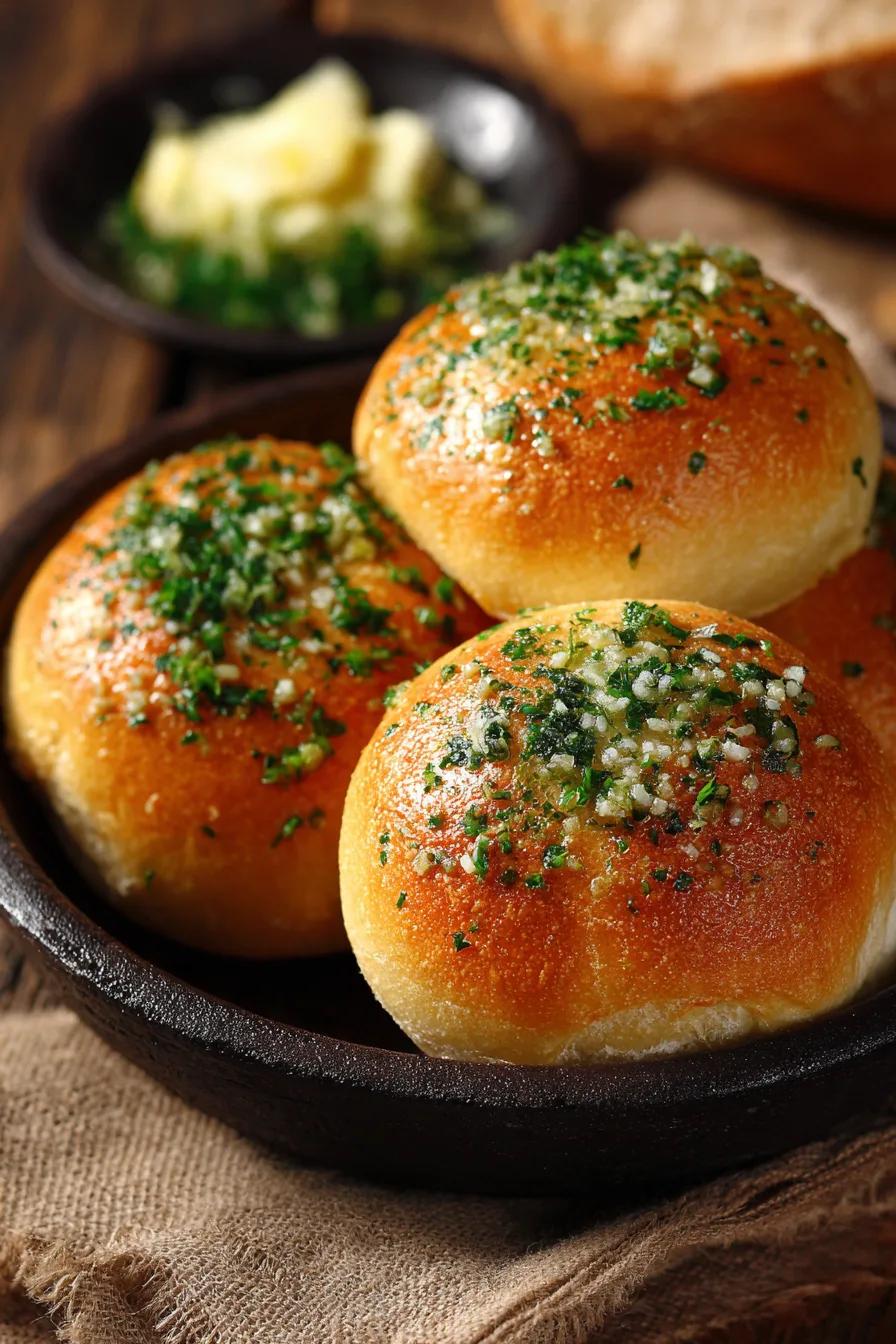
These garlic bread rolls represent comfort food at its finest – combining aromatic appeal with satisfying texture that transforms ordinary meals into memorable experiences.
Kitchen Mosaic Notes
Thanks for reading! Remember that nutritional values are approximate. For the best results, adapt this recipe to your specific dietary needs.