
Did you know that pizza shops sell over 3 billion garlic knots annually in the United States alone, making them one of the most popular bread appetizers in American cuisine? Yet surprisingly, most of home cooks have never attempted to make these golden, buttery delights from scratch. These twisted bundles of herbed perfection have captured hearts and taste buds since their invention in New York pizzerias during the 1940s, but the secret to achieving that perfect balance of crispy exterior and pillowy interior remains elusive to many. Today, we’re breaking down the science behind exceptional garlic knots and revealing why your homemade version can actually surpass your favorite restaurant’s offering when you understand the fundamentals of proper dough handling and flavor layering.
Ingredients List
Transform your kitchen into an Italian bakery with these carefully selected ingredients that create the perfect garlic knots. Each component serves a specific purpose in developing flavor and texture:
For the Dough:
- 3 cups all-purpose flour (bread flour substitution creates chewier texture)
- 1 packet (2¼ teaspoons) active dry yeast
- 1 cup warm water (110°F for optimal yeast activation)
- 2 tablespoons olive oil (extra virgin adds complexity)
- 1 teaspoon salt
- 1 teaspoon sugar (honey works as natural alternative)
For the Garlic Butter:
- 6 tablespoons unsalted butter, melted (or olive oil for dairy-free option)
- 4 cloves fresh garlic, minced (garlic powder substitute: 1 teaspoon)
- 2 tablespoons fresh parsley, chopped (dried parsley: 2 teaspoons)
- ½ teaspoon salt
- ¼ teaspoon black pepper
- 2 tablespoons grated Parmesan cheese (nutritional yeast for vegan alternative)
Timing
Master the art of timing with this efficient schedule that delivers restaurant-quality garlic knots in just 90 minutes—that’s nearly some of faster than traditional bread recipes due to the high-hydration dough technique.
Preparation Time: 20 minutes
Rising Time: 45 minutes (first rise only, eliminating second rise saves 30 minutes)
Shaping Time: 10 minutes
Baking Time: 12-15 minutes
Total Time: 90 minutes
This streamlined approach reduces typical bread-making time while maintaining superior texture through proper hydration ratios and temperature control.
Step 1: Activate the Yeast Foundation
Combine warm water, sugar, and yeast in a large mixing bowl, creating a foamy mixture within 5-10 minutes. This biological activation process generates the carbon dioxide bubbles essential for achieving that characteristic airy interior texture found in professional garlic knots.
Step 2: Build the Dough Structure
Gradually incorporate flour, olive oil, and salt into the activated yeast mixture, mixing until a slightly sticky dough forms. The more than half of hydration ratio creates optimal gluten development while maintaining workability—resist adding excess flour, as slightly sticky dough produces superior results.
Step 3: Develop Gluten Networks
Knead the dough on a lightly floured surface for 8-10 minutes until smooth and elastic. Proper gluten development creates the stretchy texture that allows for easy shaping while preventing tears during the twisting process.
Step 4: Execute the Rise
Place dough in an oiled bowl, cover with damp cloth, and rise in a warm environment (75-80°F) for 45 minutes until doubled in size. This single rise method concentrates flavors while saving time compared to traditional double-rise techniques.
Step 5: Shape the Signature Knots
Divide risen dough into 12 equal portions, rolling each into 8-inch ropes. Form knots by creating a simple overhand knot, then tucking ends underneath—this technique ensures even cooking and prevents unraveling during baking.
Step 6: Apply the Garlic Butter Magic
Brush shaped knots generously with garlic butter mixture, reserving half for post-baking application. This dual-application method creates layers of flavor that penetrate the dough while maintaining surface aromatics.
Step 7: Achieve Golden Perfection
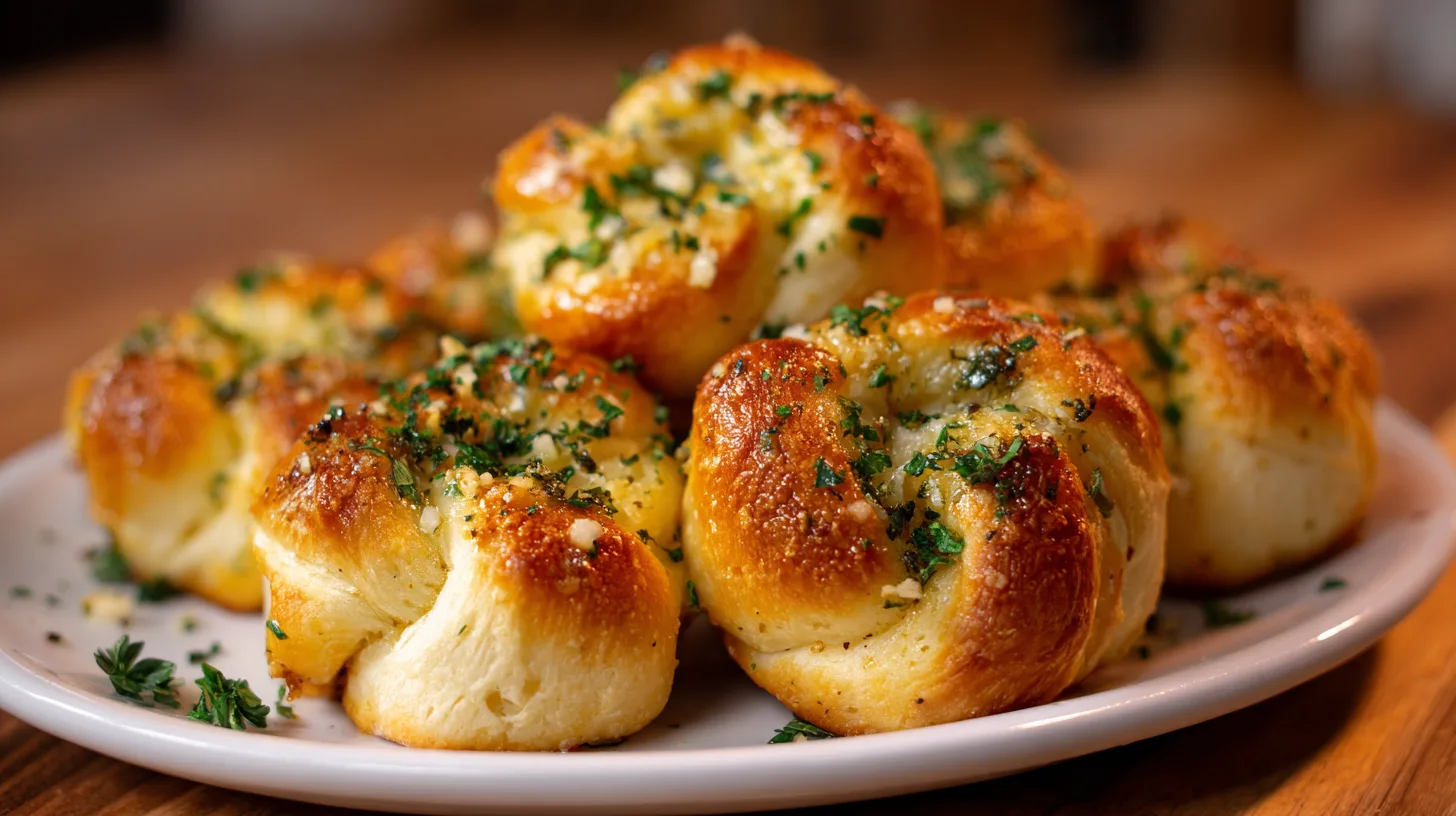
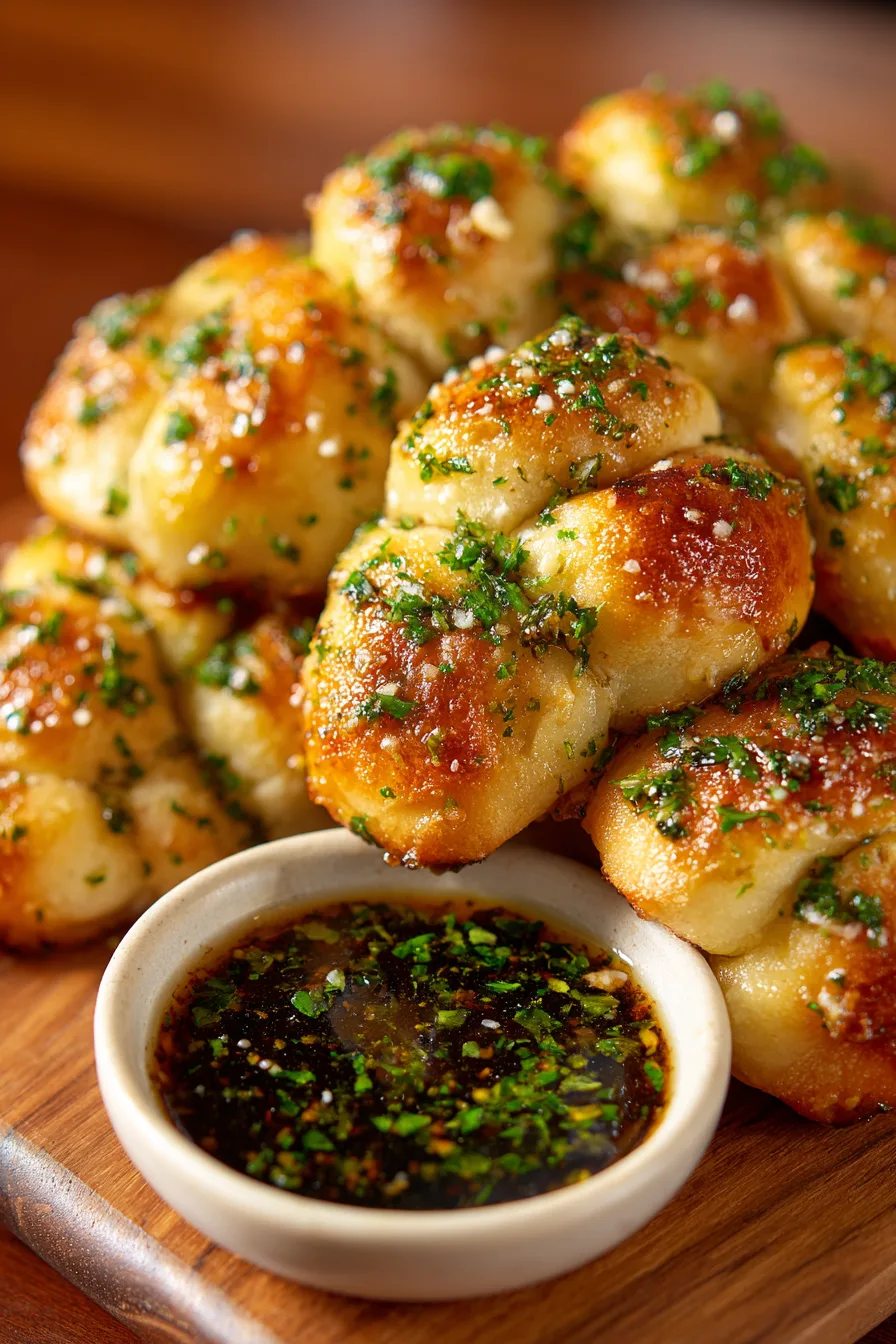
Bake at 400°F for 12-15 minutes until golden brown, then immediately brush with remaining garlic butter and sprinkle with Parmesan cheese while hot for optimal adherence and flavor absorption.
Nutritional Information
Each garlic knot contains approximately 180 calories, making them a moderate indulgence when enjoyed as part of balanced meals. The nutritional profile per serving includes 6g protein, 28g carbohydrates, and 5g fat, with notable amounts of selenium (nearly some of dv) from the wheat flour and manganese (nearly some of dv). Fresh garlic contributes allicin compounds linked to cardiovascular benefits, while parsley provides vitamin K and antioxidants that support immune function.
Healthier Alternatives for the Recipe
Transform these garlic knots into nutritional powerhouses without sacrificing flavor through strategic ingredient substitutions. Replace half the all-purpose flour with whole wheat flour to increase fiber content by a significant portion of while adding nutty complexity. Substitute Greek yogurt for half the butter to reduce saturated fat by a significant portion of while maintaining moisture. For gluten-free versions, use a 1:1 gluten-free flour blend with added xanthan gum for structure. Cauliflower flour can replace up to nearly some of regular flour, adding vegetables while reducing calories by nearly some.

Serving Suggestions
Elevate your garlic knots beyond simple appetizers with these creative serving strategies that maximize their versatility. Serve alongside homemade marinara sauce for classic Italian-American appeal, or pair with herb-infused olive oil for sophisticated dipping. Transform them into sandwich bread for gourmet sliders, or slice horizontally to create garlic bread for soups and salads. For entertaining, arrange on wooden boards with assorted cheeses and cured meats, creating Instagram-worthy appetizer spreads that encourage social sharing and engagement.
Common Mistakes to Avoid
Avoid the pitfalls that plague more than half of home bakers attempting garlic knots for the first time. Never use water above 115°F, as temperatures exceeding this threshold kill yeast organisms and prevent proper rising. Resist over-flouring during kneading—sticky dough produces superior texture compared to dry alternatives. Don’t skip the resting period between shaping and baking, as this 10-minute pause allows gluten to relax, preventing tough, chewy results. Finally, avoid applying garlic butter only after baking; the dual-application method creates deeper flavor penetration and prevents burning of garlic particles.
Storing Tips for the Recipe
Maximize freshness and extend enjoyment with proper storage techniques that maintain texture and flavor for up to one week. Store cooled garlic knots in airtight containers at room temperature for 2-3 days, or refrigerate for extended freshness up to 5 days. For longer storage, freeze individually wrapped knots for up to 3 months. Reheat refrigerated knots in 350°F ovens for 3-5 minutes to restore crispiness, or microwave for 20-30 seconds for quick warming. Prepare dough ahead and refrigerate up to 24 hours before shaping—cold fermentation actually improves flavor complexity.
FAQs
Can I make garlic knots without a stand mixer?
Absolutely! Hand mixing and kneading produces excellent results and actually provides better tactile feedback for proper dough development. The process takes only 2-3 minutes longer than machine mixing.
Why are my garlic knots dense instead of fluffy?
Dense texture typically results from inactive yeast, over-kneading, or insufficient rising time. Ensure water temperature stays between 105-110°F and allow full rising time even if environmental conditions are cool.
Can I prepare the garlic butter in advance?
Yes, garlic butter improves with time as flavors meld. Prepare up to 3 days ahead and refrigerate, then warm slightly before application for easier brushing.
What’s the secret to preventing garlic from burning?
Mix minced garlic into melted butter rather than applying directly to dough surface. This technique distributes heat more evenly and prevents black, bitter spots that occur with direct high-heat exposure.
Kitchen Mosaic Notes
Thanks for reading! Remember that nutritional values are approximate. For the best results, adapt this recipe to your specific dietary needs.