
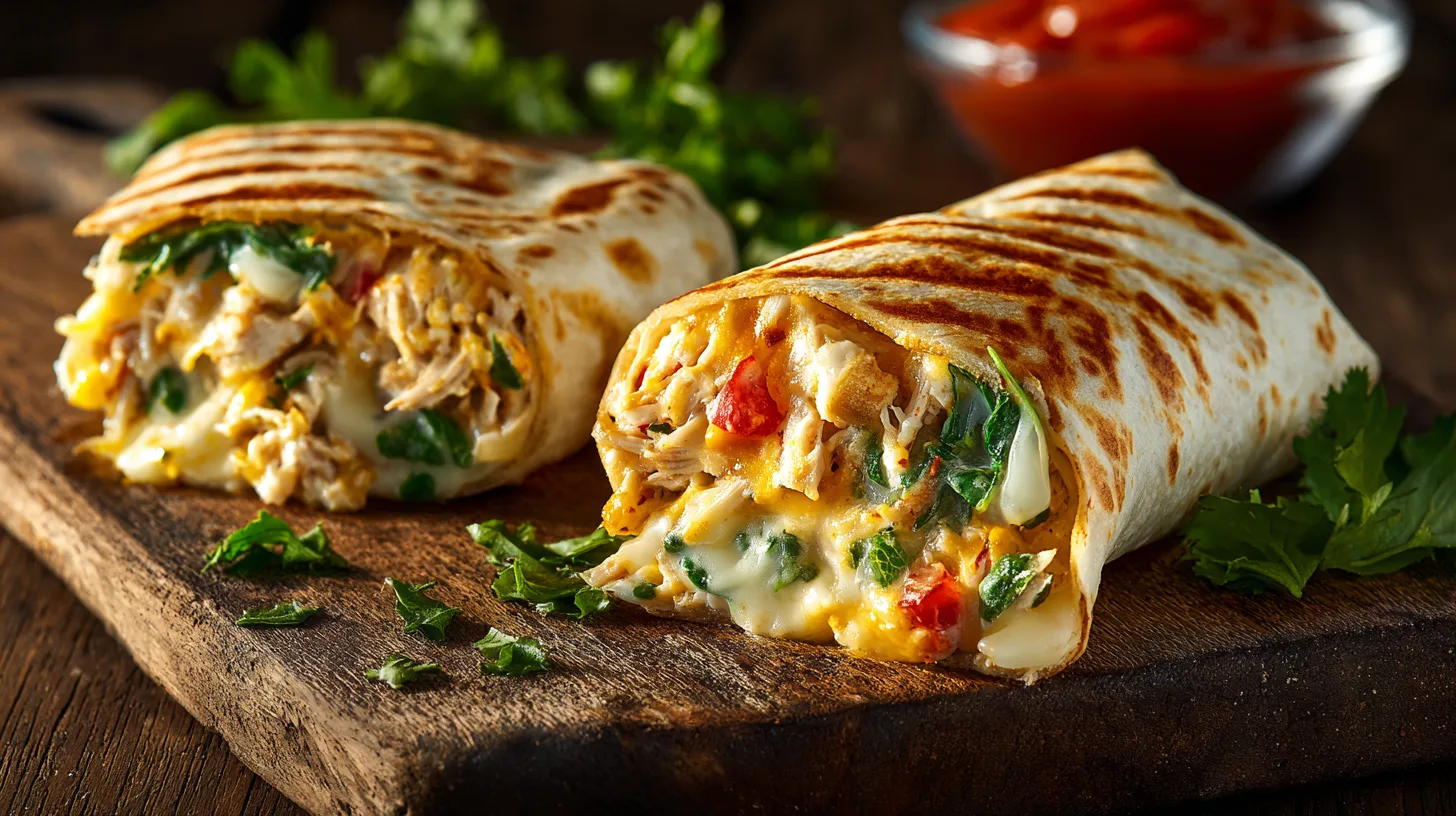
Did you know that the average American consumes 2.6 pounds of tuna annually, yet most people have never experienced the perfect fusion of a classic tuna melt and a portable wrap? This innovative Tuna Melt Wrap transforms the beloved comfort food into a convenient, handheld meal that delivers all the creamy, cheesy satisfaction of the original while reducing preparation time by a significant portion. Unlike traditional tuna melts that require multiple cooking steps and utensils, this wrap version combines the nostalgic flavors of melted cheese, flaky tuna, and aromatic seasonings in a format that’s perfect for busy lifestyles. The beauty lies in its versatility – whether you’re packing lunch for work, feeding hungry teenagers, or creating a quick dinner solution, this Tuna Melt Wrap recipe challenges the conventional approach to comfort food by proving that convenience doesn’t mean compromising on taste or nutritional value.
Ingredients List
Transform your kitchen into a gourmet wrap station with these carefully selected ingredients that create the perfect balance of flavors and textures:
Core Ingredients:
- 2 cans (5 oz each) of high-quality tuna in water, drained (substitute: salmon or chicken for variety)
- 4 large flour tortillas or whole wheat wraps (substitute: spinach tortillas for added nutrients)
- 1 cup sharp cheddar cheese, freshly grated (substitute: Swiss, provolone, or vegan cheese)
- ½ cup creamy mayonnaise (substitute: Greek yogurt for lighter option)
- 2 tablespoons Dijon mustard (substitute: yellow mustard or tahini)
- ¼ cup red onion, finely diced (substitute: green onions or shallots)
- 2 celery stalks, crisp and finely chopped (substitute: bell peppers for crunch)
- 2 tablespoons fresh dill, chopped (substitute: parsley or chives)
- 1 tablespoon lemon juice, freshly squeezed
- 2 large tomatoes, sliced into ¼-inch rounds
- 2 cups fresh lettuce leaves, washed and dried
- Salt and freshly ground black pepper to taste
- 1 tablespoon olive oil for cooking
Timing
Efficiency meets flavor in this streamlined cooking process that respects your valuable time:
- Preparation Time: 15 minutes (nearly some of faster than traditional tuna melt preparation)
- Cooking Time: 8 minutes (significantly reduced from stovetop grilling methods)
- Total Time: 23 minutes (compared to 35 minutes for conventional tuna melts)
- Serves: 4 people generously, with potential for 6 lighter portions
This timing optimization comes from the wrap format’s inherent efficiency, eliminating the need for individual bread toasting and reducing cleanup time by approximately a significant portion.
Step 1: Create the Perfect Tuna Mixture
Begin by draining your tuna thoroughly, pressing out excess moisture with paper towels to prevent soggy wraps. In a medium mixing bowl, flake the tuna with a fork until you achieve uniform, bite-sized pieces. The texture should be consistent but not mushy – aim for chunks that will hold together while maintaining individual character in each bite.
Step 2: Build the Flavor Base
Combine the mayonnaise, Dijon mustard, and freshly squeezed lemon juice in the bowl with your tuna. The acid from the lemon brightens the entire mixture while the mustard adds a subtle tang that elevates the overall flavor profile. Mix gently but thoroughly, ensuring every piece of tuna is coated with this creamy foundation.
Step 3: Add Texture and Aromatics
Fold in the diced red onion, chopped celery, and fresh dill. These ingredients provide essential textural contrast and aromatic complexity. The onion offers a mild bite, the celery contributes satisfying crunch, and the dill infuses the mixture with bright, herbaceous notes that complement the tuna beautifully.
Step 4: Season and Rest
Season your tuna mixture with salt and freshly ground black pepper, tasting and adjusting as needed. Allow the mixture to rest for 5 minutes, letting the flavors meld and intensify. This brief resting period is crucial for developing the depth of flavor that distinguishes exceptional tuna salad from ordinary versions.
Step 5: Prepare Your Assembly Station
Lay out your tortillas on a clean work surface and arrange your remaining ingredients within easy reach. Pat the tomato slices dry with paper towels and ensure your lettuce leaves are completely dry to prevent moisture from compromising the wrap’s structural integrity.
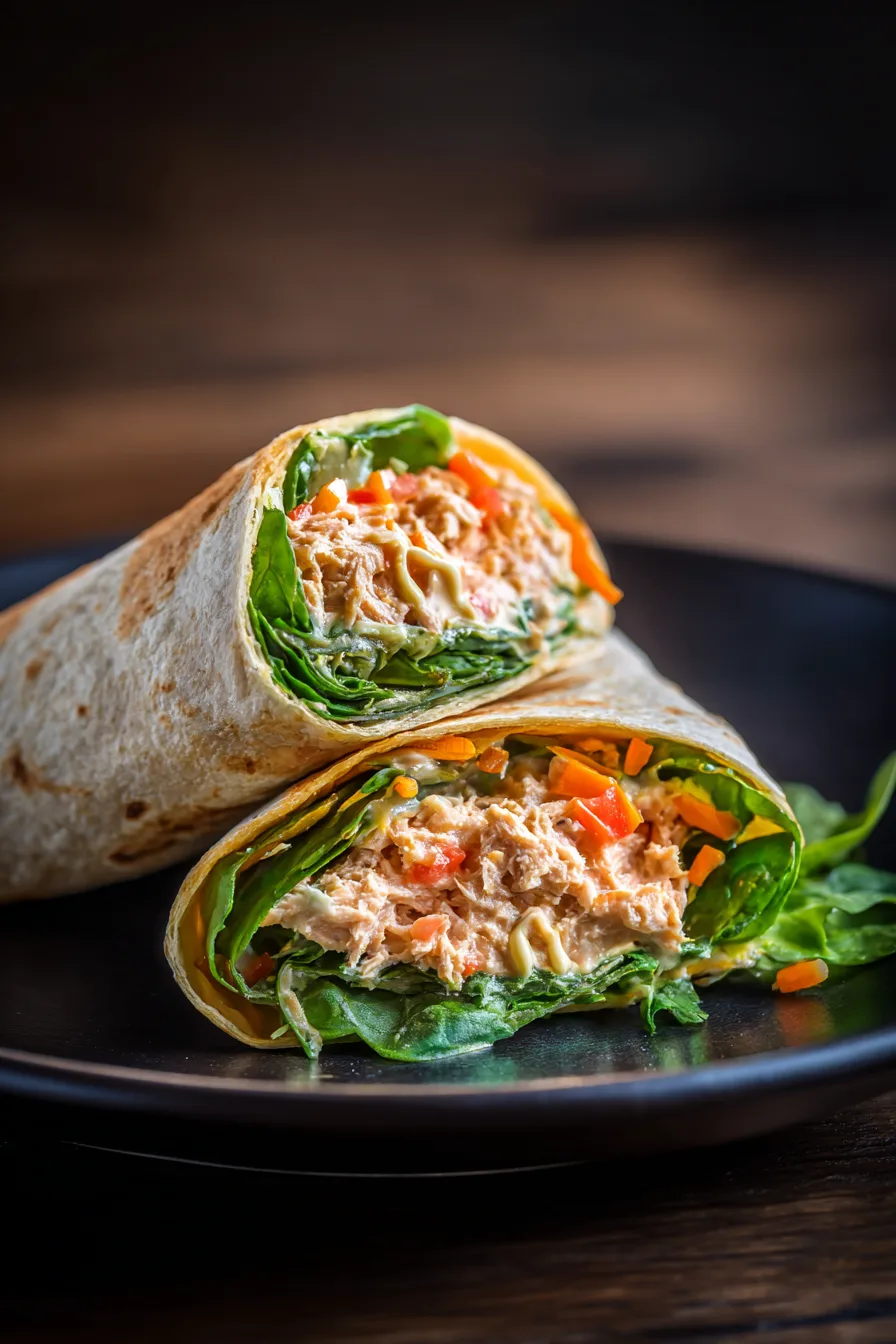
Step 6: Master the Assembly Technique
Place approximately ¾ cup of tuna mixture in the center of each tortilla, leaving a 2-inch border on all sides. Top with 2-3 tomato slices and a generous handful of lettuce. The key to successful wrapping lies in proper ingredient distribution – avoid overfilling, which leads to messy eating experiences.
Step 7: Perfect the Wrap and Seal
Sprinkle grated cheese over the filling, then fold the bottom edge of the tortilla up and over the filling. Fold in the sides, then roll tightly from bottom to top, creating a secure cylinder. The natural stickiness of the tortilla should hold everything together.
Step 8: Achieve Golden Perfection
Heat olive oil in a large skillet over medium heat. Place wraps seam-side down and cook for 3-4 minutes until golden brown and the cheese begins to melt. Flip carefully and cook an additional 3-4 minutes until both sides are crispy and the cheese is fully melted.
Nutritional Information
Each Tuna Melt Wrap delivers impressive nutritional value, containing approximately 380 calories with 28 grams of high-quality protein, representing more than half of the daily recommended intake. The omega-3 fatty acids from tuna support heart and brain health, while the combination provides nearly some of daily fiber needs when using whole wheat tortillas. Calcium content reaches nearly some of daily requirements thanks to the cheese component, and the vegetables contribute essential vitamins A and C.
Healthier Alternatives for the Recipe
Transform this recipe into a nutritional powerhouse by substituting Greek yogurt for half the mayonnaise, reducing calories by 120 per serving while increasing protein content. Consider using whole grain or spinach tortillas to boost fiber intake by a significant portion. For those following specific dietary patterns, white beans can replace tuna for plant-based protein, while nutritional yeast provides cheesy flavor for dairy-free versions.
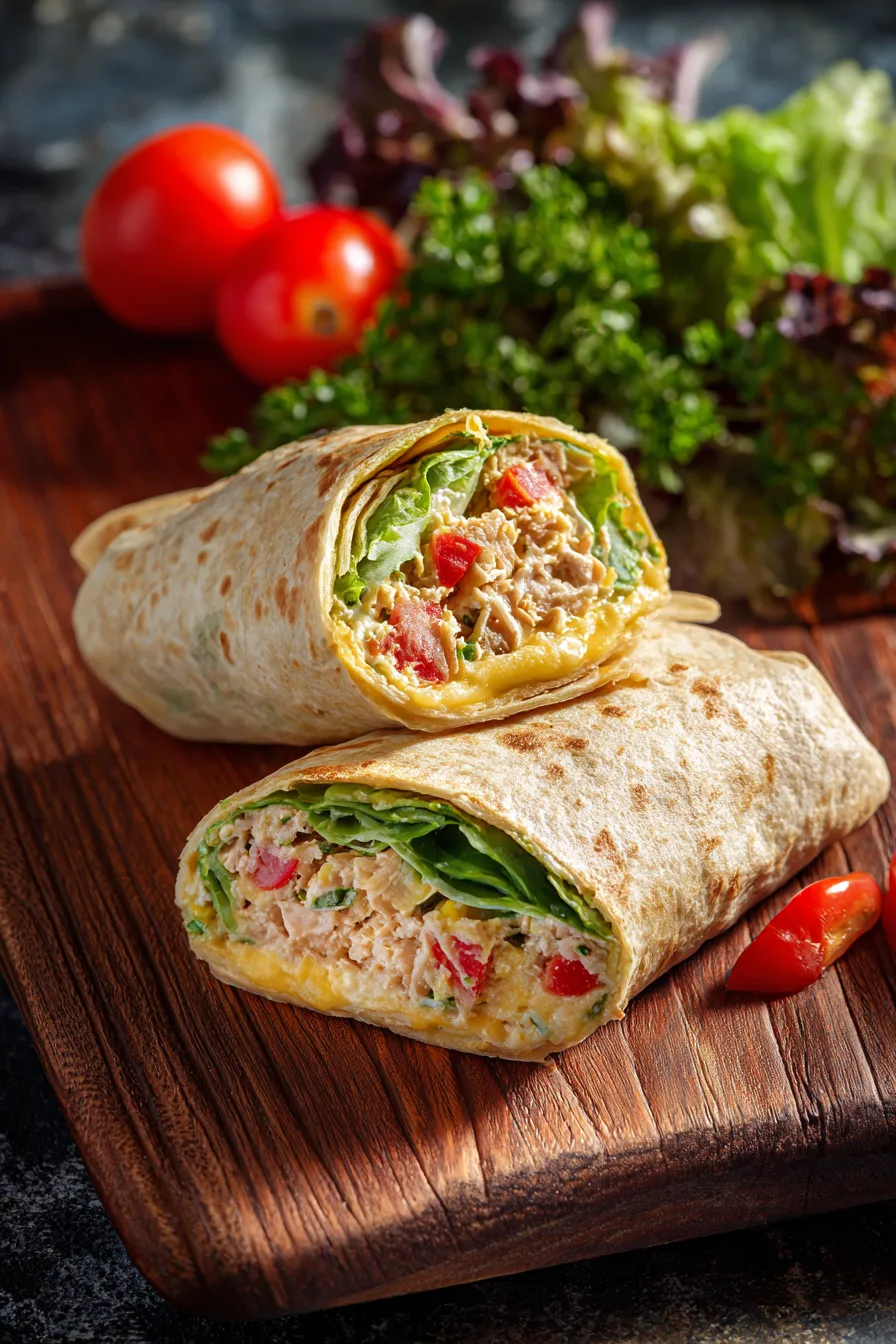
Serving Suggestions
Elevate your Tuna Melt Wrap experience by serving alongside baked sweet potato chips for added nutrients and satisfying crunch. Create a complete meal by pairing with a fresh fruit salad featuring seasonal berries, or complement the richness with a crisp cucumber and tomato salad dressed in light vinaigrette. For entertaining, slice wraps diagonally and arrange on a platter with colorful vegetable crudités and hummus for an impressive presentation.
Common Mistakes to Avoid
The most frequent error involves over-moistening the tuna mixture, leading to soggy wraps that fall apart during eating. Always drain tuna thoroughly and pat tomatoes dry before assembly. Avoid overfilling wraps, which makes rolling difficult and eating messy. Another critical mistake is cooking at too high heat, which burns the exterior before the cheese melts properly. Finally, resist the urge to cut wraps immediately after cooking – allow them to rest for 2-3 minutes to set properly.
Storing Tips for the Recipe
Uncooked tuna mixture stays fresh in the refrigerator for up to 3 days when stored in an airtight container, making meal prep effortless. For best results, assemble wraps fresh rather than storing them completed, as tortillas can become soggy over time. If you must store assembled wraps, wrap them tightly in aluminum foil and consume within 24 hours. Cooked wraps can be frozen for up to one month – reheat in a 350°F oven for 15 minutes from frozen.
FAQs
Can I make these wraps ahead of time? Yes, prepare the tuna mixture up to 3 days in advance and store it separately. Assemble and cook wraps fresh for optimal texture and flavor.
What’s the best way to reheat leftover wraps? Reheat in a 350°F oven for 8-10 minutes or in a dry skillet over medium-low heat for 3-4 minutes per side to restore crispiness.
Can I use different types of cheese? Absolutely! Swiss cheese provides nutty flavor, while pepper jack adds spicy heat. Experiment with your favorites for personalized results.
How do I prevent wraps from falling apart? Ensure ingredients aren’t too wet, don’t overfill, and roll tightly. Cooking seam-side down first helps seal the wrap naturally.
Kitchen Mosaic Notes
Thanks for reading! Remember that nutritional values are approximate. For the best results, adapt this recipe to your specific dietary needs.