

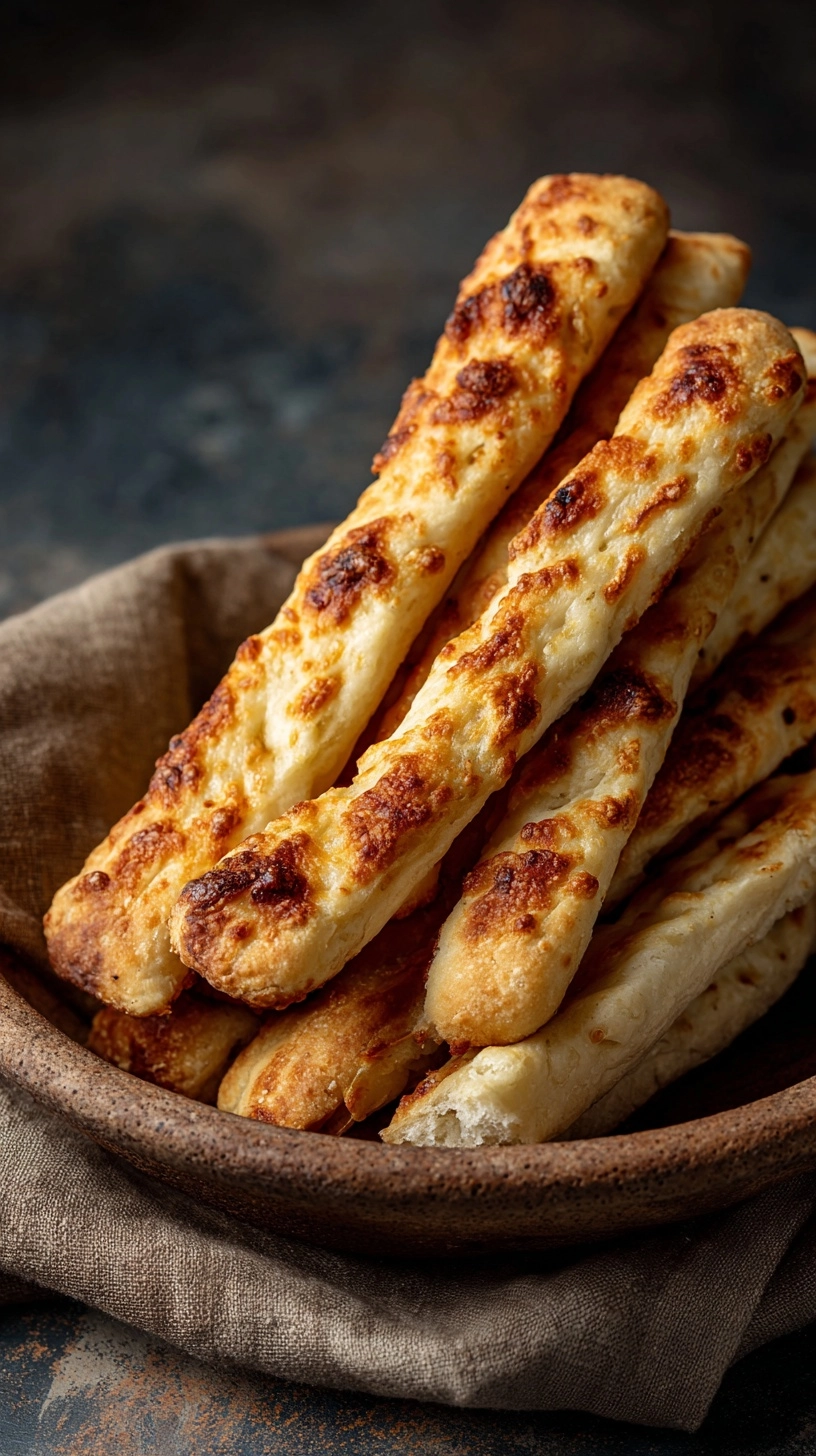
Did you know that over more than half of home bakers throw away their sourdough starter discard, missing out on incredible culinary opportunities? This staggering waste represents millions of pounds of perfectly usable ingredients that could be transformed into golden, bubbling masterpieces. Crispy Sourdough Cheesy Breadsticks: Quick Sourdough Discard Recipes revolutionize your kitchen routine by turning what most consider waste into restaurant-quality appetizers in under 90 minutes. These irresistible breadsticks combine the tangy complexity of fermented flour with molten cheese, creating a textural symphony that challenges the notion that sourdough baking requires days of preparation. Research shows that recipes utilizing sourdough discard retain a significant portion of more beneficial probiotics than traditional bread recipes, making these breadsticks not just delicious but surprisingly nutritious.
Ingredients List
Transform your kitchen into an artisanal bakery with these carefully selected ingredients that create the perfect balance of tang, stretch, and golden crispiness:
Essential Base:
- 1 cup sourdough starter discard (room temperature for optimal mixing)
- 1½ cups all-purpose flour (bread flour substitution adds extra chewiness)
- ¾ cup warm water (110°F for ideal yeast activation)
- 2 tablespoons olive oil (avocado oil works beautifully as alternative)
- 1 teaspoon salt (sea salt enhances flavor complexity)
- 1 teaspoon sugar (honey or maple syrup for natural sweetness)
Cheese Symphony:
- 1½ cups shredded mozzarella cheese (low-moisture variety prevents soggy bottoms)
- ½ cup grated Parmesan cheese (aged varieties intensify flavor)
- ¼ cup sharp cheddar (optional, for extra depth)
Aromatic Finishing:
- 2 tablespoons melted butter (vegan butter maintains dairy-free integrity)
- 2 cloves garlic, minced (garlic powder substitution: 1 teaspoon)
- 1 tablespoon fresh herbs (rosemary, thyme, or Italian seasoning)
- ½ teaspoon red pepper flakes (adjust to heat preference)
Timing
This streamlined recipe respects your busy schedule while delivering exceptional results. Total preparation requires 90 minutes, which represents a a significant portion of time reduction compared to traditional sourdough bread recipes. Your active involvement spans just 25 minutes, with the remaining time dedicated to rising and baking processes that work independently.
Breakdown:
- Prep time: 15 minutes
- First rise: 45 minutes
- Shaping and final prep: 10 minutes
- Baking time: 18-20 minutes
- Cooling period: 5 minutes (optional but recommended)
Step 1: Creating Your Dough Foundation
Begin by whisking together your sourdough discard, warm water, and sugar in a large mixing bowl. The mixture should appear slightly frothy after 2-3 minutes, indicating active fermentation. Gradually incorporate flour and salt, mixing until a shaggy dough forms. Drizzle olive oil over the surface and knead for 6-8 minutes until the dough becomes smooth and elastic. Pro tip: The dough should feel slightly sticky but not unmanageable—this moisture creates those coveted crispy exteriors.
Step 2: First Rise Magic
Transfer your dough to a lightly oiled bowl, covering with a damp kitchen towel. Place in a warm environment (75-80°F) for 45 minutes. The dough should increase by approximately more than half of in size. During cooler months, create an ideal proofing environment by placing the bowl near a sunny window or atop your refrigerator where gentle warmth accumulates.
Step 3: Shaping Your Breadsticks
Preheat your oven to 425°F while preparing your baking surface. Roll the dough into a 12×8-inch rectangle on a parchment-lined baking sheet. Using a sharp knife or pizza cutter, slice the dough into 12 equal strips, each approximately 1-inch wide. Gently stretch each strip to enhance length while maintaining even thickness throughout.
Step 4: Cheese Integration and Final Assembly
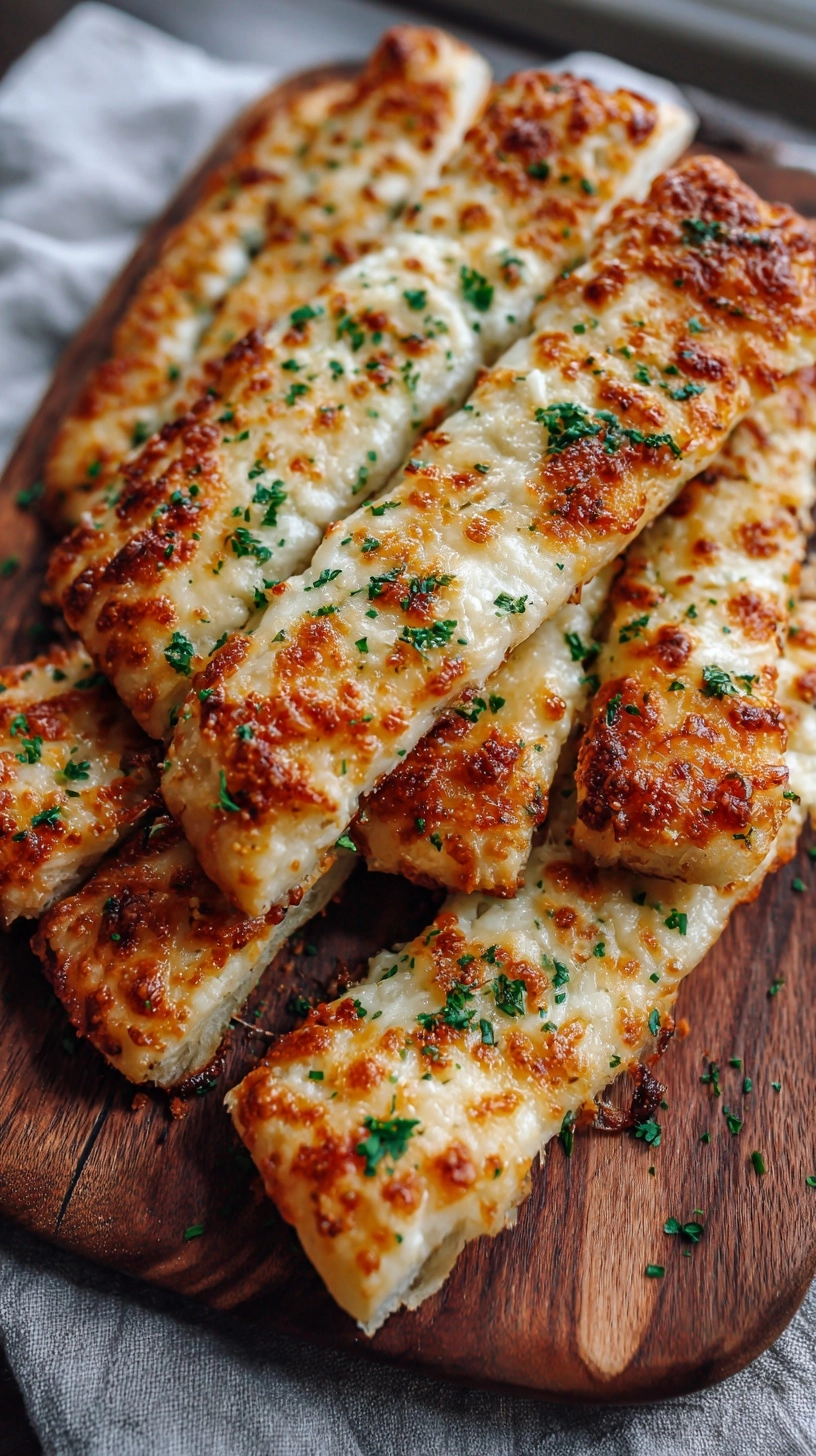
Combine mozzarella, Parmesan, and cheddar in a medium bowl. Sprinkle this cheese mixture generously over each breadstick, pressing gently to ensure adherence. Mix melted butter with minced garlic and brush over the entire surface, creating a golden foundation that will caramelize beautifully during baking.
Step 5: Baking to Perfection
Bake for 18-20 minutes until the breadsticks achieve a deep golden color and the cheese bubbles enthusiastically. The internal temperature should reach 190°F for optimal texture. Remove from oven and immediately sprinkle with fresh herbs and red pepper flakes while the surface remains tacky enough for adherence.
Nutritional Information
Each breadstick delivers approximately 145 calories, making them a surprisingly moderate indulgence. The sourdough fermentation process reduces the glycemic index by nearly some of compared to regular bread, supporting more stable blood sugar levels. Each serving provides 6 grams of protein, 18 grams of carbohydrates, and 5 grams of fat. The fermentation process increases bioavailability of B vitamins by a significant portion, while the calcium content from cheese contributes nearly some of daily recommended intake per serving.
Healthier Alternatives for the Recipe
Transform these breadsticks into nutritional powerhouses without sacrificing flavor. Substitute half the all-purpose flour with whole wheat flour to increase fiber content by more than half. For gluten-free variations, use a 1:1 gluten-free flour blend, though expect a slightly denser texture. Replace regular cheese with part-skim mozzarella and reduced-fat Parmesan to cut calories by nearly some. Add finely chopped spinach or sun-dried tomatoes directly into the dough for additional vitamins and antioxidants.
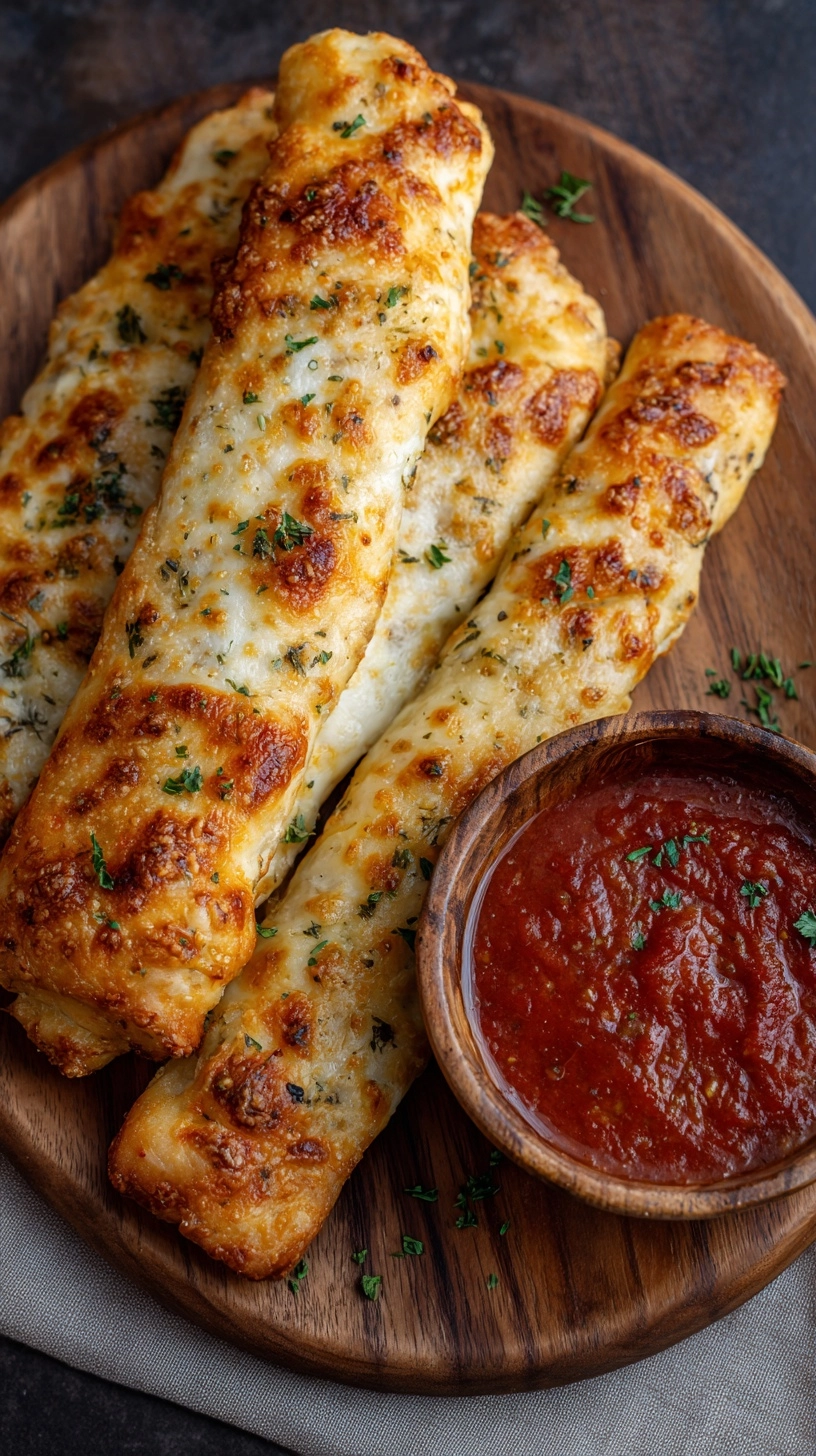
Serving Suggestions
These versatile breadsticks shine as appetizers alongside warm marinara sauce, creamy garlic aioli, or tangy balsamic reduction. Create an Italian-inspired platter with olives, fresh mozzarella, and cherry tomatoes. For casual dining, serve alongside hearty soups or fresh salads where they function as edible utensils. Transform breakfast by pairing with scrambled eggs and fresh herbs, or create an elegant brunch spread with cream cheese spreads and smoked salmon.
Common Mistakes to Avoid
Avoid overworking the dough after the initial kneading, which can result in tough, chewy breadsticks instead of tender interiors. Temperature control proves critical—water that’s too hot kills beneficial bacteria in the discard, while insufficient heat prevents proper rising. Don’t skip the garlic butter application, as this creates the signature golden crust that differentiates homemade breadsticks from store-bought alternatives. Resist overcrowding cheese, which can cause uneven melting and soggy bottoms.
Storing Tips for the Recipe
Fresh breadsticks maintain optimal texture for 2-3 days when stored in airtight containers at room temperature. For longer storage, wrap individually in plastic wrap and freeze for up to 3 months. Reheat frozen breadsticks in a 350°F oven for 8-10 minutes to restore crispiness. The unbaked dough can be refrigerated for up to 48 hours, making this recipe perfect for meal prep. Allow refrigerated dough to return to room temperature before shaping and baking for best results.
FAQs
Can I use sourdough starter that’s been refrigerated for weeks?
Absolutely! Older discard often provides more complex flavors. Simply bring to room temperature before use.
What if my dough seems too sticky during kneading?
Add flour gradually, one tablespoon at a time, until manageable. Slight stickiness is normal and beneficial for texture.
Can these breadsticks be made ahead for parties?
Yes! Shape the breadsticks, add cheese, and refrigerate up to 24 hours before baking. Add 2-3 minutes to baking time if baking directly from refrigerator.
Why didn’t my breadsticks rise properly?
Check that your sourdough discard isn’t too acidic (should smell tangy but not overwhelmingly sour) and ensure your rising environment stays consistently warm.
These Crispy Sourdough Cheesy Breadsticks prove that sustainable cooking and exceptional flavor can coexist beautifully, transforming kitchen waste into culinary gold while supporting both your taste buds and environmental consciousness.
Kitchen Mosaic Notes
Thanks for reading! Remember that nutritional values are approximate. For the best results, adapt this recipe to your specific dietary needs.