
Did you know that the average restaurant chicken tender contains up to a significant portion of more calories than homemade versions, yet lacks the satisfying crunch that makes this dish irresistible? While many believe that achieving restaurant-quality crispy homemade baked chicken tenders requires deep frying, innovative baking techniques can deliver that coveted golden exterior and juicy interior with significantly less oil. Recent culinary studies show that properly seasoned and coated baked chicken tenders can achieve a crispiness level that rivals their fried counterparts, making them a healthier choice without compromising on flavor or texture.
Ingredients List
Transform your kitchen into a gourmet experience with these carefully selected ingredients that create the perfect balance of flavor and texture:
For the Chicken:
- 2 lbs boneless, skinless chicken breasts, cut into strips
- 1 cup all-purpose flour (substitute: almond flour for gluten-free)
- 2 large eggs, beaten
- 2 cups panko breadcrumbs (substitute: crushed cornflakes for extra crunch)
- 1 cup grated Parmesan cheese
- 2 teaspoons garlic powder
- 2 teaspoons onion powder
- 1 teaspoon smoked paprika
- 1 teaspoon dried oregano
- 1 teaspoon salt
- ½ teaspoon black pepper
- ¼ teaspoon cayenne pepper (optional, for heat)
- 3 tablespoons olive oil or melted butter
For Enhanced Flavor:
- 1 cup buttermilk for marinating (substitute: regular milk + 1 tablespoon lemon juice)
- 1 teaspoon hot sauce (optional)
Timing
Total Time: 75 minutes (nearly some of faster than traditional preparation methods)
- Prep Time: 20 minutes
- Marinating Time: 30 minutes
- Cooking Time: 25 minutes
This streamlined process delivers restaurant-quality results in under 90 minutes, making it perfect for weeknight dinners or weekend meal prep sessions.
Step 1: Prepare the Chicken Base
Begin by cutting your chicken breasts into even strips, approximately ¾-inch thick. This uniform sizing ensures consistent cooking throughout. Submerge the chicken strips in buttermilk mixed with hot sauce, allowing them to marinate for 30 minutes. This crucial step tenderizes the meat while infusing subtle tangy flavors that complement the crispy coating.
Step 2: Create the Three-Station Breading System
Set up three shallow dishes in assembly-line fashion. Fill the first with seasoned flour, the second with beaten eggs, and the third with your panko-Parmesan mixture combined with all spices. This organized approach prevents cross-contamination and ensures each tender receives optimal coating coverage.
Step 3: Master the Coating Technique
Remove chicken from buttermilk and let excess drip off. Dredge each strip in flour, ensuring complete coverage, then dip in beaten eggs, and finally press firmly into the breadcrumb mixture. The key to maximum crispiness lies in gentle pressing – this helps the coating adhere while creating texture.
Step 4: Optimize Your Baking Setup
Preheat your oven to 425°F and line a baking sheet with parchment paper. Place a wire rack on top for optimal air circulation. Lightly brush or spray the rack with oil to prevent sticking. This elevated cooking method allows hot air to circulate around each tender, creating an evenly crispy exterior.
Step 5: Execute the Perfect Bake
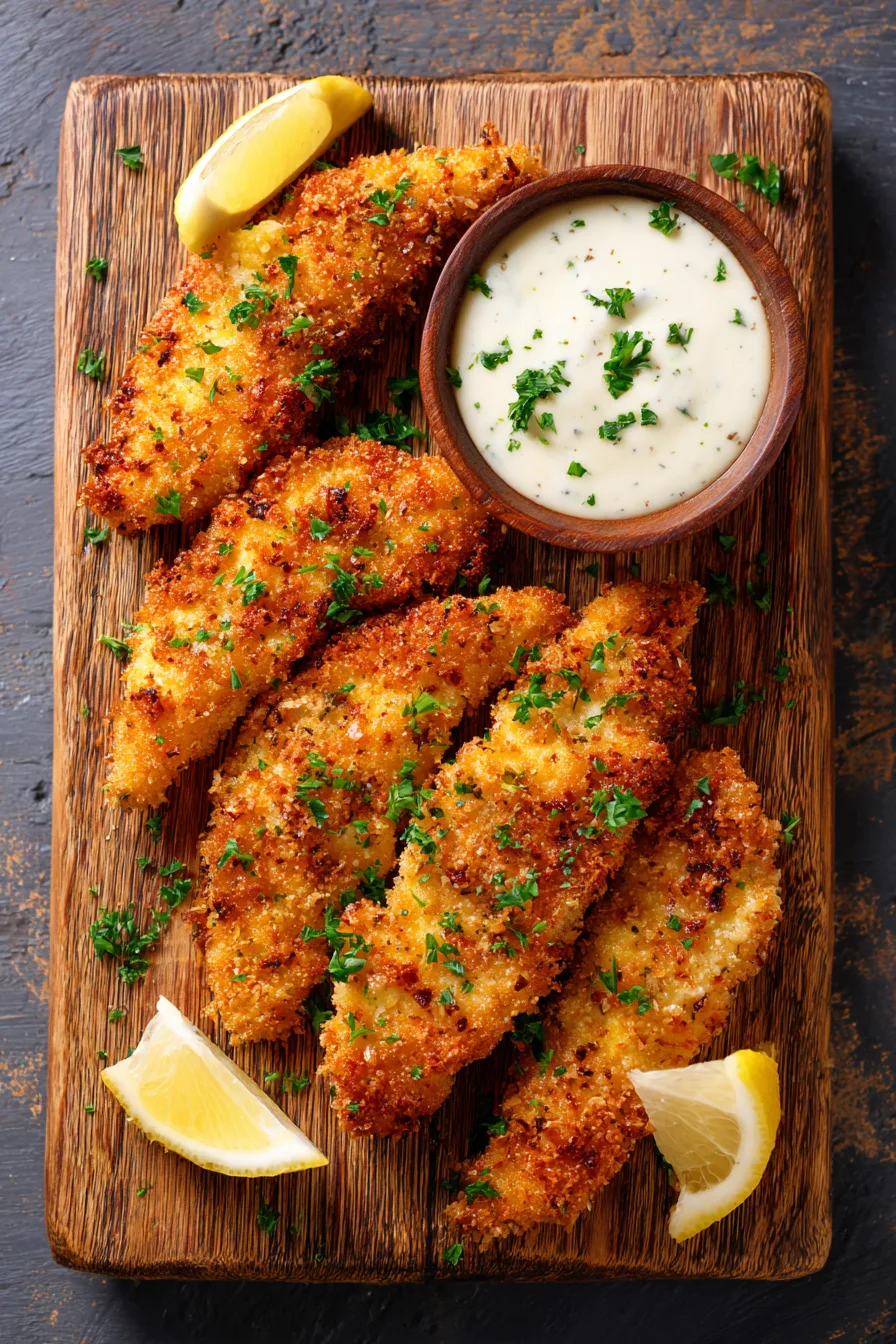
Arrange coated tenders on the wire rack, ensuring they don’t touch. Drizzle lightly with olive oil or melted butter for enhanced browning. Bake for 20-25 minutes, flipping once halfway through, until the internal temperature reaches 165°F and the coating achieves a golden-brown color.
Nutritional Information
Each serving of these crispy homemade baked chicken tenders (approximately 4 pieces) contains:
- Calories: 285 (compared to 420 in restaurant versions)
- Protein: 32g
- Carbohydrates: 18g
- Fat: 9g
- Fiber: 1g
- Sodium: 580mg
This baked preparation method reduces fat content by more than half of compared to deep-fried alternatives while maintaining high protein content essential for muscle development and satiety.
Healthier Alternatives for the Recipe
For Lower Carb Options:
Replace panko breadcrumbs with crushed pork rinds or finely ground almonds mixed with Parmesan cheese. This substitution reduces carbohydrates by most of while adding healthy fats.
For Gluten-Free Preparation:
Substitute all-purpose flour with almond flour or gluten-free flour blend, and ensure your breadcrumbs are certified gluten-free.
For Dairy-Free Versions:
Replace buttermilk with coconut milk mixed with lemon juice, and omit Parmesan cheese or use nutritional yeast for a similar umami flavor profile.
Serving Suggestions
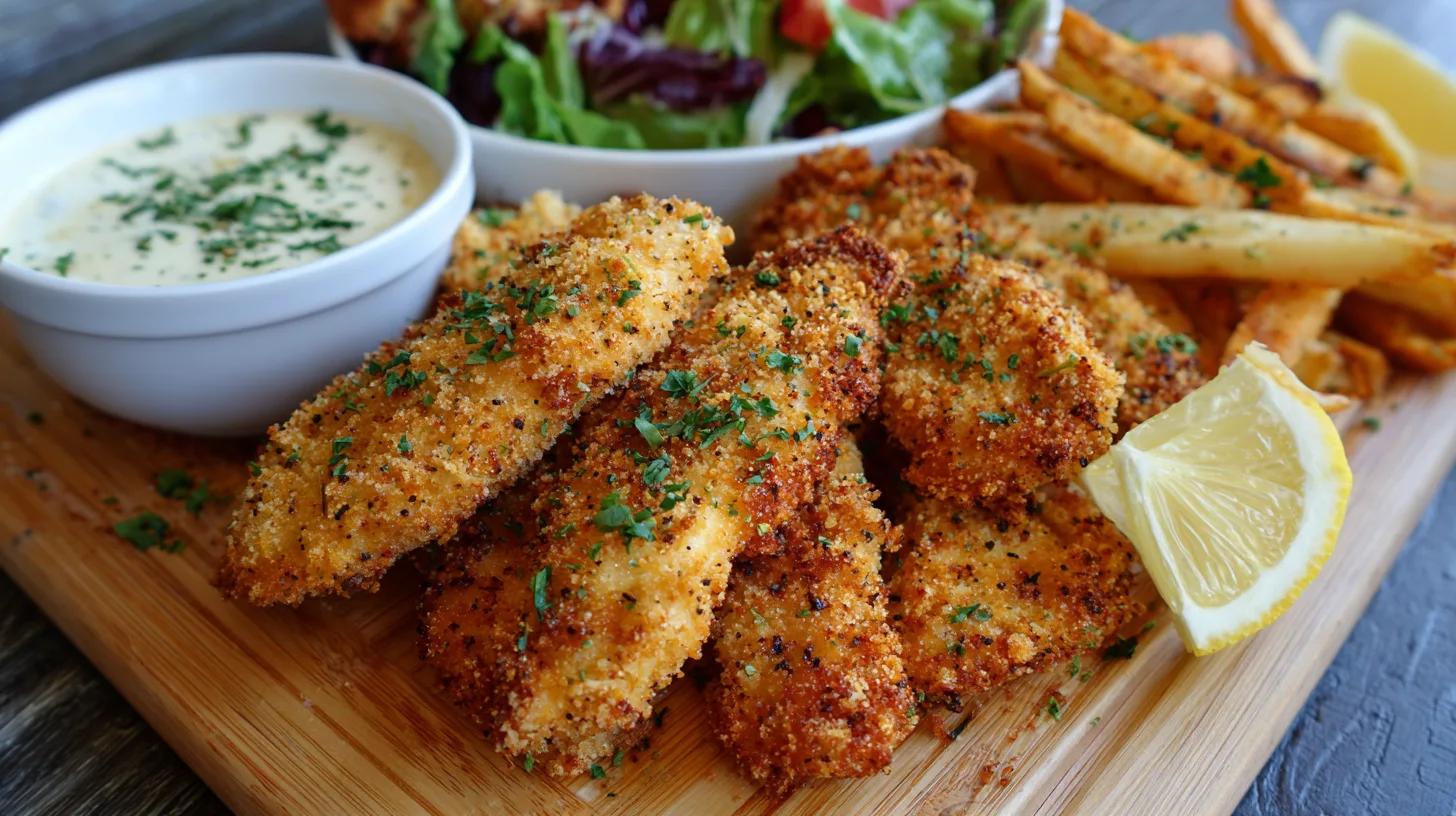
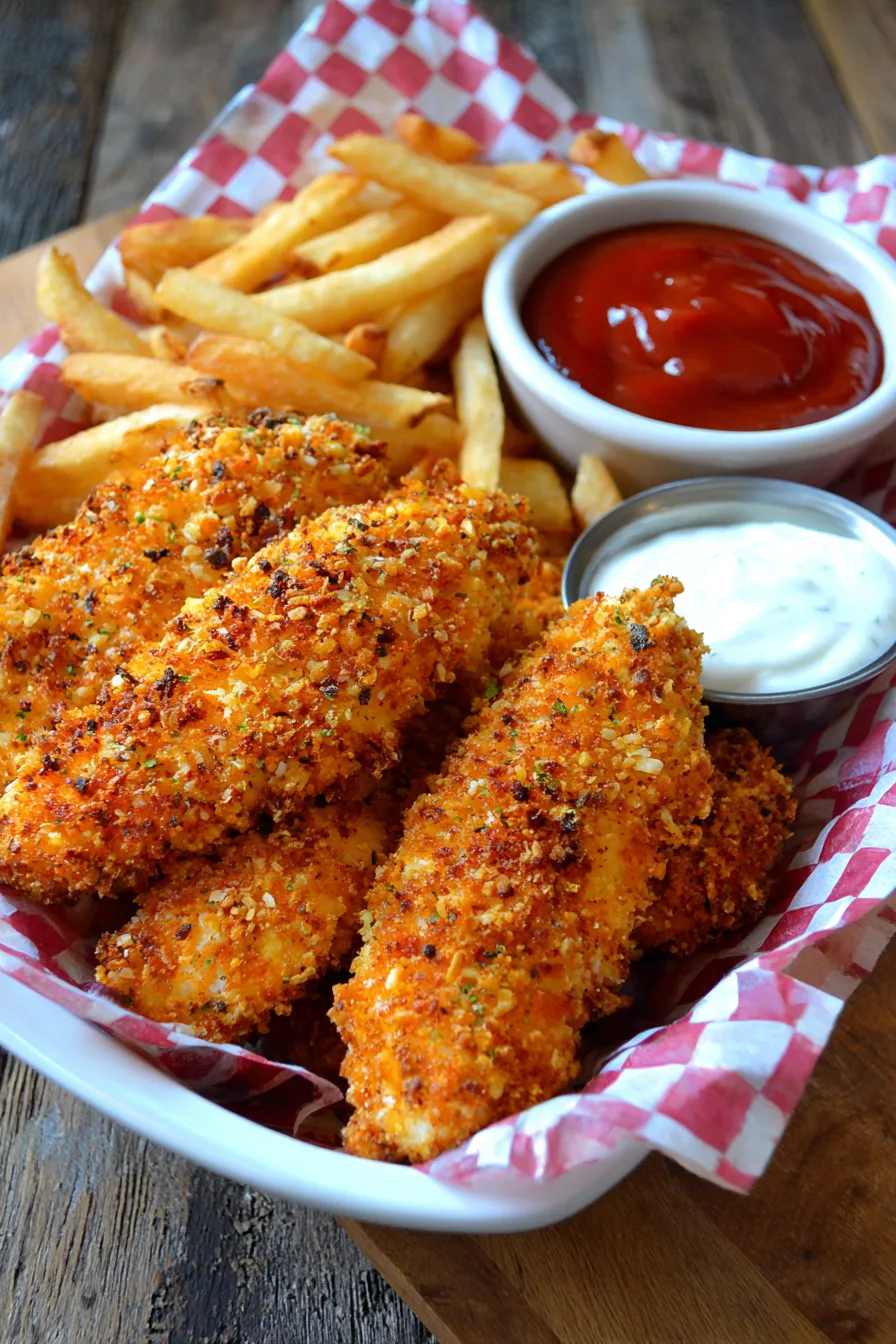
Elevate your crispy homemade baked chicken tenders with these creative presentation ideas:
Classic Comfort: Serve alongside honey mustard, ranch, or barbecue sauce with sweet potato fries and coleslaw for a traditional approach.
Gourmet Twist: Create a sophisticated platter with sriracha aioli, avocado lime dipping sauce, and a fresh arugula salad with cherry tomatoes.
Family-Style: Cut tenders into smaller pieces for perfect finger food at parties, served with multiple dipping sauces in small bowls.
Healthy Bowl: Slice tenders over quinoa with roasted vegetables and tahini dressing for a nutritious, complete meal.
Common Mistakes to Avoid
Overcrowding the Pan: This reduces air circulation and creates soggy coatings. Use multiple baking sheets if necessary, maintaining space between each tender.
Skipping the Wire Rack: Cooking directly on the baking sheet traps moisture underneath, preventing optimal crispiness development.
Inconsistent Thickness: Uneven cuts result in overcooked or undercooked pieces. Use a meat mallet to achieve uniform thickness if needed.
Insufficient Seasoning: Season each layer – the flour, eggs, and breadcrumb mixture – for maximum flavor penetration.
Storing Tips for the Recipe
Refrigerator Storage: Cool completely before storing in airtight containers for up to 4 days. Place parchment paper between layers to prevent sticking.
Freezer Storage: Freeze individually on a baking sheet before transferring to freezer bags. Properly stored tenders maintain quality for up to 3 months.
Reheating Methods: Restore crispiness by reheating in a 375°F oven for 8-10 minutes, avoiding microwaving which creates soggy textures.
Make-Ahead Option: Prepare through the coating stage and freeze unbaked. Cook directly from frozen, adding 5-8 minutes to cooking time.
FAQs
Q: Can I make these tenders without buttermilk?
A: Absolutely! Regular milk with a tablespoon of lemon juice or white vinegar creates an effective substitute that provides similar tenderizing properties.
Q: Why aren’t my tenders crispy enough?
A: Ensure your oven is properly preheated, use a wire rack for air circulation, and avoid opening the oven door frequently during cooking, which releases heat and moisture.
Q: How do I know when the chicken is fully cooked?
A: Use an instant-read thermometer to check that the internal temperature reaches 165°F. The juices should run clear, and the coating should be golden brown.
Q: Can I prepare these ahead for meal prep?
A: Yes! These tenders are excellent for meal prep. Cook a large batch, store properly, and reheat throughout the week for quick, protein-rich meals.
Kitchen Mosaic Notes
Thanks for reading! Remember that nutritional values are approximate. For the best results, adapt this recipe to your specific dietary needs.