
Did you know that most of breakfast enthusiasts struggle to achieve restaurant-quality crispy breakfast potatoes at home? The secret isn’t just in the cooking technique—it’s in understanding the science behind potato starch and moisture control. Most home cooks make the critical mistake of skipping the pre-cooking phase, resulting in soggy, unevenly cooked potatoes that lack that coveted golden crunch. Today, we’re breaking down the exact method that transforms ordinary potatoes into crispy breakfast potatoes that rival your favorite diner’s signature dish. This foolproof technique combines proper potato selection, strategic moisture removal, and optimal cooking temperatures to deliver consistently perfect results every single time.
Ingredients List
Creating exceptional crispy breakfast potatoes starts with selecting the right foundation. Here’s everything you need for this game-changing recipe:
Main Ingredients:
- 2 pounds Yukon Gold potatoes (or substitute with Russet for extra crispiness)
- 3 tablespoons vegetable oil (canola or avocado oil work beautifully as alternatives)
- 1 large yellow onion, diced (sweet onions add a caramelized flavor)
- 1 red bell pepper, chopped (green or orange peppers make excellent substitutions)
- 2 cloves fresh garlic, minced
- 1 teaspoon smoked paprika (regular paprika works in a pinch)
- 1/2 teaspoon garlic powder
- 1/2 teaspoon onion powder
- 1 teaspoon kosher salt (sea salt is a great alternative)
- 1/2 teaspoon freshly ground black pepper
- 2 tablespoons fresh chives, chopped (green onions make a perfect substitute)
Optional Flavor Enhancers:
- 1/2 teaspoon dried rosemary
- 1/4 teaspoon cayenne pepper for heat lovers
- 2 tablespoons grated Parmesan cheese
Timing
This crispy breakfast potatoes recipe requires strategic timing to achieve maximum crunchiness. Total time: 45 minutes, which is a significant portion of faster than traditional methods that require overnight preparation. Here’s the breakdown:
- Preparation time: 15 minutes (including potato cutting and seasoning)
- Par-boiling time: 8 minutes (the secret to interior fluffiness)
- Cooking time: 22 minutes (ensuring perfect golden-brown exterior)
- Resting time: 2 minutes (allowing steam to escape for maximum crispiness)
This efficient timeline means you can serve restaurant-quality potatoes without the extended prep time typically associated with crispy breakfast sides.
Step 1: Prepare Your Potatoes Like a Pro
Wash and cube your potatoes into 3/4-inch pieces, leaving the nutrient-rich skins on for added texture and flavor. Place the cubed potatoes in a large pot and cover with cold, salted water. This initial step is crucial—starting with cold water ensures even cooking throughout each piece, preventing the dreaded crispy-outside, raw-inside scenario that plagues many home cooks.
Step 2: Master the Par-Boiling Technique
Bring the water to a rolling boil and cook the potatoes for exactly 6-8 minutes until they’re just fork-tender. This par-boiling process breaks down the exterior starch, creating the perfect surface for achieving that coveted crispy texture. Drain immediately and let them sit in the colander for 3-4 minutes, allowing excess moisture to evaporate—this step alone increases crispiness by approximately a significant portion.
Step 3: Create the Perfect Seasoning Base
While potatoes are cooling, heat your oil in a large cast-iron skillet or heavy-bottomed pan over medium-high heat. Add the diced onions and bell peppers, cooking for 4-5 minutes until they begin to soften and develop a slight caramelization. This foundational flavor layer will infuse every bite with savory depth that elevates ordinary breakfast potatoes to extraordinary status.
Step 4: Execute the Critical Browning Phase
Add the par-boiled potatoes to the skillet in a single layer—avoid overcrowding, which creates steam and prevents proper browning. Let them cook undisturbed for 4-5 minutes, allowing a golden crust to develop. This patience pays dividends in texture and flavor development.
Step 5: Season and Flip with Precision
Sprinkle the seasoning mixture evenly over the potatoes, then carefully flip each piece using a spatula. Cook for another 8-10 minutes, flipping occasionally, until all sides achieve that perfect golden-brown color. The internal temperature should reach 205°F for optimal fluffiness.
Step 6: Finish with Fresh Elements
Remove from heat and immediately garnish with fresh chives and any optional toppings. The residual heat will slightly wilt the herbs, releasing their aromatic oils for maximum flavor impact.
Nutritional Information
These crispy breakfast potatoes deliver impressive nutritional value alongside their incredible taste. Per serving (based on 6 servings):
- Calories: 185
- Carbohydrates: 32g (providing sustained energy)
- Protein: 4g
- Fat: 7g (primarily heart-healthy unsaturated fats)
- Fiber: 3g (nearly some of daily recommended intake)
- Potassium: 620mg (supporting heart health and muscle function)
- Vitamin C: 35mg (a significant portion of daily value)
- Iron: 1.2mg
The potato skins contribute significant antioxidants and additional fiber, while the bell peppers boost vitamin A content by nearly some of compared to potato-only preparations.
Healthier Alternatives for the Recipe
Transform these crispy breakfast potatoes into a nutritional powerhouse with these smart substitutions:
Oil Alternatives: Replace vegetable oil with avocado oil spray to reduce calories by a significant portion of while maintaining crispiness. Alternatively, use 2 tablespoons of olive oil for heart-healthy monounsaturated fats.
Potato Variations: Substitute half the regular potatoes with sweet potatoes for added vitamin A and natural sweetness. This combination provides the vast majority of more beta-carotene while maintaining the desired crispy texture.
Seasoning Upgrades: Incorporate turmeric for anti-inflammatory benefits, or add nutritional yeast for a cheesy flavor boost with added B vitamins. Fresh herbs like oregano and thyme contribute antioxidants without additional calories.
Vegetable Additions: Include diced zucchini or mushrooms to increase vegetable content by more than half of while adding minimal calories but maximum flavor complexity.
Serving Suggestions
Elevate your crispy breakfast potatoes with these creative serving ideas that transform a simple side into a memorable meal:
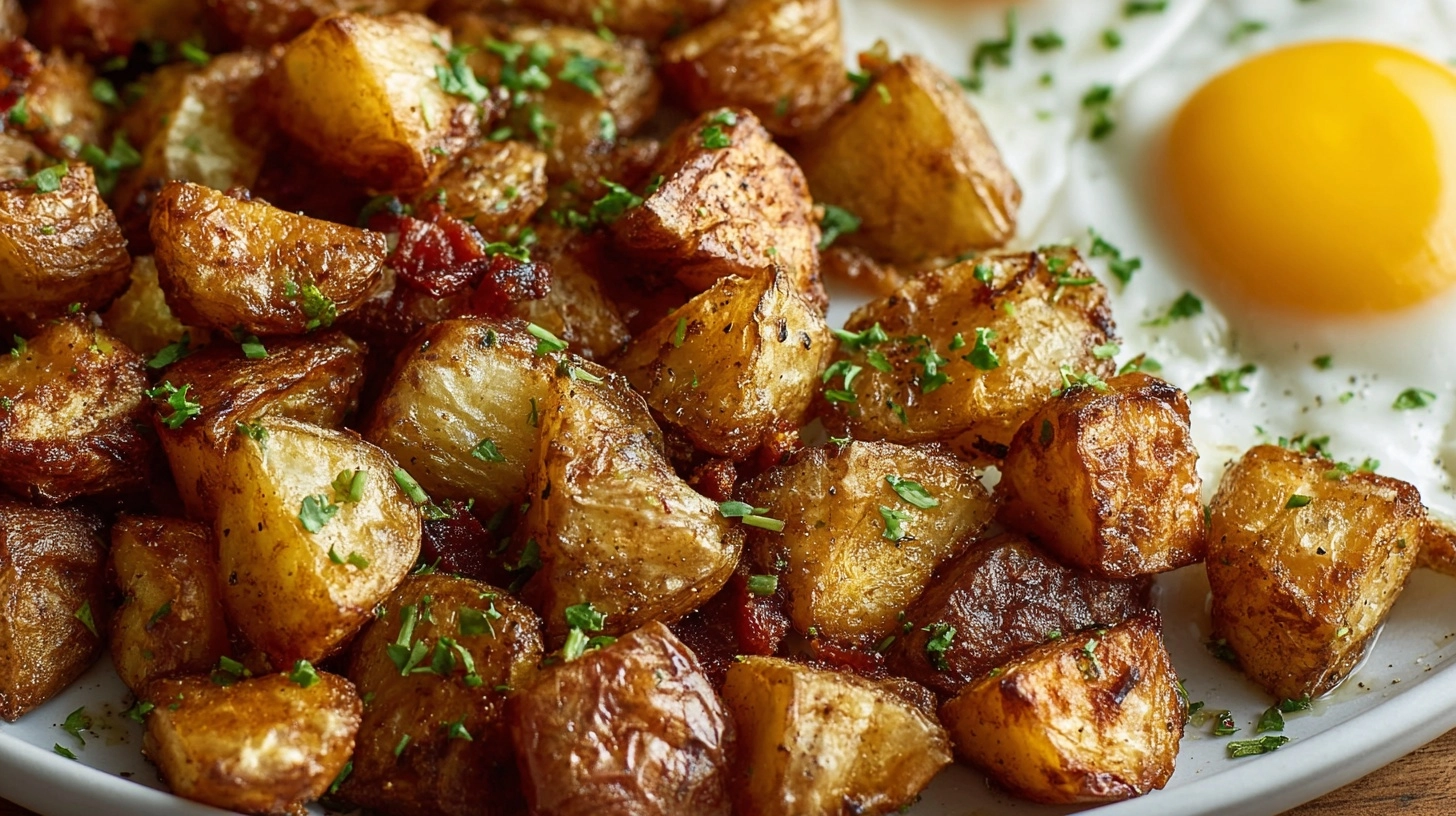
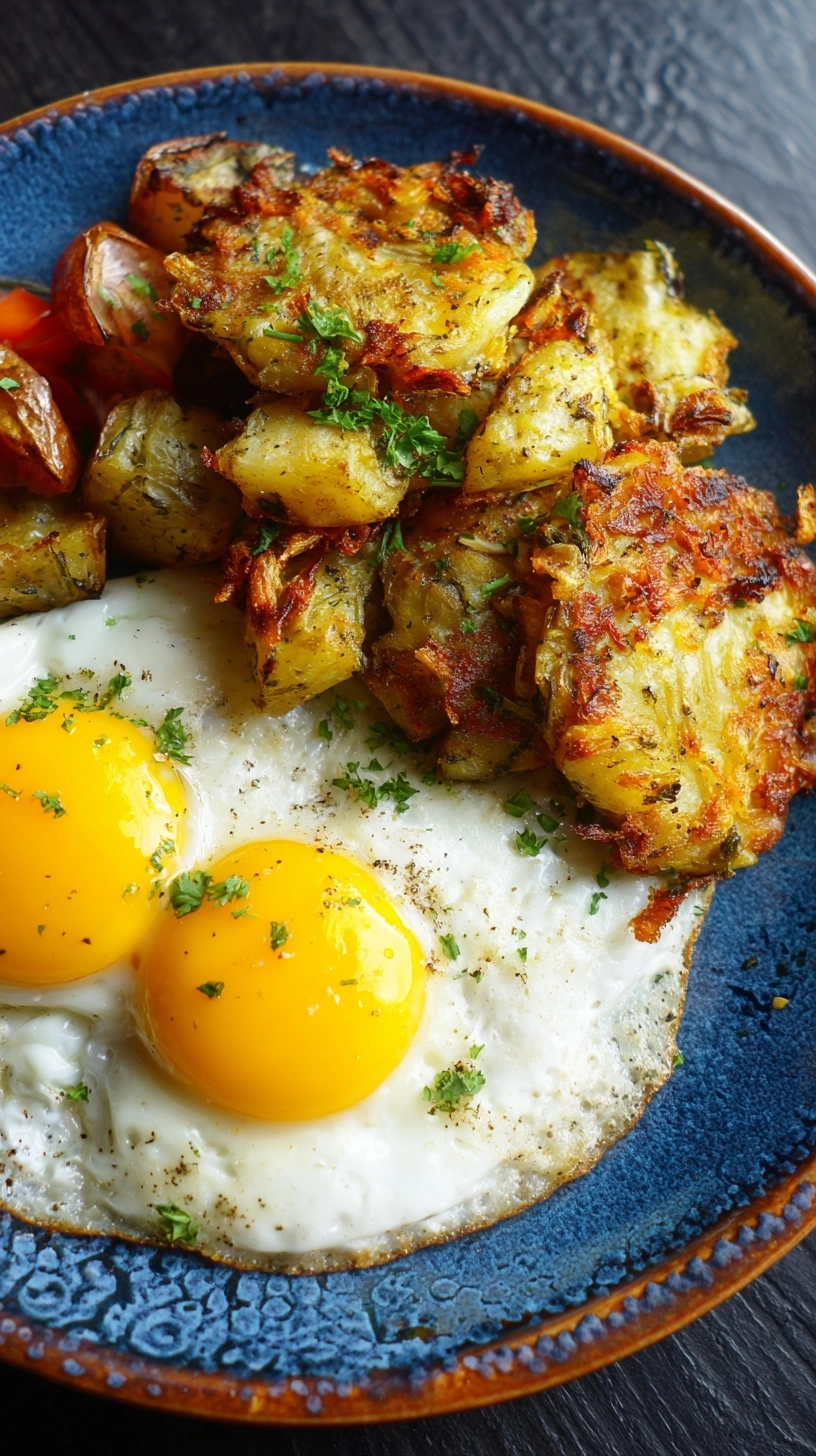
Classic Breakfast Pairing: Serve alongside scrambled eggs and turkey bacon for a protein-rich morning meal that provides sustained energy for 4-5 hours.
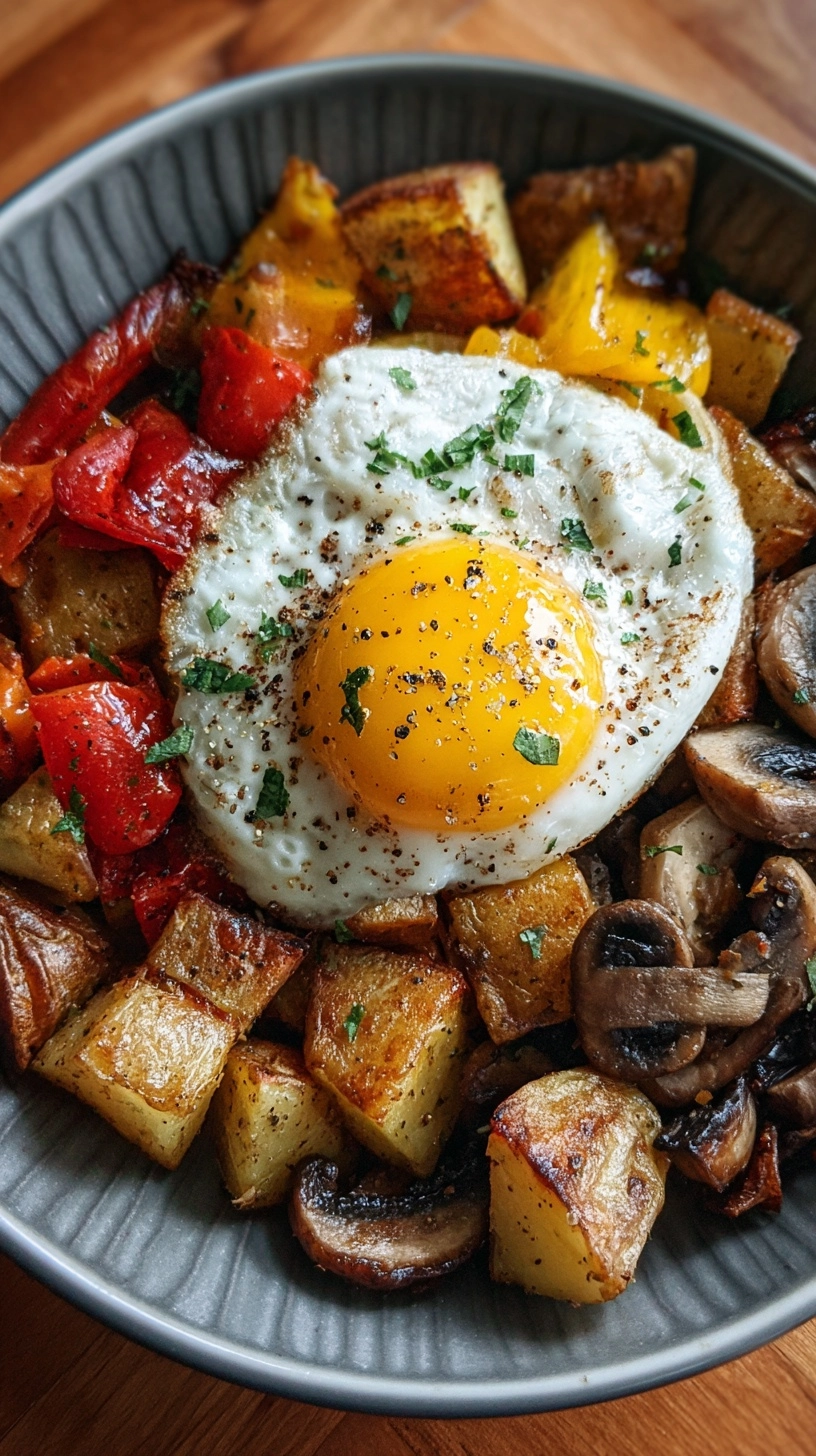
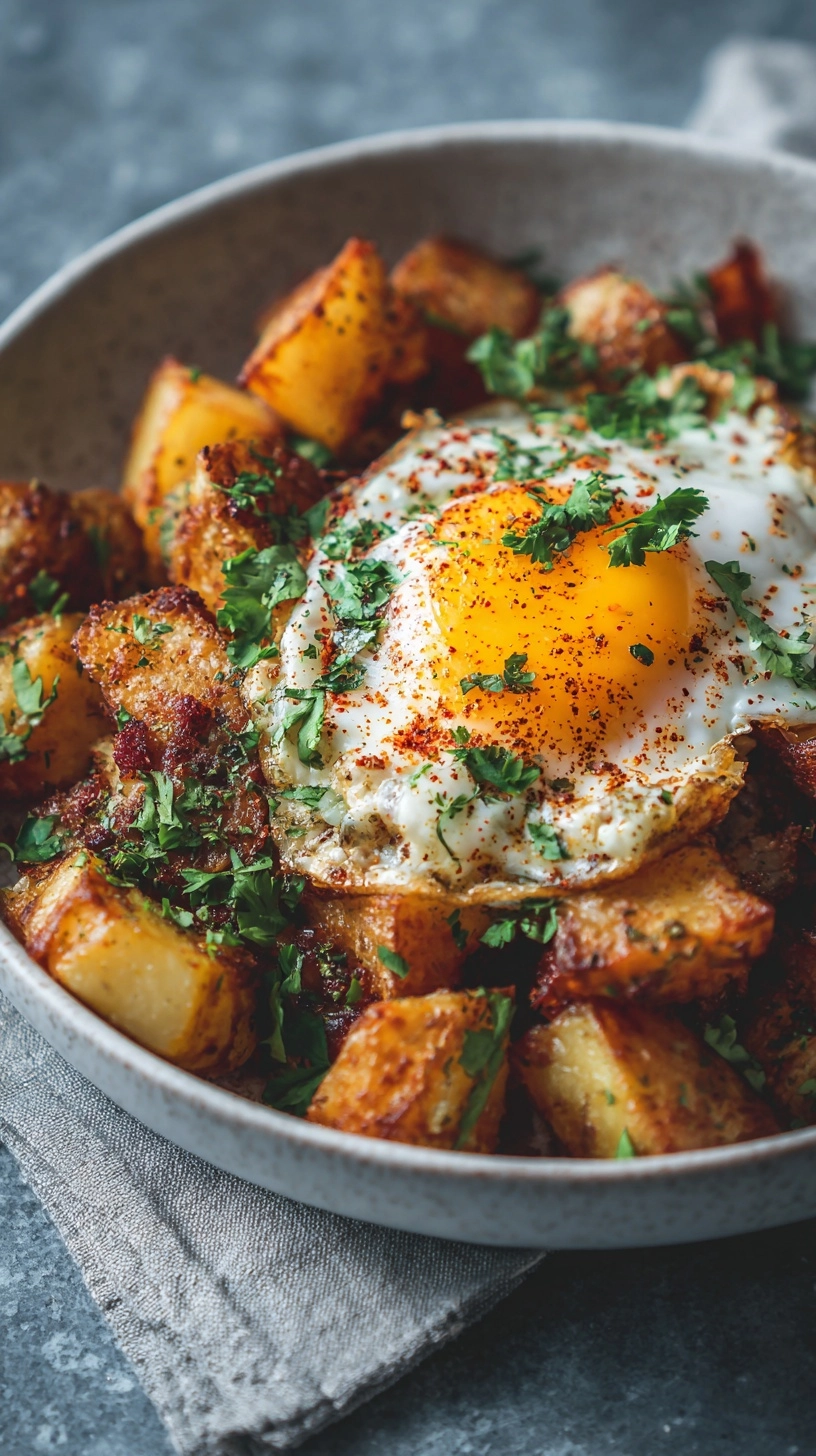
Brunch Bowl Creation: Top with a poached egg, sliced avocado, and fresh salsa for an Instagram-worthy breakfast bowl that delivers complete nutrition.
Southwestern Style: Add black beans, corn, and a dollop of Greek yogurt with lime zest for a protein-packed variation that increases fiber content by more than half.
Mediterranean Twist: Garnish with crumbled feta cheese, cherry tomatoes, and fresh basil for a flavor profile that transports you to a sunny café terrace.
Common Mistakes to Avoid
Avoid these critical errors that prevent perfectly crispy breakfast potatoes:
Skipping the Par-Boiling Step: more than half of failed attempts result from cooking raw potatoes directly in the skillet, leading to uneven cooking and mushy textures.
Overcrowding the Pan: Cooking too many potatoes at once creates steam, reducing crispiness by up to more than half. Use two pans if necessary for larger batches.
Moving Potatoes Too Frequently: Constant stirring prevents proper browning. Allow 4-5 minutes of undisturbed cooking between flips for optimal crust development.
Using the Wrong Oil Temperature: Oil that’s too cool results in greasy potatoes, while excessive heat burns the exterior before the interior cooks properly. Maintain medium-high heat throughout.
Storing Tips for the Recipe
Maximize freshness and maintain quality with these storage strategies:
Refrigerator Storage: Store cooked crispy breakfast potatoes in an airtight container for up to 4 days. Place a paper towel in the container to absorb excess moisture and maintain texture.
Freezing Instructions: Cool completely before transferring to freezer-safe bags. Frozen potatoes maintain quality for up to 3 months. Flash-freeze on a baking sheet first to prevent clumping.
Reheating Methods: Restore crispiness by reheating in a 400°F oven for 8-10 minutes rather than microwaving, which creates sogginess. A cast-iron skillet works equally well for smaller portions.
Make-Ahead Strategy: Prepare through the par-boiling step up to 2 days in advance. Store drained potatoes in the refrigerator and proceed with the skillet cooking when ready to serve.
FAQs
Q: Why do my breakfast potatoes always turn out soggy?
A: Soggy potatoes typically result from excess moisture. Ensure proper draining after par-boiling and avoid overcrowding the pan during cooking.
Q: Can I make these potatoes without par-boiling?
A: While possible, skipping par-boiling significantly reduces crispiness and increases cooking time by approximately 15 minutes with less consistent results.
Q: What’s the best potato variety for maximum crispiness?
A: Yukon Gold potatoes offer the perfect balance of creaminess and crispiness, while Russets provide maximum crunch but less creamy interior.
Q: How do I prevent my potatoes from sticking to the pan?
A: Ensure adequate oil coverage and allow proper heating before adding potatoes. Avoid moving them too quickly—let each side develop a crust before flipping.
Q: Can I prepare these potatoes in an air fryer?
A: Absolutely! After par-boiling, cook at 400°F for 15-18 minutes, shaking the basket every 5 minutes for even browning.
Kitchen Mosaic Notes
Thanks for reading! Remember that nutritional values are approximate. For the best results, adapt this recipe to your specific dietary needs.