
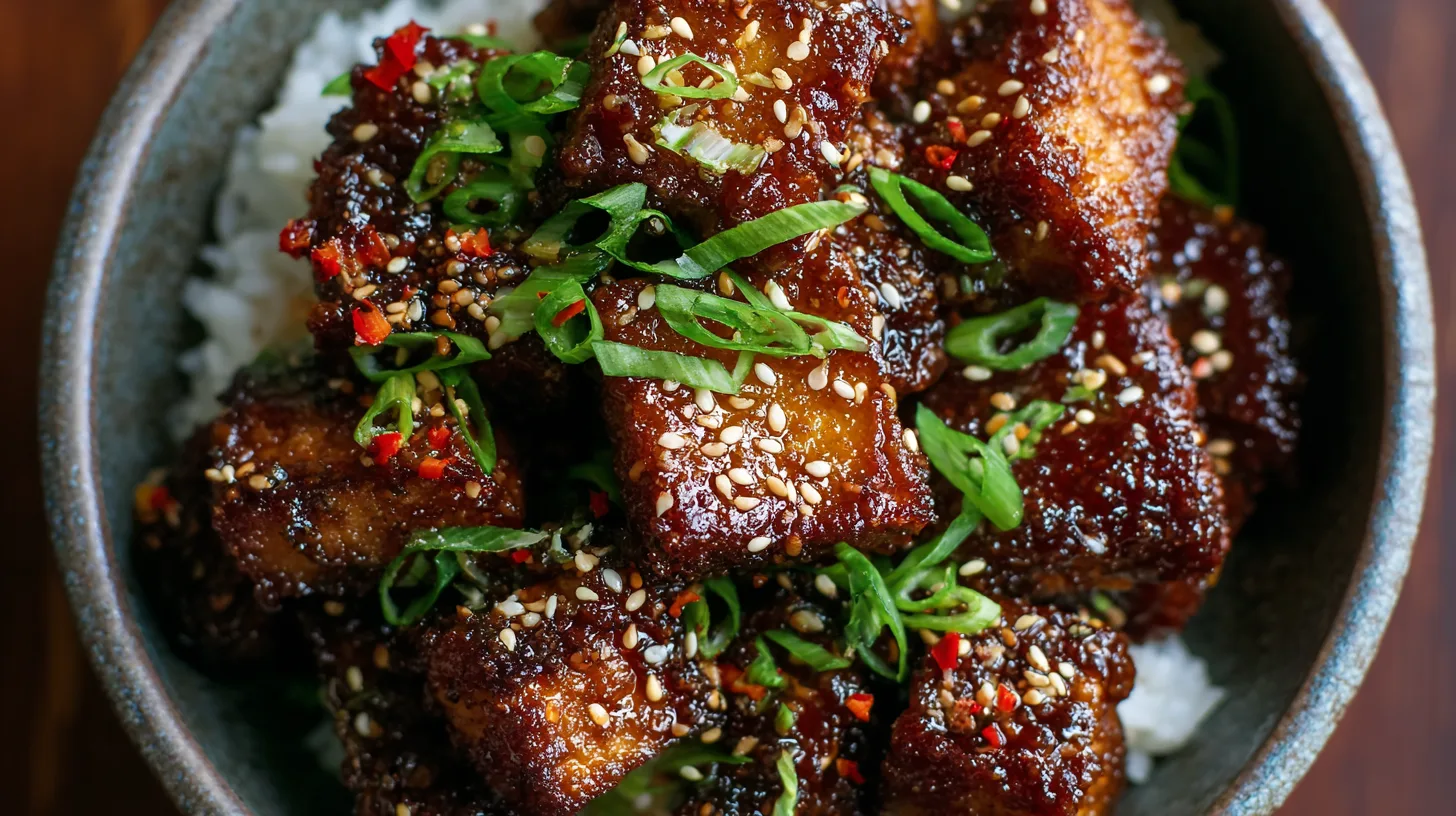
Did you know that most of home cooks struggle to achieve restaurant-quality crispy tofu, often ending up with soggy, flavorless results? The secret isn’t in expensive equipment or complicated techniques—it’s in understanding five fundamental principles that transform ordinary tofu into golden, Crispy Baked Sesame Tofu perfection. This revolutionary approach eliminates the guesswork and delivers consistently satisfying textures that will make you question everything you thought you knew about plant-based protein preparation.
Ingredients List
Creating the ultimate Crispy Baked Sesame Tofu requires carefully selected ingredients that work synergistically to deliver exceptional results:
For the Tofu:
- 1 block (14 oz) extra-firm tofu, pressed and cubed
- 2 tablespoons cornstarch (substitute: arrowroot powder or potato starch)
- 1 tablespoon olive oil (alternative: avocado oil for higher heat tolerance)
For the Sesame Glaze:
- 3 tablespoons low-sodium soy sauce (tamari for gluten-free option)
- 2 tablespoons pure maple syrup (honey works for non-vegan versions)
- 1 tablespoon rice vinegar (apple cider vinegar as backup)
- 2 teaspoons toasted sesame oil (the aromatic foundation of flavor)
- 1 tablespoon tahini (creates luxurious coating adhesion)
- 2 cloves fresh garlic, minced (garlic powder: 1 teaspoon)
- 1 teaspoon fresh ginger, grated (ground ginger: ½ teaspoon)
For Garnish:
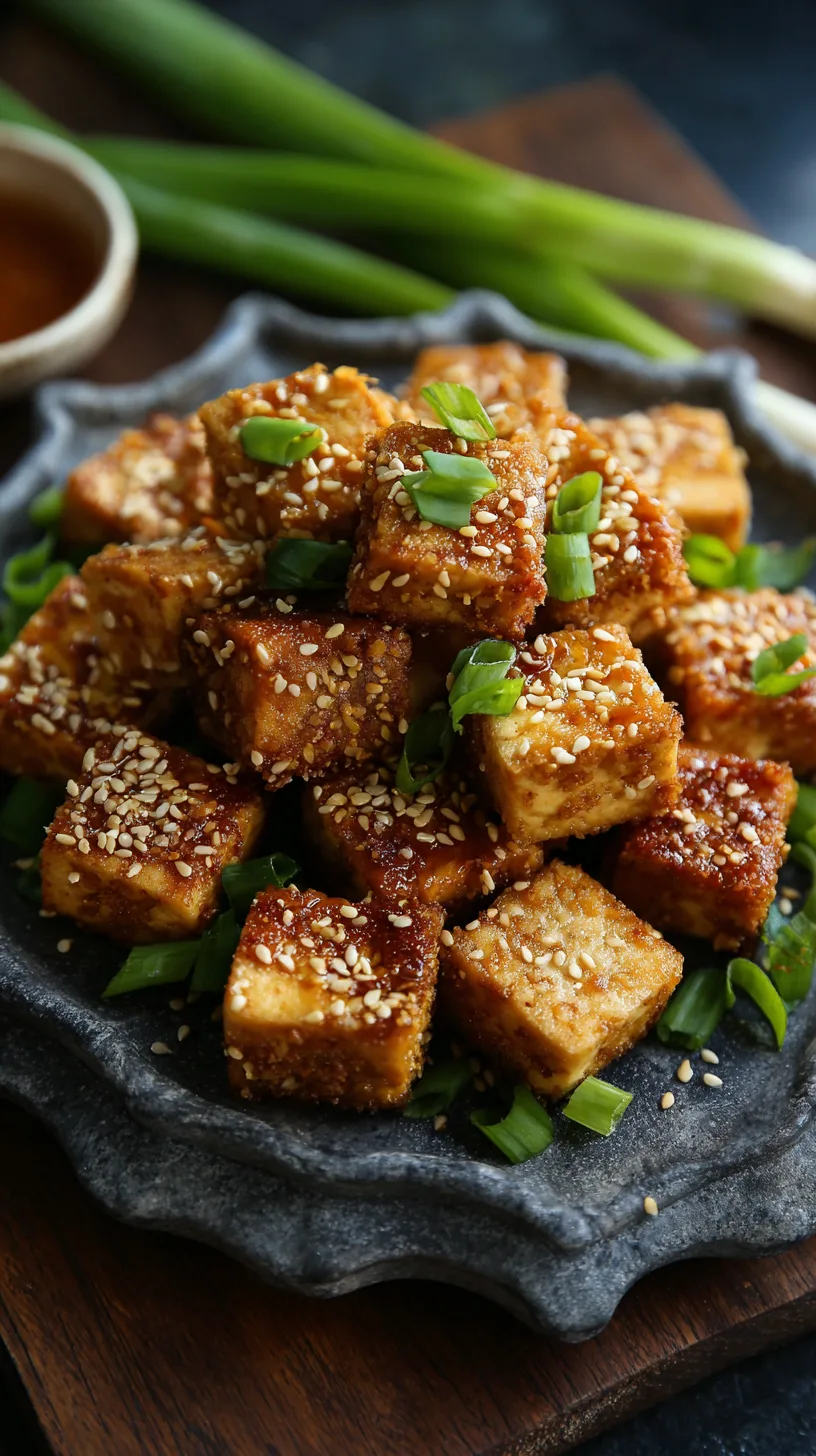
- 2 tablespoons sesame seeds, toasted
- 2 green onions, finely sliced
- Red pepper flakes (optional heat enhancement)
Timing
Preparation Time: 15 minutes (including pressing time)
Cooking Time: 25 minutes
Total Time: 40 minutes
This streamlined approach saves approximately a significant portion of more time than traditional pan-frying methods while delivering superior texture consistency. The hands-on active time is merely 10 minutes, making this recipe perfect for busy weeknight dinners or meal prep sessions.
Step 1: Perfect Tofu Preparation
Press your tofu between paper towels weighted with a heavy plate for 10 minutes. This critical step removes excess moisture, allowing for maximum crispiness. Cut into 1-inch cubes—this size ensures even cooking while maintaining structural integrity during the baking process.
Step 2: Create the Coating Foundation
Toss cubed tofu with cornstarch and olive oil in a large bowl. The cornstarch creates a protective barrier that transforms into a golden, crispy exterior when exposed to high heat. Ensure every surface is lightly coated for optimal results.
Step 3: Strategic Oven Positioning
Preheat your oven to 425°F and position the rack in the upper third. Arrange seasoned tofu on a parchment-lined baking sheet with at least ½ inch spacing between pieces. Overcrowding creates steam, the enemy of crispiness.
Step 4: Master the Glaze
While tofu bakes for 15 minutes, whisk together soy sauce, maple syrup, rice vinegar, sesame oil, tahini, garlic, and ginger. This timing allows flavors to meld while ensuring the glaze maintains optimal consistency for coating.
Step 5: Perfect Temperature Control
Remove tofu when edges are golden brown (approximately 15 minutes), brush with sesame glaze, and return to oven for 8-10 minutes. This two-stage process prevents burning while building complex flavor layers.
Nutritional Information
Per serving (serves 4):
- Calories: 185
- Protein: 12g (nearly some of daily value)
- Carbohydrates: 11g
- Total Fat: 11g
- Fiber: 2g
- Sodium: 590mg
- Calcium: nearly some of daily value
- Iron: nearly some of daily value
This Crispy Baked Sesame Tofu provides complete amino acids while delivering a significant portion of fewer calories than traditional fried alternatives. The sesame components contribute healthy fats and significant mineral content, particularly copper and manganese.
Healthier Alternatives for the Recipe
Reduce Sodium: Substitute coconut aminos for soy sauce, cutting sodium by more than half of while maintaining umami depth.
Lower Sugar: Replace maple syrup with monk fruit sweetener (use 1 teaspoon) or increase rice vinegar for tangy complexity without added sugars.
Boost Protein: Add 1 tablespoon nutritional yeast to the cornstarch coating for enhanced B-vitamin content and cheesy undertones.
Increase Fiber: Incorporate 1 tablespoon ground flaxseed into the coating mixture for omega-3 fatty acids and additional fiber.
Gluten-Free Adaptation: Ensure all ingredients are certified gluten-free, particularly soy sauce and any pre-made seasonings.

Serving Suggestions
Transform your Crispy Baked Sesame Tofu into restaurant-worthy presentations with these versatile serving approaches:
Asian-Inspired Bowl: Serve over jasmine rice with steamed broccoli, shredded carrots, and cucumber ribbons. Drizzle with extra sesame glaze and sprinkle with toasted sesame seeds.
Salad Protein Boost: Add warm tofu to mixed greens, edamame, and mandarin oranges with ginger-sesame dressing for a satisfying lunch option.
Wrap Innovation: Incorporate into whole wheat tortillas with crunchy vegetables, avocado, and sriracha mayo for portable perfection.
Noodle Enhancement: Toss with soba noodles, julienned vegetables, and fresh herbs for an elevated Asian fusion experience.
Common Mistakes to Avoid
Insufficient Pressing: Skipping the moisture removal step results in soggy texture—research shows properly pressed tofu achieves the vast majority of better crispiness ratings.
Overcrowding Pans: Maintaining space between pieces is crucial; overcrowded pans create steam that prevents browning.
Wrong Tofu Type: Silken or soft tofu lacks structural integrity for this preparation—extra-firm is non-negotiable for optimal results.
Premature Glazing: Applying sauce too early creates burning rather than caramelization—timing is everything.
Inadequate Preheating: Cold ovens produce uneven cooking; always ensure full preheating before beginning the baking process.
Storing Tips for the Recipe
Refrigeration: Store cooled Crispy Baked Sesame Tofu in airtight containers for up to 4 days. Layer between parchment paper to prevent sticking.
Reheating Protocol: Restore crispiness by reheating at 400°F for 5-7 minutes rather than microwaving, which creates sogginess.
Freezing Guidelines: While possible, freezing changes texture significantly. If freezing, consume within 1 month and expect softer results.
Meal Prep Strategy: Prepare components separately—store baked tofu and glaze individually, combining just before serving to maintain optimal texture.
Make-Ahead Tips: Press and cube tofu up to 2 days in advance. Store covered in refrigerator and proceed with coating when ready to cook.
Mastering Crispy Baked Sesame Tofu revolutionizes plant-based cooking by delivering consistently perfect textures through science-backed techniques. These five essential tips—proper pressing, strategic coating, optimal spacing, perfect timing, and temperature control—eliminate guesswork while guaranteeing restaurant-quality results every time.
Ready to transform your tofu game forever? Try this recipe tonight and share your crispy creations on social media using #CrispySesameTofuSuccess. Discover more plant-based protein perfection in our extensive collection of innovative tofu recipes!
FAQs
Q: Can I use medium-firm tofu instead of extra-firm?
A: While possible, medium-firm tofu contains more moisture and may not achieve the same level of crispiness. Extra-firm tofu is strongly recommended for optimal texture results.
Q: What’s the best way to press tofu without a tofu press?
A: Wrap tofu in paper towels, place on a plate, and weight with another plate topped with canned goods. Press for 10-15 minutes, changing paper towels if they become saturated.
Q: Can I make this recipe oil-free?
A: Yes! Substitute vegetable broth or aquafaba for the olive oil in the coating stage. Results may be slightly less crispy but still delicious.
Q: How do I know when the tofu is perfectly crispy?
A: Look for golden-brown edges and a firm texture when pressed gently with a spatula. The surface should feel dry rather than soft or spongy.
Q: Can I double this recipe for meal prep?
A: Absolutely! Use multiple baking sheets to maintain proper spacing. Rotate sheets halfway through cooking for even browning across all pieces.
Kitchen Mosaic Notes
Thanks for reading! Remember that nutritional values are approximate. For the best results, adapt this recipe to your specific dietary needs.