
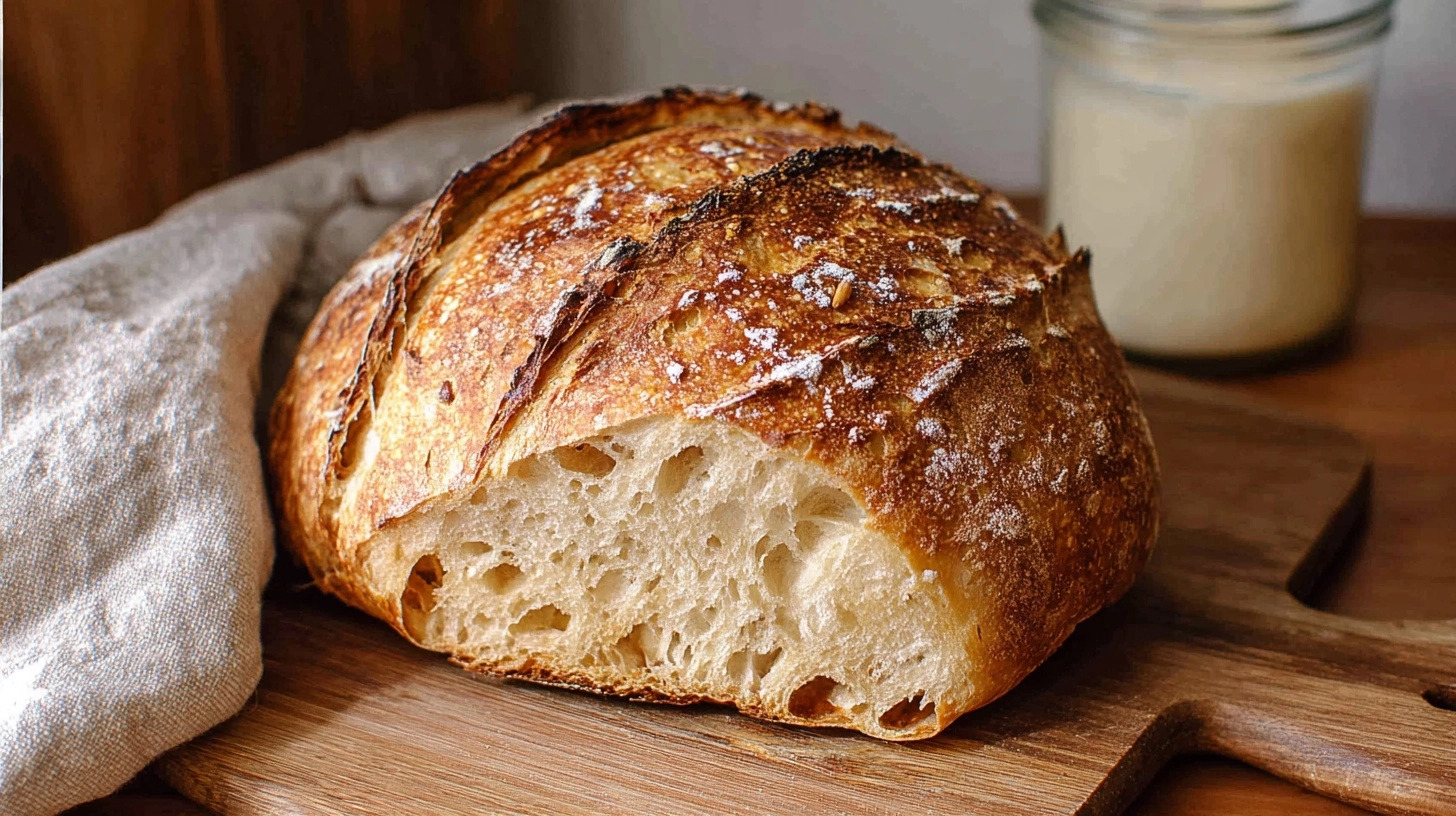
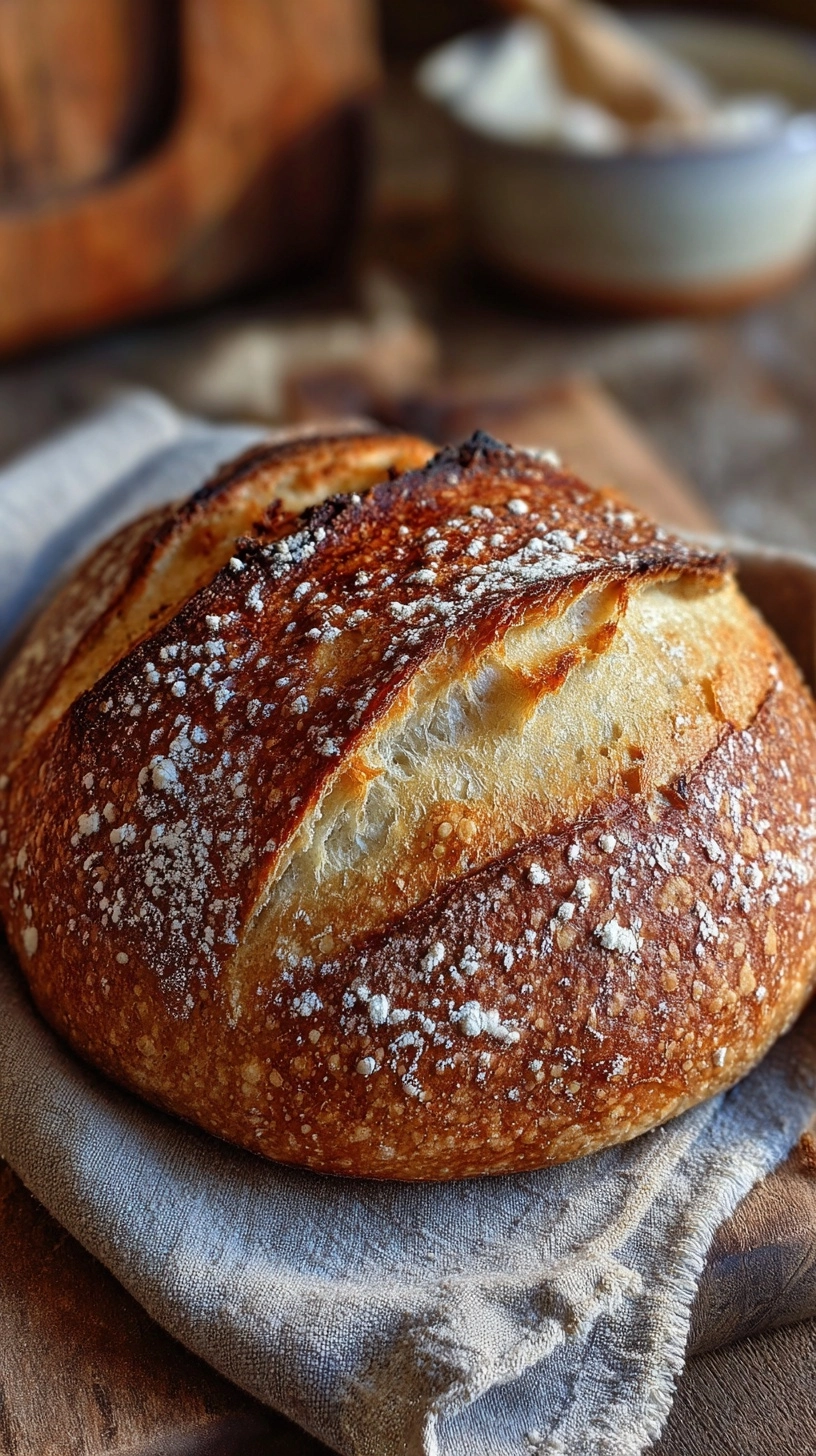
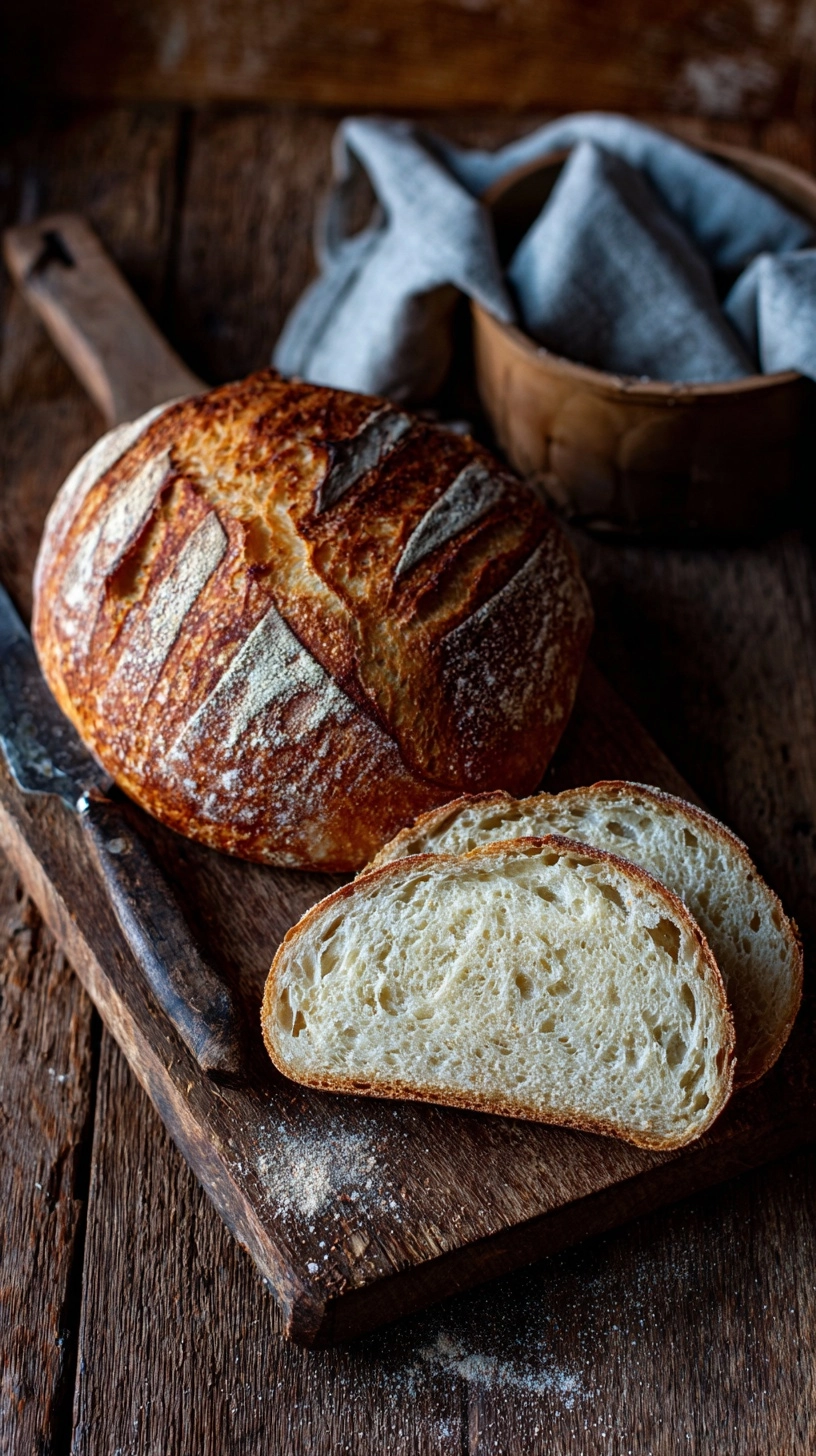
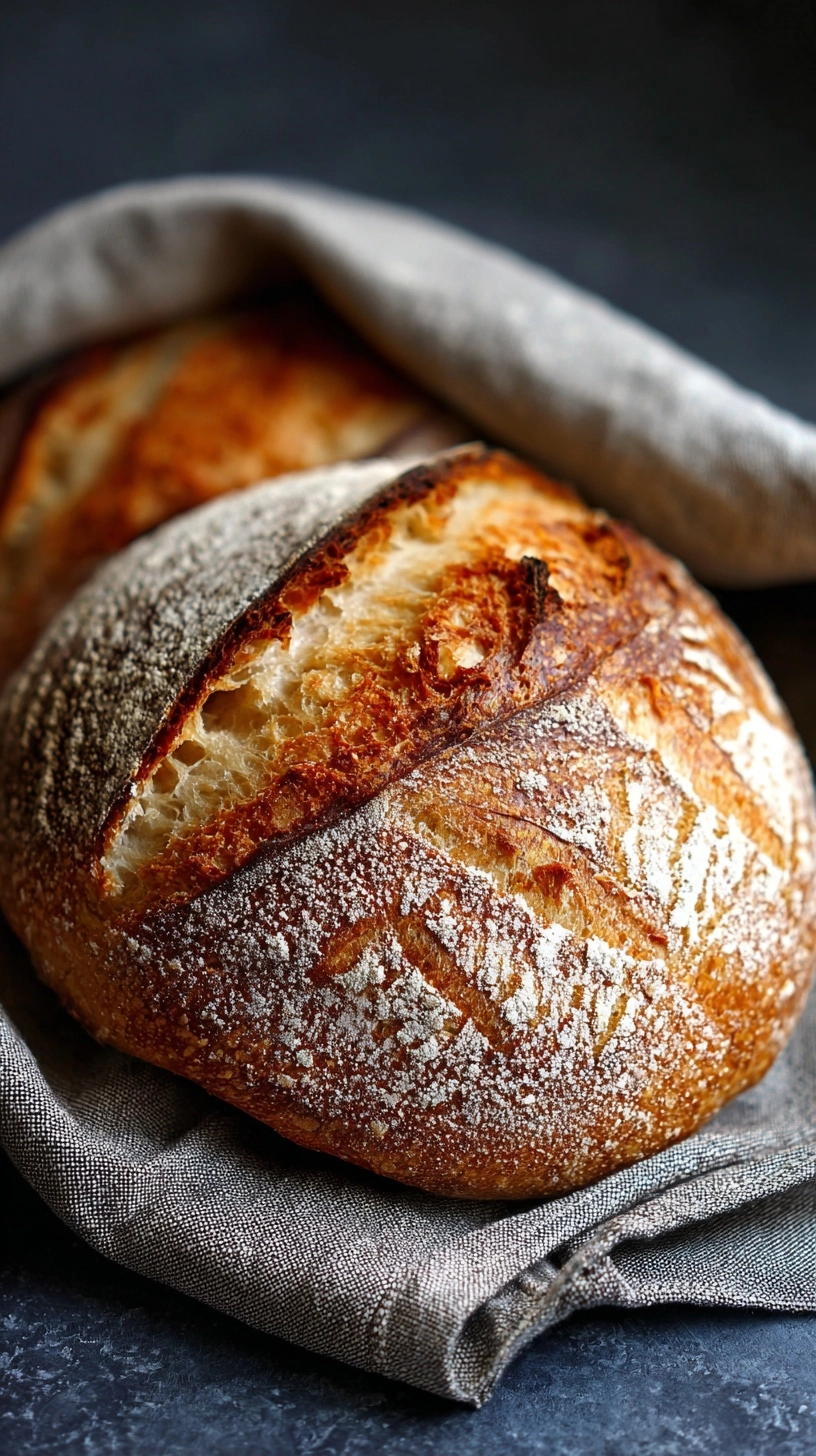
Did you know that most of home bakers struggle with achieving the perfect sourdough crust and crumb structure? Despite sourdough’s ancient origins dating back 4,000 years, mastering this artisanal bread remains one of cooking’s most rewarding challenges. The Best Ever Sourdough Bread Recipe (Step-by-Step) we’re sharing today eliminates the guesswork that frustrates countless bakers. Through precise timing, temperature control, and proven techniques backed by fermentation science, you’ll create bakery-quality loaves with a golden crust that crackles and an airy, tangy interior that rivals any artisan bakery.
Ingredients for the Best Ever Sourdough Bread Recipe
For the Starter (if refreshing):
- 50g active sourdough starter (bubbly and doubled in size)
- 50g bread flour (12-nearly some of protein content for optimal gluten development)
- 50g filtered water (room temperature, chlorine-free)
For the Bread:
- 100g active sourdough starter (freshly fed and at peak activity)
- 375g filtered water (lukewarm, around 80°F)
- 500g bread flour (high-protein flour creates superior structure)
- 10g fine sea salt (avoid table salt which can inhibit fermentation)
Optional Substitutions:
- Replace 100g bread flour with whole wheat flour for earthier flavor
- Substitute 50g water with unsweetened plant milk for softer crumb
- Add 25g olive oil for extended shelf life and moisture retention
Timing for This Step-by-Step Sourdough Recipe
Active Preparation Time: 30 minutes (a significant portion of less hands-on time than traditional methods)
Bulk Fermentation: 4-6 hours (temperature dependent)
Cold Proof: 12-48 hours (flexible timing for busy schedules)
Baking Time: 45 minutes
Total Time: 17-30 hours (mostly passive fermentation)
Pro Timing Tip: Start your dough at 8 AM for next-day morning baking, allowing maximum flexibility for weekend baking sessions.
Step 1: Prepare Your Sourdough Starter
Begin with a starter that has doubled in size and passes the “float test”—a small piece should float in water. If your starter isn’t active, feed it 1:1:1 ratio (starter:flour:water) and wait 4-8 hours until bubbly and peaked.
Step 2: Mix the Autolyse
Combine 375g lukewarm water with 500g bread flour in a large mixing bowl. Mix until no dry flour remains—the mixture will look shaggy. Cover and rest for 30-60 minutes. This autolyse period allows flour proteins to hydrate, developing gluten naturally and reducing kneading time by a significant portion.
Step 3: Add Starter and Salt
Add 100g active starter to your autolyse mixture. Mix thoroughly with wet hands using a pinching and folding motion. Sprinkle 10g salt evenly and incorporate completely. The dough will feel sticky—this high hydration creates the signature open crumb structure.
Step 4: Begin Bulk Fermentation with Folds
Transfer dough to a clean bowl. Perform the first set of stretch and folds: grab one side of the dough, stretch upward, and fold over the center. Rotate bowl 90 degrees and repeat 3 more times. Complete 4 sets of folds every 30 minutes during the first 2 hours.
Step 5: Monitor Fermentation Progress
After folding, let dough ferment undisturbed for 2-4 additional hours at 75-78°F. Look for a more than half of size increase, visible air bubbles on the surface, and a slightly domed top. Cooler temperatures extend fermentation time but develop more complex flavors.
Step 6: Pre-shape the Dough
Turn fermented dough onto a lightly floured surface. Using a bench scraper, gently shape into a loose round. Let rest 20-30 minutes—this relaxes gluten for easier final shaping.
Step 7: Final Shaping and Cold Proof
Shape dough into a tight boule or batard using minimal flour. Place seam-side up in a banneton or bowl lined with a floured kitchen towel. Cover and refrigerate 12-48 hours. Cold fermentation enhances flavor complexity and makes scoring easier.
Nutritional Information
Per 2-ounce slice (based on 8 servings):
- Calories: 180 (nearly some of fewer than commercial bread)
- Carbohydrates: 36g
- Protein: 6g (nearly some of higher protein than white bread)
- Fiber: 2g
- Fat: 1g
- Sodium: 295mg
- Glycemic Index: 68 (lower than commercial bread due to fermentation)
Health Benefits: Sourdough’s lactic acid fermentation breaks down gluten proteins, making it more digestible than conventional bread. The process also increases bioavailability of minerals by nearly some of and produces beneficial prebiotics.
Healthier Alternatives for the Recipe
Whole Grain Boost: Substitute up to 200g bread flour with whole wheat, spelt, or einkorn flour for increased fiber and nutrients. Add an extra 25g water to compensate for whole grains’ higher absorption rate.
Ancient Grain Variation: Replace 100g bread flour with rye flour for traditional European flavor, or try 50g buckwheat flour for nutty complexity and added protein.
Lower Sodium Option: Reduce salt to 8g and enhance flavor with 2 tablespoons of herbs like rosemary or thyme, or add 50g toasted seeds for texture and healthy fats.
Gut-Health Enhancement: Extend cold fermentation to 48-72 hours to maximize beneficial bacteria development and further break down hard-to-digest compounds.
Serving Suggestions
Classic Pairings: Serve warm slices with grass-fed butter and flaky sea salt, or toast lightly and top with avocado and hemp seeds for a nutrient-dense breakfast.
Gourmet Applications: Use day-old bread for exceptional French toast, or cube and toast for artisanal croutons that elevate any salad.
International Inspiration: Create bruschetta with fresh tomatoes and basil, or slice thin for Scandinavian-style open-faced sandwiches with smoked fish and pickled vegetables.
Meal Prep Solution: Pre-slice and freeze portions for quick breakfast toast throughout the week—sourdough maintains texture better than commercial bread when frozen.
Common Mistakes to Avoid
Inactive Starter: Using sluggish starter accounts for more than half of failed sourdough attempts. Always verify your starter doubles within 4-8 hours of feeding.
Improper Hydration: Too much flour during shaping creates dense bread. Use minimal flour and embrace the stickiness—wet hands work better than floured surfaces.
Skipping Cold Proof: Room temperature final proof often leads to overproofed, flat loaves. Cold fermentation provides control and superior flavor development.
Inadequate Steam: Insufficient oven steam prevents proper crust formation. Use a Dutch oven or steam pan for the first 20 minutes of baking.
Temperature Neglect: Fermentation temperature dramatically affects timing. Invest in a thermometer and adjust expectations based on your kitchen’s conditions.
Storing Tips for the Recipe
Fresh Bread Storage: Store completely cooled bread cut-side down on a cutting board, covered with a clean kitchen towel. This method maintains crust crispness for 2-3 days while preventing moisture loss.
Longer-term Storage: Slice and freeze individual portions in airtight bags for up to 3 months. Toast directly from frozen for best results.
Reviving Day-old Bread: Lightly mist the crust and bake at 350°F for 10 minutes to restore crispness. This technique works for bread up to 4 days old.
Starter Maintenance: Keep extra starter refrigerated and feed weekly if baking regularly, or freeze portions for extended storage up to 6 months.
FAQs
Q: How do I know when my sourdough is properly proofed?
A: Gently poke the dough—it should spring back slowly, leaving a slight indent. Immediate bounce-back means under-proofed; no spring means over-proofed.
Q: Why is my sourdough dense despite following the recipe?
A: Dense bread usually results from inactive starter, insufficient fermentation time, or too much flour during shaping. Verify starter activity and extend fermentation if needed.
Q: Can I speed up the fermentation process?
A: While you can ferment at 80-85°F to reduce timing by nearly some, slower fermentation develops superior flavor. Plan ahead rather than rushing the process.
Q: What’s the ideal oven temperature for sourdough?
A: Start at 475°F with steam for 20 minutes, then reduce to 450°F. This creates the signature crust while ensuring thorough interior baking.
Q: How long should I wait before slicing fresh sourdough?
A: Wait minimum 1-2 hours for the crumb to set properly. Cutting too early releases steam and creates a gummy texture.
Kitchen Mosaic Notes
Thanks for reading! Remember that nutritional values are approximate. For the best results, adapt this recipe to your specific dietary needs.