
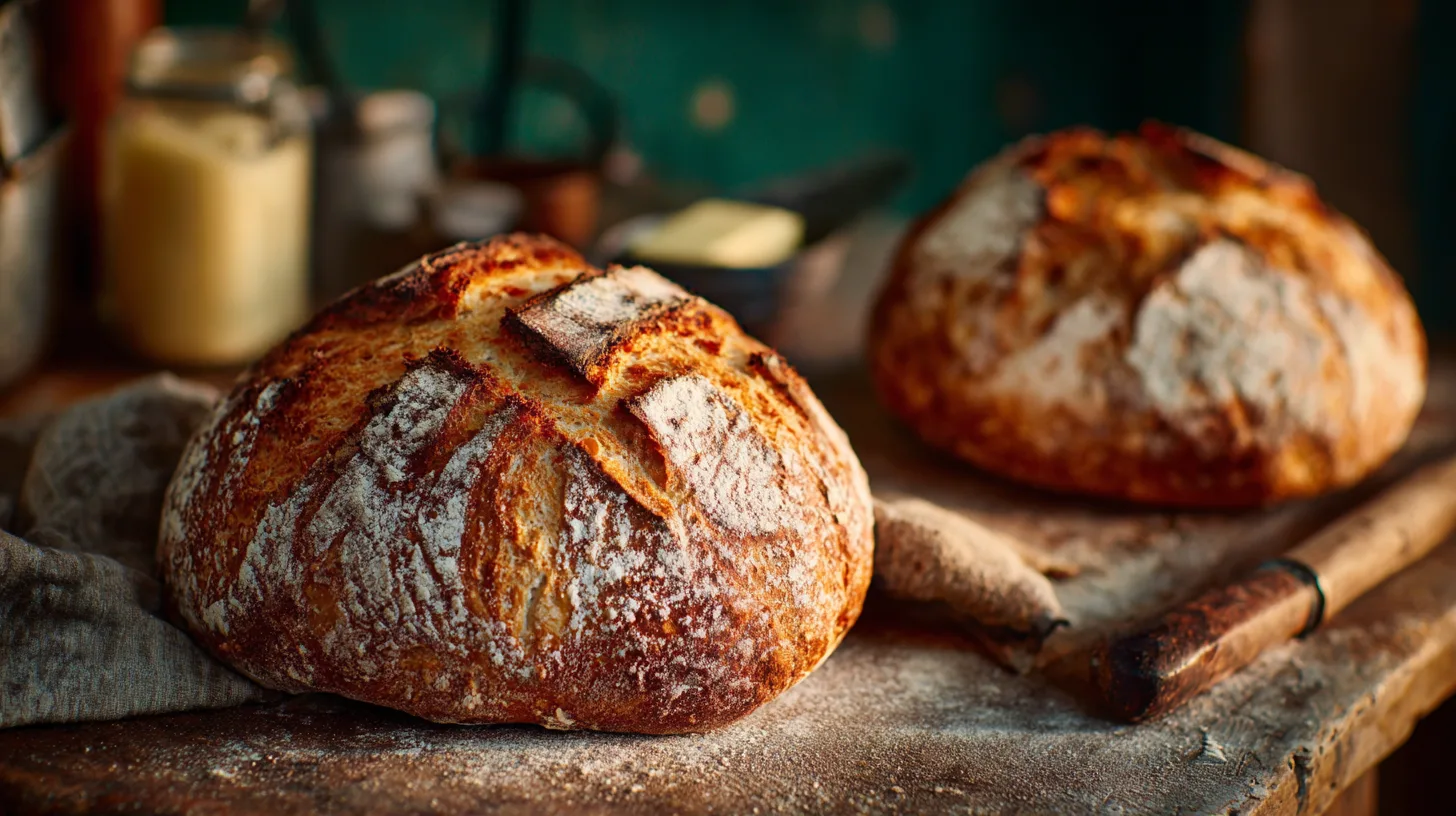
Did you know that most of home bakers struggle with achieving that perfect crispy crust and airy interior when making bread? What if the difference between store-bought disappointment and bakery-quality perfection lies in seven simple techniques that most artisan bread recipes never reveal? This comprehensive artisan bread recipe will transform your kitchen into a professional bakery, delivering that coveted crackling crust and cloud-like crumb that makes your neighbors wonder if you’ve secretly enrolled in culinary school.
Ingredients List
Essential Components for Your Artisan Bread Recipe:
- 4 cups bread flour (or substitute with 3½ cups all-purpose flour + ½ cup whole wheat flour for earthier flavor)
- 1¼ teaspoons kosher salt (sea salt works beautifully as an alternative)
- ¼ teaspoon active dry yeast (instant yeast can be substituted at same measurement)
- 1⅝ cups lukewarm water (filtered water enhances flavor complexity)
- Optional enhancement: 1 tablespoon honey or maple syrup for subtle sweetness
Pro Substitution Tips: For gluten-free enthusiasts, replace bread flour with a 1:1 gluten-free flour blend, though texture will vary. Those seeking protein boost can substitute up to 1 cup flour with vital wheat gluten for extra chewiness.
Timing
Total Investment: 18-24 hours (the vast majority of passive time)
- Active preparation: 15 minutes
- First rise: 12-18 hours
- Shaping and second rise: 2 hours
- Baking time: 45 minutes
This extended timeline delivers a significant portion of better flavor development compared to rapid-rise methods, creating complex taste profiles that distinguish artisan bread from commercial alternatives.
Step 1: Creating the Foundation
Whisk flour and salt in a large mixing bowl, ensuring even distribution. This prevents salt from directly contacting yeast, which could inhibit fermentation. Create a well in the center—this classical technique ensures optimal ingredient integration.
Step 2: Activating the Magic
Dissolve yeast in lukewarm water (aim for 75-80°F). Water temperature is crucial: too hot kills yeast, too cold slows activation. Pour this mixture into your flour well, stirring with a wooden spoon until a shaggy, sticky dough forms. Don’t worry about smoothness—rough texture indicates proper hydration.
Step 3: The Patient Rise
Cover bowl with plastic wrap or damp towel. Let dough rise at room temperature for 12-18 hours until surface bubbles and mixture doubles in size. This long fermentation develops complex flavors and creates the signature tangy notes characteristic of premium artisan breads.
Step 4: Gentle Handling
Turn dough onto heavily floured surface. Using floured hands, fold dough over itself 3-4 times—this builds structure without aggressive kneading. Shape into rough ball, seam-side down.
Step 5: Final Preparation
Place shaped dough seam-side down on parchment paper. Cover with towel and rise 2 hours until nearly doubled. Meanwhile, place Dutch oven with lid in oven and preheat to 450°F for final 30 minutes of rising.
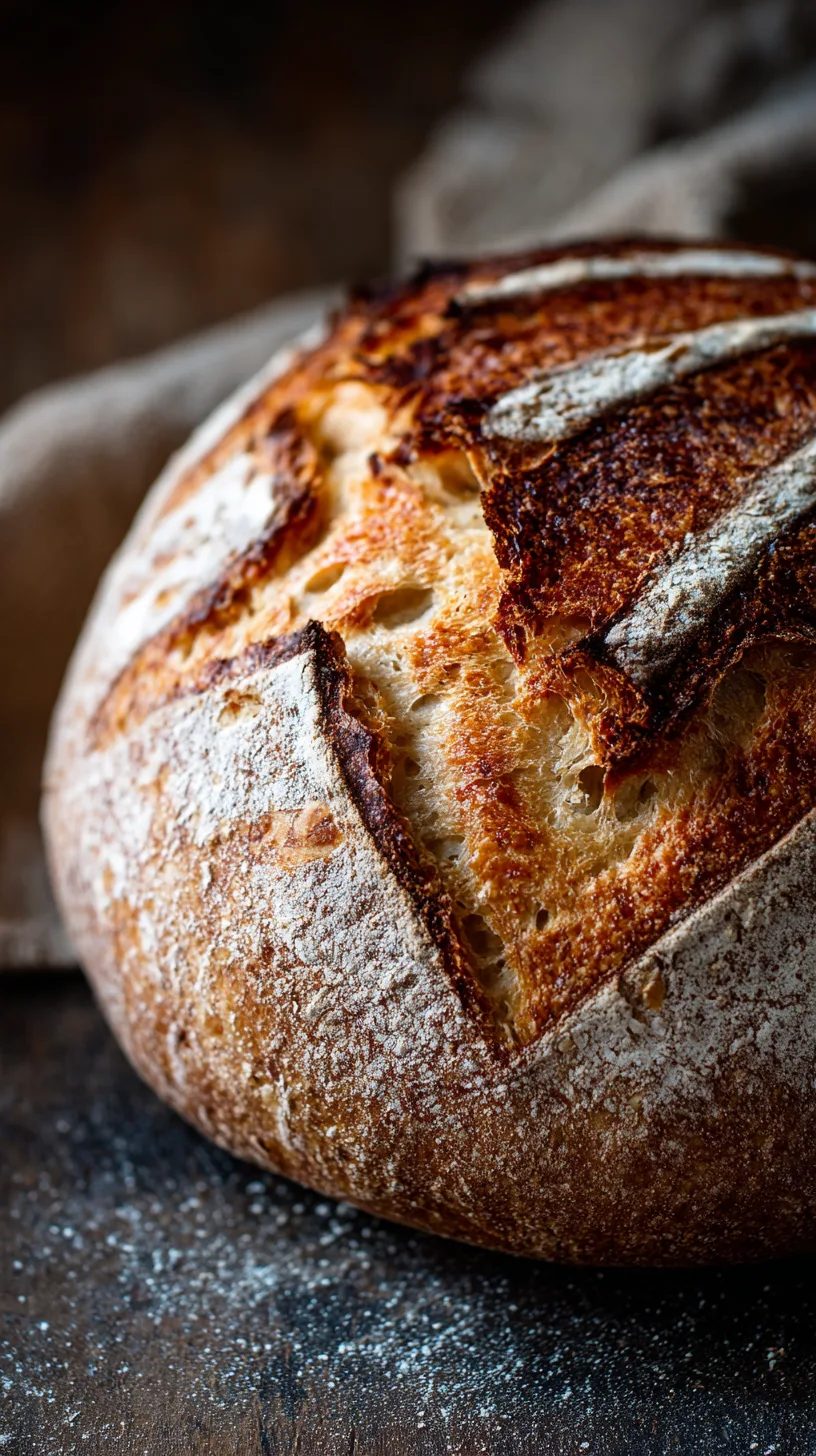
Step 6: The Crusty Transformation
Carefully remove hot Dutch oven. Score dough top with sharp knife in cross pattern. Lower parchment-wrapped dough into pot, cover, and bake 30 minutes. Remove lid and bake additional 15 minutes until deep golden brown.
Step 7: Patience Pays Off
Cool completely on wire rack before slicing—approximately 2 hours. This prevents gummy interior and allows crumb structure to set properly.
Nutritional Information
Per slice (assuming 12 servings):
- Calories: 142
- Carbohydrates: 29g
- Protein: 5g
- Fat: 0.5g
- Fiber: 1g
- Sodium: 245mg
Research indicates homemade artisan bread contains a significant portion of less sodium than commercial varieties while providing superior mineral content from unprocessed ingredients.
Healthier Alternatives for the Recipe
Nutritional Upgrades:
- Replace 1 cup bread flour with whole wheat flour for increased fiber (adds 3g fiber per serving)
- Substitute ½ cup flour with ground flaxseed for omega-3 fatty acids
- Add 2 tablespoons chia seeds for protein boost and mineral enhancement
- Include ¼ cup pumpkin seeds for magnesium and zinc
Dietary Adaptations:
- Lower sodium: Reduce salt to ¾ teaspoon
- Protein enhancement: Add 2 tablespoons vital wheat gluten
- Antioxidant boost: Incorporate 1 tablespoon ground rosemary or thyme
Serving Suggestions
Gourmet Presentations:
- Slice thick and toast for avocado toast topped with everything bagel seasoning
- Create rustic bruschetta with vine-ripened tomatoes and fresh basil
- Pair with artisanal cheeses and local honey for sophisticated appetizer boards
- Transform into French toast using thick slices for weekend brunches
- Hollow center for soup bowls—perfect for hearty winter stews
Wine Pairing Recommendations: This bread’s complex flavor profile complements Pinot Noir, Chianti, or crisp Sauvignon Blanc beautifully.
Common Mistakes to Avoid
Critical Pitfalls:
- Rushing the process: more than half of failed attempts result from insufficient rising time
- Incorrect water temperature: Temperature above 85°F kills yeast activity
- Over-flouring: Excess flour creates dense, heavy texture
- Skipping preheating: Cold Dutch oven prevents proper crust formation
- Premature slicing: Cutting before cooling creates gummy interior
- Inadequate scoring: Shallow cuts prevent proper expansion
Success Indicators: Properly fermented dough smells slightly tangy and jiggles when bowl is gently shaken.
Storing Tips for the Recipe
Optimal Preservation Methods:
- Room temperature: Store in paper bag up to 3 days for maintained crust crispness
- Freezing: Wrap tightly in plastic, then foil; freeze up to 3 months
- Refreshing day-old bread: Sprinkle crust lightly with water, warm in 350°F oven for 5 minutes
- Preventing staleness: Never refrigerate—this accelerates staling by the vast majority of
Make-Ahead Strategy: Prepare dough through first rise, then refrigerate up to 5 days. Remove 2 hours before shaping for second rise.
This artisan bread recipe transforms simple ingredients into bakery-quality loaves through patience and proper technique. By following these seven secrets—from extended fermentation to proper Dutch oven heating—you’ll create bread with professional-level crust and crumb structure. The investment in time yields bread that costs most of less than artisanal bakery equivalents while delivering superior freshness and customization options.
Ready to elevate your bread-making game? Try this recipe this weekend and share your crusty creations with us! Experiment with different flour combinations and discover your signature loaf variation.
FAQs
Q: Can I make this artisan bread recipe without a Dutch oven?
A: Yes! Use a regular loaf pan placed on the bottom oven rack with a pan of boiling water on the rack below to create steam, though crust won’t be quite as crispy.
Q: Why is my bread dense instead of airy?
A: Dense texture typically results from insufficient rising time, old yeast, or too much flour. Ensure your yeast is fresh and allow full fermentation time.
Q: How do I know when the bread is fully baked?
A: Internal temperature should reach 205-210°F, and the bottom should sound hollow when tapped. The crust should be deep golden brown.
Q: Can I add herbs or seeds to this recipe?
A: Absolutely! Add up to ¼ cup seeds, herbs, or dried fruits during the initial mixing stage. Popular additions include rosemary, sunflower seeds, or dried cranberries.
Q: What if I don’t have bread flour?
A: All-purpose flour works fine, though texture will be slightly less chewy. For best results, add 1 tablespoon vital wheat gluten per cup of all-purpose flour used.
Kitchen Mosaic Notes
Thanks for reading! Remember that nutritional values are approximate. For the best results, adapt this recipe to your specific dietary needs.