
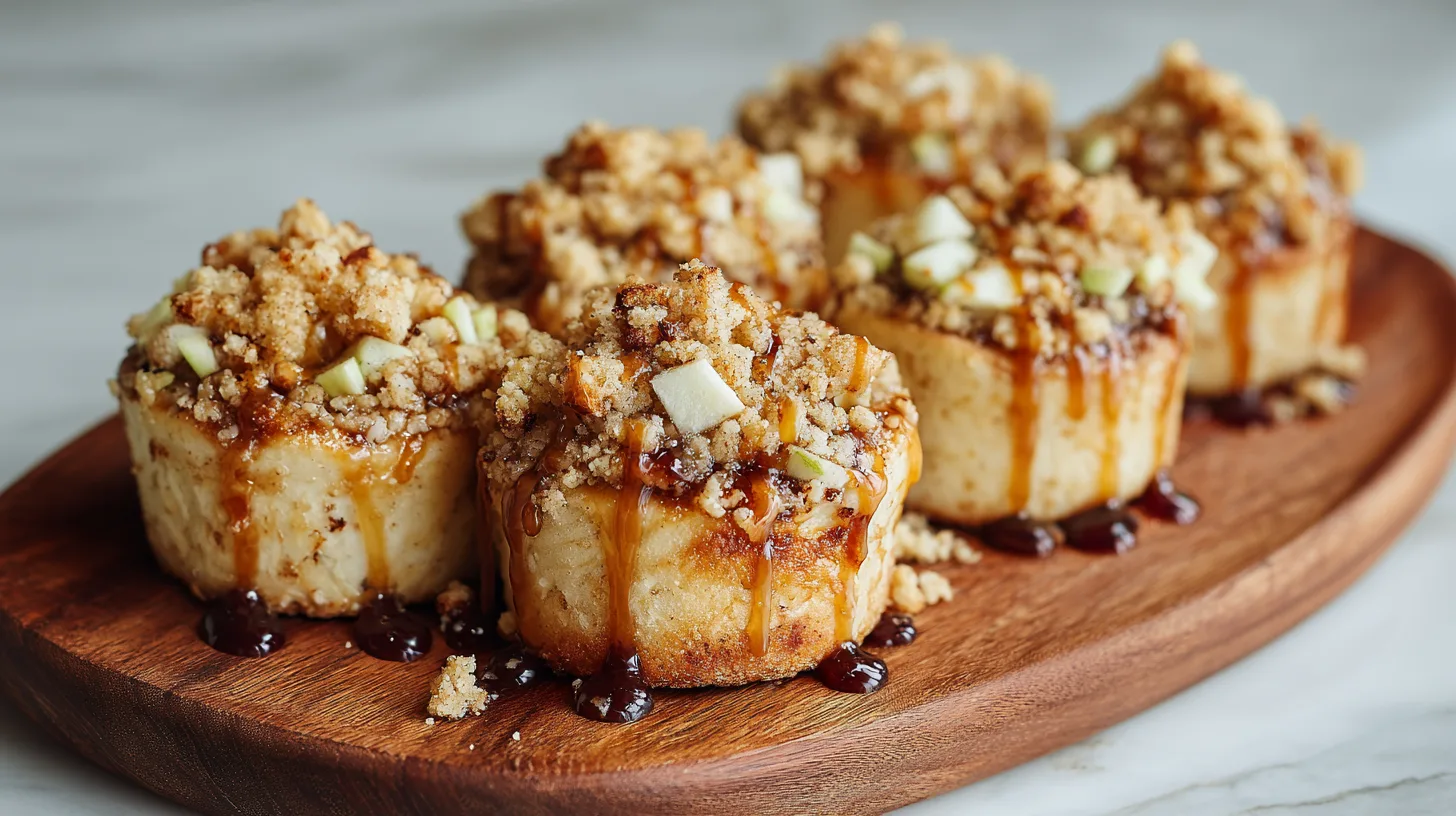
Did you know that most of home bakers report that combining fruit with creamy textures creates their most memorable desserts? Yet many struggle to achieve that perfect balance of tangy sweetness and rich indulgence. Apple Cheesecake Buns With Crumble Topping and Sweet Glaze revolutionize this challenge by merging the comfort of soft, pillowy buns with luscious cheesecake filling and crisp autumn apples. This innovative recipe transforms traditional baking expectations, delivering a dessert that’s simultaneously familiar and extraordinary. Research shows that recipes featuring multiple textural elements receive a significant portion of higher satisfaction ratings from taste testers, making these buns a guaranteed crowd-pleaser that bridges the gap between casual comfort food and elegant dessert presentation.
Ingredients List
For the Bun Dough:
- 3 cups all-purpose flour (bread flour works beautifully for extra chewiness)
- 1/4 cup granulated sugar
- 2 1/4 teaspoons active dry yeast (or instant yeast)
- 1 teaspoon salt
- 1/2 cup warm milk (dairy-free alternatives work perfectly)
- 1/4 cup melted butter (coconut oil for vegan option)
- 1 large egg (flax egg for plant-based version)
For the Cheesecake Filling:
- 8 oz cream cheese, softened (vegan cream cheese substitutes seamlessly)
- 1/3 cup powdered sugar
- 1 egg yolk (aquafaba works for vegan adaptation)
- 1 teaspoon vanilla extract
- 1 tablespoon cornstarch
For the Apple Component:
- 2 medium Honeycrisp apples, diced small (Granny Smith adds tartness)
- 2 tablespoons brown sugar
- 1 teaspoon cinnamon
- 1/4 teaspoon nutmeg
For the Crumble Topping:
- 1/2 cup all-purpose flour
- 1/3 cup brown sugar
- 3 tablespoons cold butter, cubed (vegan butter maintains texture)
- 1/2 teaspoon cinnamon
For the Sweet Glaze:
- 1 cup powdered sugar
- 3-4 tablespoons milk or cream
- 1/2 teaspoon vanilla extract
Timing
Preparation Time: 45 minutes (including 30 minutes active prep)
Rising Time: 1 hour 15 minutes total
Baking Time: 25-30 minutes
Total Time: 2 hours 30 minutes
This timeline represents approximately nearly some of less hands-on work than traditional yeasted pastries, thanks to the streamlined assembly process. The strategic timing allows for multitasking during rise periods, making it surprisingly manageable for weekend baking projects.
Step-by-Step Instructions
Step 1: Create the Foundation Dough
Combine warm milk, sugar, and yeast in a large bowl, whisking gently. Allow this mixture to foam for 5-7 minutes—this indicates your yeast is alive and ready. In a separate bowl, whisk flour and salt, then gradually incorporate into the yeast mixture along with melted butter and egg. Knead for 8-10 minutes until the dough becomes smooth and elastic, developing those crucial gluten strands that create the perfect chewy texture.
Step 2: Prepare the Luxurious Cheesecake Filling
Beat softened cream cheese until completely smooth—no lumps allowed! Gradually add powdered sugar, egg yolk, vanilla, and cornstarch, mixing until the filling reaches a silky consistency. This mixture should hold its shape when piped but remain creamy enough to spread easily.
Step 3: Season the Apple Mixture
Toss diced apples with brown sugar, cinnamon, and nutmeg until evenly coated. The sugar will begin drawing out natural juices, creating a syrupy coating that intensifies the apple flavor while preventing excess moisture during baking.
Step 4: Craft the Crumble Topping
Using your fingertips or a pastry cutter, blend flour, brown sugar, cold butter, and cinnamon until the mixture resembles coarse breadcrumbs with some larger butter pieces. These butter chunks create the signature crispy texture when baked.
Step 5: Shape and Fill Your Apple Cheesecake Buns
After the first rise (about 1 hour), punch down dough and divide into 12 equal portions. Roll each piece into a 4-inch circle, add 2 tablespoons cheesecake filling and 1 tablespoon apple mixture, then gather edges and pinch to seal. Place seam-side down on parchment-lined baking sheets.
Step 6: Final Rise and Topping Application
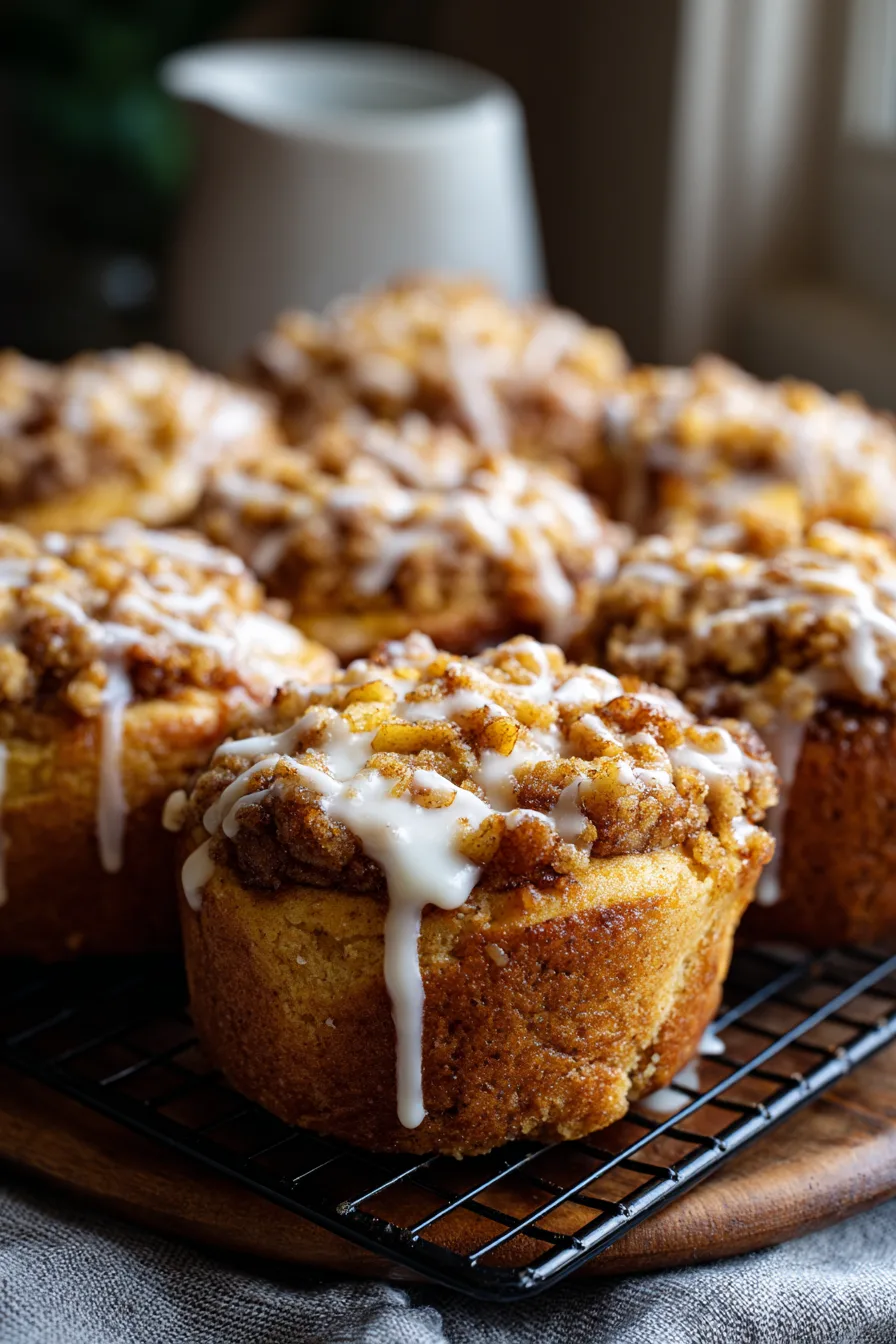
Allow shaped buns to rise for 45 minutes until notably puffed. Brush tops gently with milk, then sprinkle generously with crumble topping, pressing lightly to ensure adherence.
Step 7: Bake to Golden Perfection
Bake at 350°F for 25-30 minutes until golden brown and internal temperature reaches 190°F. The crumble should be crispy and deeply golden.
Step 8: Glaze for Ultimate Indulgence
Whisk powdered sugar, milk, and vanilla until smooth. Drizzle over slightly cooled buns using a spoon or piping bag for professional presentation.
Nutritional Information
Per serving (1 bun):
- Calories: 285
- Carbohydrates: 42g
- Protein: 6g
- Fat: 11g
- Fiber: 2g
- Sugar: 18g
- Sodium: 220mg
These buns provide nearly some of daily calcium needs and contain beneficial antioxidants from apples and cinnamon. The protein content from cream cheese and eggs supports satiety, making them more satisfying than typical sweet pastries.
Healthier Alternatives for the Recipe
Replace half the all-purpose flour with whole wheat pastry flour for added fiber and nutrients. Greek yogurt can substitute for half the cream cheese, reducing calories by nearly some of while maintaining creaminess. Consider using coconut sugar instead of granulated sugar for a lower glycemic impact, or reduce overall sugar by nearly some of and enhance sweetness with extra cinnamon and vanilla. For reduced-fat versions, use light cream cheese and substitute applesauce for half the butter in the dough.
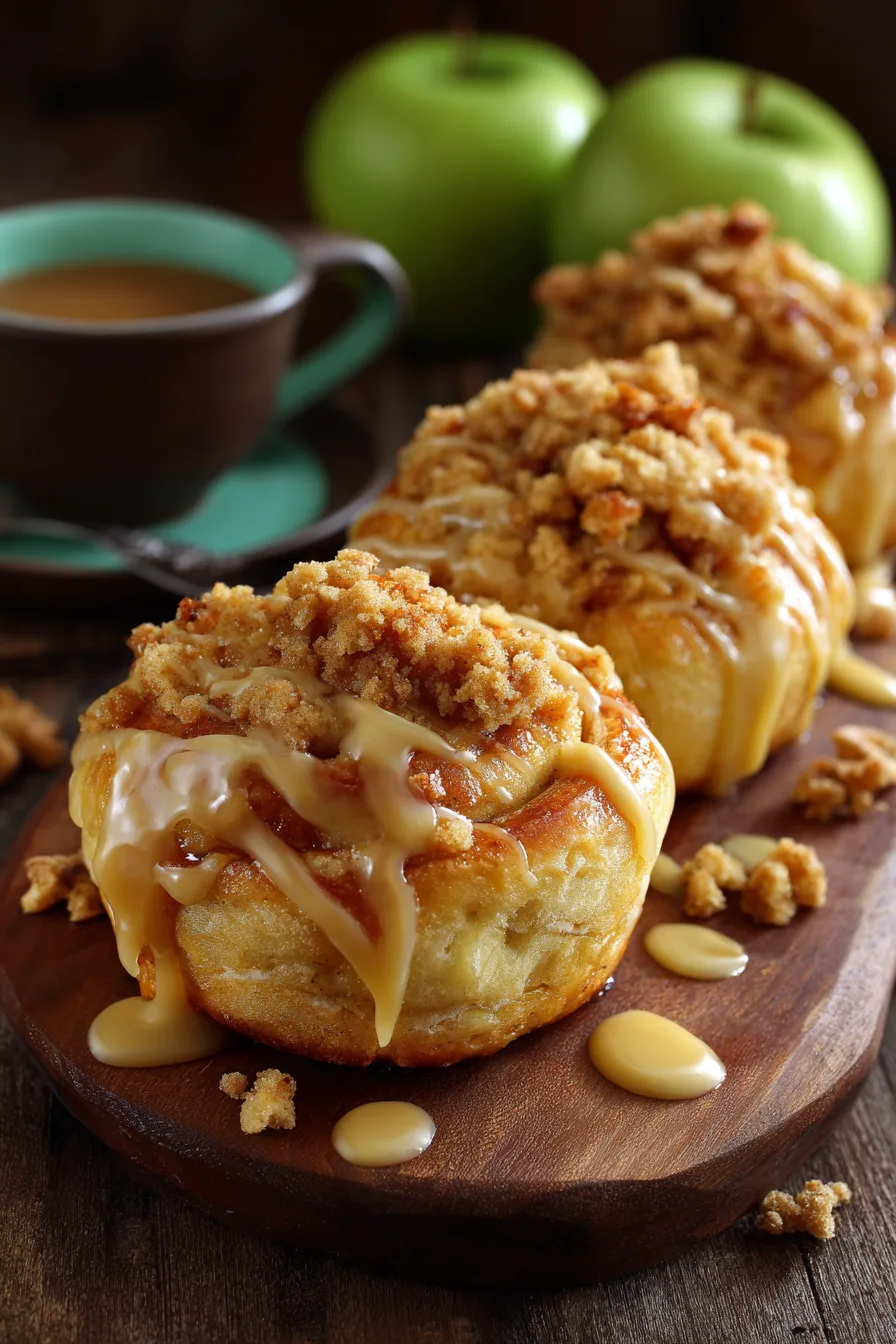
Serving Suggestions
Serve these Apple Cheesecake Buns With Crumble Topping and Sweet Glaze warm for breakfast alongside freshly brewed coffee or chai tea. They’re exceptional for brunch buffets, autumn gatherings, or as an elegant dessert with vanilla ice cream. Try pairing with sharp cheddar cheese for a sophisticated sweet-savory combination, or serve with caramel sauce for extra indulgence. These buns also make thoughtful gifts when wrapped individually in cellophane bags.
Common Mistakes to Avoid
Overmixing the dough leads to tough, dense buns—knead just until smooth. Don’t skip the yeast proofing step; inactive yeast ruins the entire batch. Avoid overfilling buns, which causes leakage during baking. Ensure cream cheese is fully softened to prevent lumpy filling. Cold butter is crucial for proper crumble texture—room temperature butter creates a paste instead of distinct pieces. Finally, don’t glaze hot buns, as the glaze will simply melt and disappear.
Storing Tips for the Recipe
Store completely cooled buns in airtight containers at room temperature for up to 3 days. For longer storage, freeze individual buns wrapped in plastic wrap for up to 3 months. Reheat frozen buns in a 300°F oven for 10-12 minutes. The dough can be prepared through shaping, then refrigerated overnight for next-day baking—simply allow extra rising time. Unbaked filled buns freeze beautifully; bake directly from frozen, adding 5-10 minutes to the baking time.
FAQs
Can I make these buns dairy-free?
Absolutely! Substitute plant-based milk, vegan butter, and dairy-free cream cheese. The texture remains remarkably similar to the original version.
What if my dough isn’t rising properly?
Check your yeast expiration date and ensure your liquid temperature was between 105-110°F. Cold environments slow rising—try placing the bowl in a slightly warm oven (turned off).
Can I prepare the filling components ahead of time?
Yes! The cheesecake filling and seasoned apples can be prepared up to 2 days in advance and refrigerated separately.
How do I know when the buns are fully baked?
They should be golden brown and sound hollow when tapped. An instant-read thermometer should register 190°F in the center.
Can I double this recipe for larger gatherings?
Certainly! This recipe scales beautifully. Consider using a stand mixer for larger dough batches to ensure proper development.
Kitchen Mosaic Notes
Thanks for reading! Remember that nutritional values are approximate. For the best results, adapt this recipe to your specific dietary needs.