

Did you know that the average home baker throws away nearly 2 cups of sourdough discard per week, contributing to over 40 million tons of food waste annually? What if I told you that transforming this “waste” into delicious, homemade tortillas takes just four simple ingredients and delivers results that rival any store-bought alternative? These 4 Ingredient Easy Sourdough Discard Tortillas are revolutionizing how home cooks approach zero-waste cooking, turning what was once discarded into a versatile staple that’s both economical and incredibly flavorful.
Ingredients List
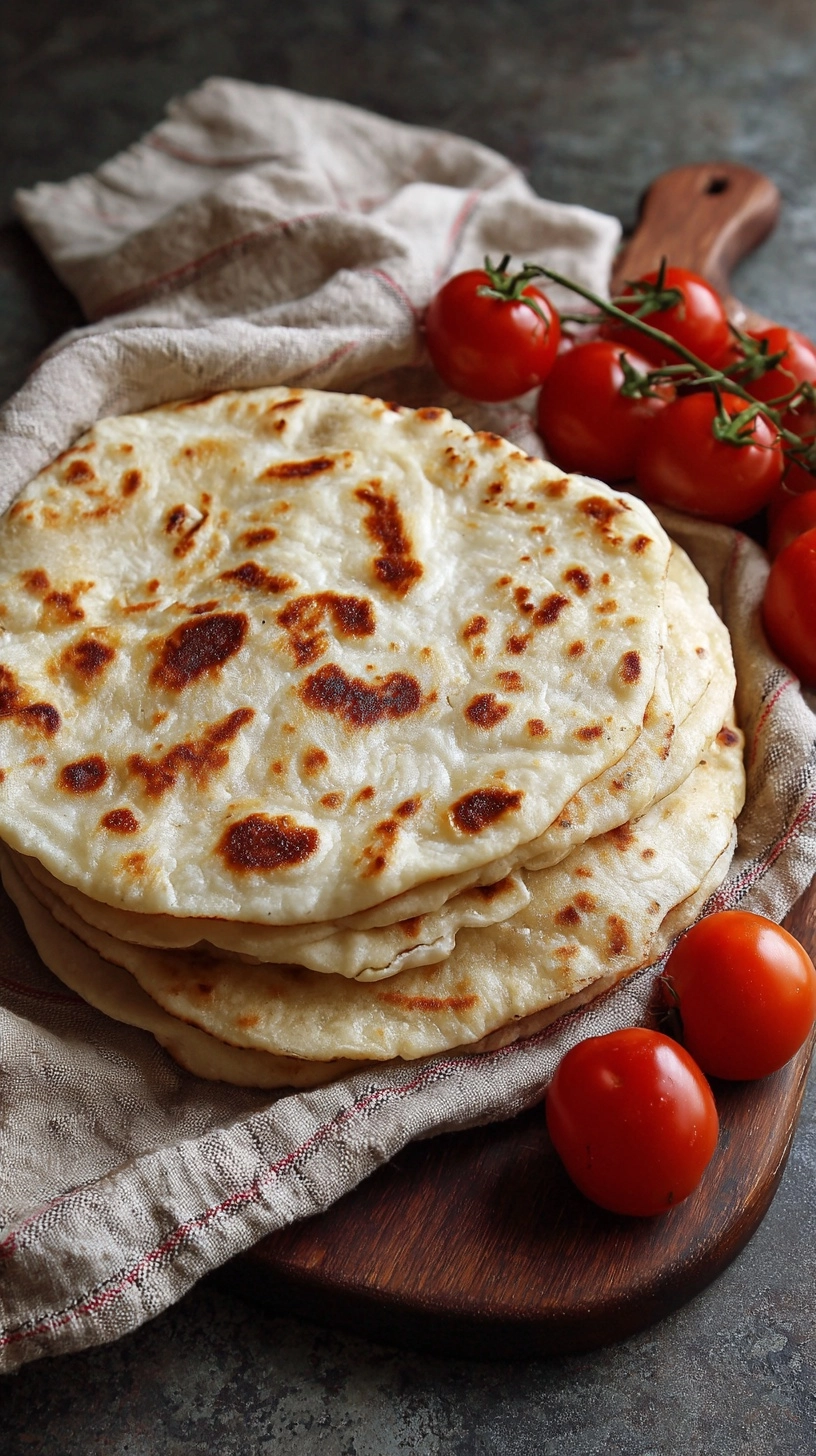
Creating these transformative sourdough discard tortillas requires just four pantry staples that you likely already have on hand:
- 1 cup sourdough discard (active or unfed works perfectly – even week-old discard from your refrigerator)
- 1 cup all-purpose flour (substitute with whole wheat flour for added fiber, or use gluten-free flour blend for dietary restrictions)
- 1/2 teaspoon salt (sea salt or kosher salt enhances the tangy sourdough flavor beautifully)
- 2-4 tablespoons warm water (add gradually until dough reaches perfect consistency – some discards require more moisture than others)
Smart Substitutions: Replace all-purpose flour with spelt flour for a nuttier flavor profile, or try a 50/50 blend of regular and chickpea flour for extra protein. If your sourdough discard is particularly thick, start with 3 tablespoons of water; thinner discards may only need 2 tablespoons.
Timing
This remarkably efficient recipe requires total time of 25 minutes – that’s a significant portion of faster than traditional tortilla recipes that require resting periods. Here’s your time breakdown:
- Preparation time: 10 minutes
- Cooking time: 15 minutes (approximately 1-2 minutes per tortilla)
- Total active time: 25 minutes
Unlike conventional tortilla recipes that often require 30-60 minutes of dough resting, the natural fermentation in your sourdough discard eliminates this step entirely, making these tortillas perfect for spontaneous meals or busy weeknight dinners.
Step 1: Create Your Dough Foundation
Combine your sourdough discard and salt in a large mixing bowl, stirring until the salt dissolves completely. The salt not only enhances flavor but also strengthens the gluten structure, creating tortillas that hold together beautifully without tearing.
Step 2: Gradually Incorporate Flour
Add flour gradually while mixing, creating a shaggy dough that feels slightly sticky but manageable. This gradual incorporation prevents lumps and ensures even hydration throughout your dough.
Step 3: Adjust Consistency with Water
Add warm water one tablespoon at a time until your dough becomes smooth and pliable. The perfect consistency should feel like soft playdough – not sticky enough to cling to your hands, but not so dry that it cracks when folded.
Step 4: Knead for Optimal Texture
Knead the dough on a lightly floured surface for 2-3 minutes until it becomes smooth and elastic. This brief kneading develops just enough gluten for flexibility without making the tortillas tough.
Step 5: Divide and Shape
Divide your dough into 8 equal portions (approximately 2 ounces each) and roll into balls. Cover with a damp towel to prevent surface drying while you work with individual portions.
Step 6: Roll to Perfection
Roll each ball into a thin circle, approximately 6-7 inches in diameter. Aim for uniform thickness – about 1/8 inch – for even cooking. Dust with flour as needed to prevent sticking.
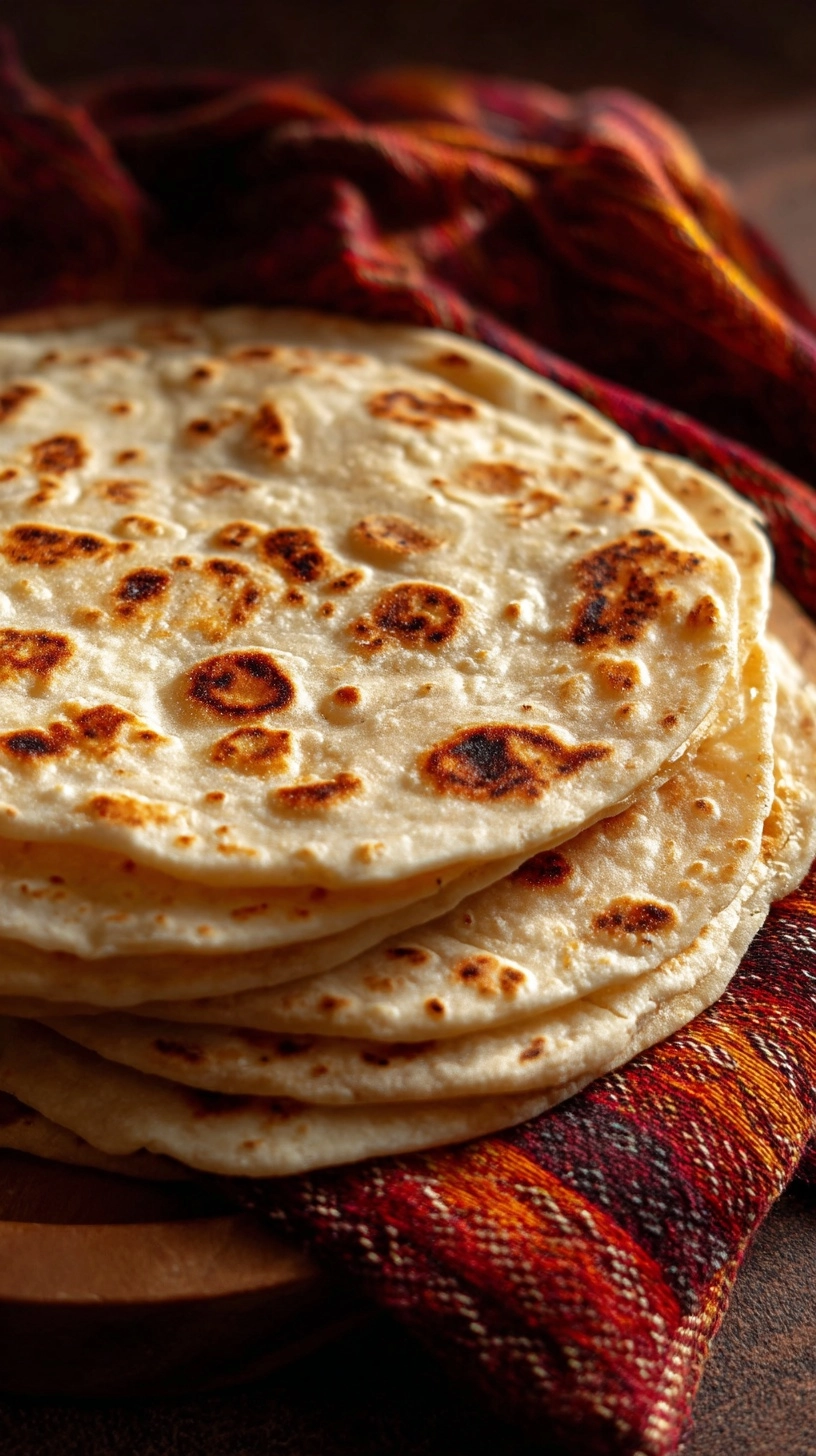
Step 7: Cook with Precision
Heat a dry skillet or griddle over medium-high heat. Cook each tortilla for 45-60 seconds on the first side until light brown spots appear, then flip and cook for an additional 30-45 seconds. The tortillas should puff slightly and develop beautiful golden spots.
Nutritional Information
Each sourdough discard tortilla provides approximately:
- Calories: 95 per tortilla (nearly some of fewer calories than store-bought flour tortillas)
- Protein: 3.5 grams
- Carbohydrates: 18 grams
- Fiber: 1.2 grams
- Fat: 0.8 grams
- Sodium: 145 mg
The fermentation process in sourdough discard breaks down complex carbohydrates, making these tortillas easier to digest than conventional versions. Additionally, the natural probiotics present in sourdough contribute to gut health, while the reduced processing maintains more nutrients compared to commercial alternatives.
Healthier Alternatives for the Recipe
Transform these already nutritious tortillas into powerhouse alternatives with these simple swaps:
Boost Protein: Replace 1/4 cup flour with protein powder or ground flaxseed for an additional 8-10 grams of protein per serving.
Increase Fiber: Substitute half the all-purpose flour with whole wheat pastry flour or add 2 tablespoons of ground chia seeds to increase fiber content by more than half.
Add Healthy Fats: Incorporate 1 tablespoon of olive oil or avocado oil for heart-healthy monounsaturated fats and improved texture.
Enhance Minerals: Use ancient grain flours like einkorn or emmer for higher mineral content, or add 1 tablespoon of hemp hearts for omega-3 fatty acids.
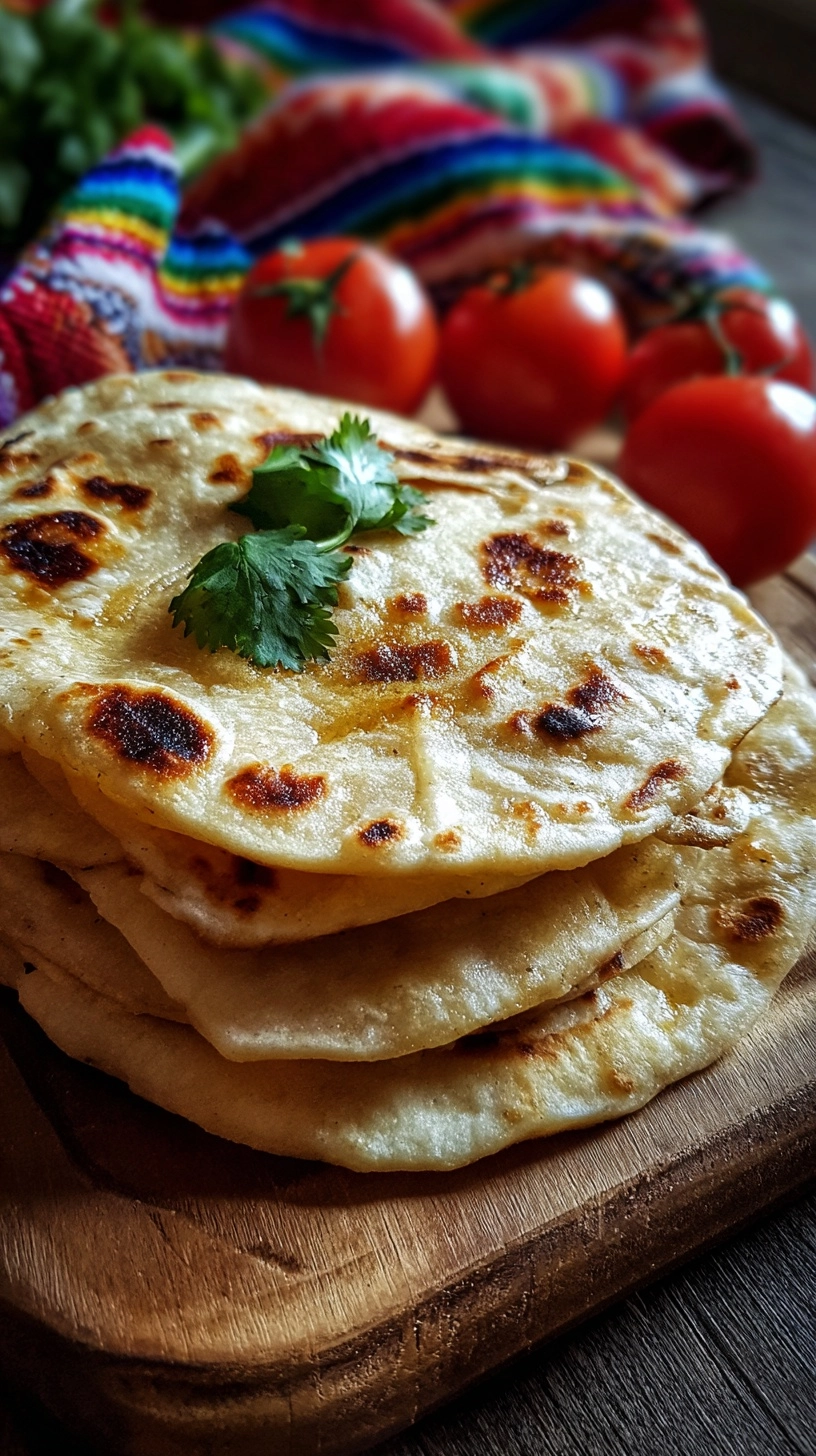
Serving Suggestions
These versatile tortillas shine in countless applications:
Breakfast Wraps: Fill with scrambled eggs, sautéed vegetables, and fresh herbs for a protein-packed morning meal.
Mediterranean Style: Spread with hummus, add grilled vegetables, feta cheese, and fresh spinach for a healthy lunch option.
Taco Tuesday: Use as a base for fish tacos with cabbage slaw and avocado crema, or create vegetarian black bean and sweet potato tacos.
Snack Chips: Cut into triangles, brush with olive oil, sprinkle with sea salt, and bake at 400°F for 8-10 minutes for homemade tortilla chips.
International Fusion: Transform into quesadillas, breakfast burritos, or even use as a pizza base for quick personal pizzas.
Common Mistakes to Avoid
Over-kneading: Excessive kneading creates tough, chewy tortillas. Stop once the dough feels smooth and elastic.
Rolling Too Thick: Thick tortillas cook unevenly and become dense. Aim for consistent 1/8-inch thickness throughout.
Incorrect Heat Level: Too high heat burns the exterior while leaving the interior undercooked; too low heat creates dry, brittle tortillas.
Skipping the Cover: Exposed dough balls dry out quickly, making them difficult to roll and prone to cracking.
Overcooking: Watch for the first few brown spots as your indicator to flip – overcooking creates rigid, cardboard-like texture.
Storing Tips for the Recipe
Immediate Storage: Stack cooked tortillas with parchment paper between layers and store in an airtight container for up to 3 days at room temperature.
Refrigeration: Wrapped tortillas stay fresh for up to one week in the refrigerator. Reheat briefly in a dry skillet to restore flexibility.
Freezing: Freeze individual tortillas between parchment paper for up to 3 months. Thaw at room temperature or microwave for 20-30 seconds.
Dough Preparation: Prepare dough up to 24 hours ahead and refrigerate. Bring to room temperature before rolling for best results.
Reheating Tips: Wrap tortillas in damp paper towels and microwave for 15-20 seconds, or warm in a dry skillet over medium heat for 30 seconds per side.
FAQs
Can I use starter instead of discard? Absolutely! Active starter works perfectly and may require slightly less water due to its thinner consistency.
Why are my tortillas cracking when I roll them? This typically indicates the dough needs more moisture. Add water one teaspoon at a time until the dough becomes more pliable.
How do I know when my skillet is the right temperature? Sprinkle a few drops of water on the surface – they should sizzle and evaporate within 2-3 seconds.
Can I make these gluten-free? Yes! Use a 1:1 gluten-free flour blend, though the texture will be slightly more delicate than traditional versions.
What’s the best way to keep tortillas warm while cooking the batch? Wrap finished tortillas in a clean kitchen towel or place them in a tortilla warmer to maintain heat and flexibility.
Kitchen Mosaic Notes
Thanks for reading! Remember that nutritional values are approximate. For the best results, adapt this recipe to your specific dietary needs.